Before you start editing your website template, be sure you’ve made a clone of the website template and you’re not editing the main template directly. If you DO NOT make a clone/copy of the website template and edit the template directly, your work may be lost when we push out additional edits and updates to your account in the future.
To learn how to make a copy of the website template, be sure to watch the full demo video here:
1. How To Make A Copy of The Website Template
Learn how to make a copy of the LSS Notary Marketing Website Template so you can start editing your new website
1. Customize Your Notary Services Website Template Homepage
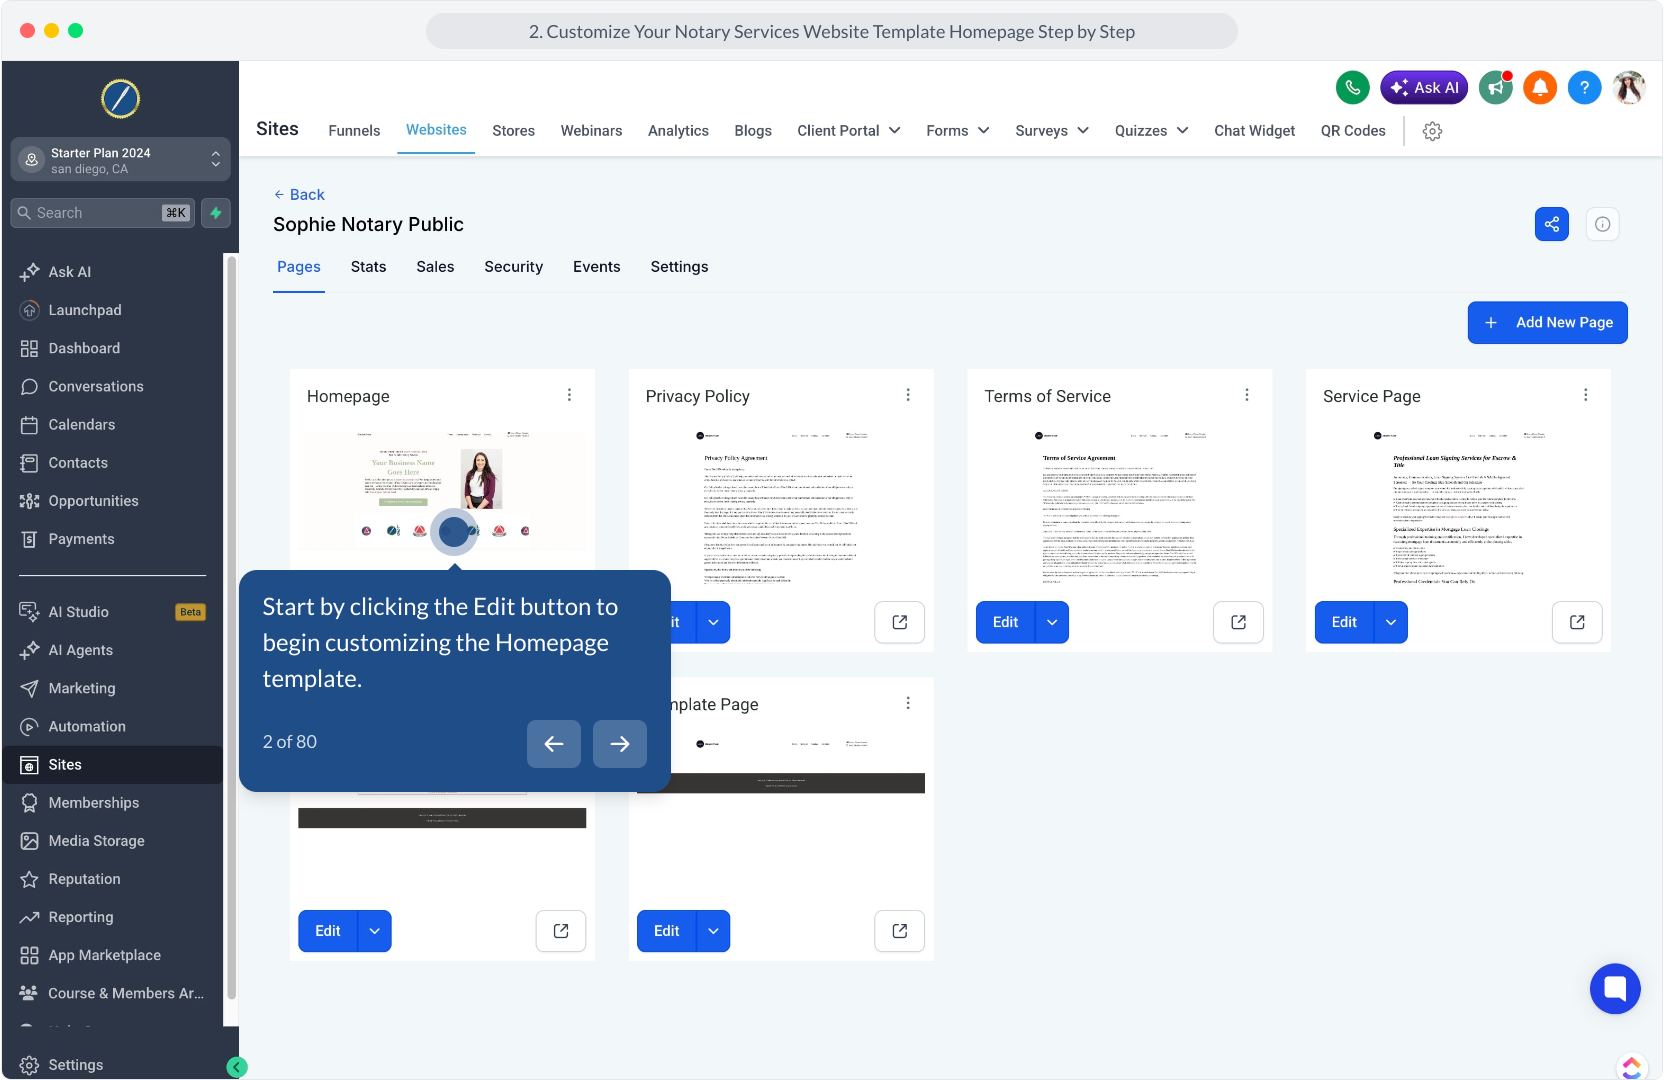
2. Start by clicking the Edit button to begin customizing the Homepage template.
3. Video Step
(Play Now)

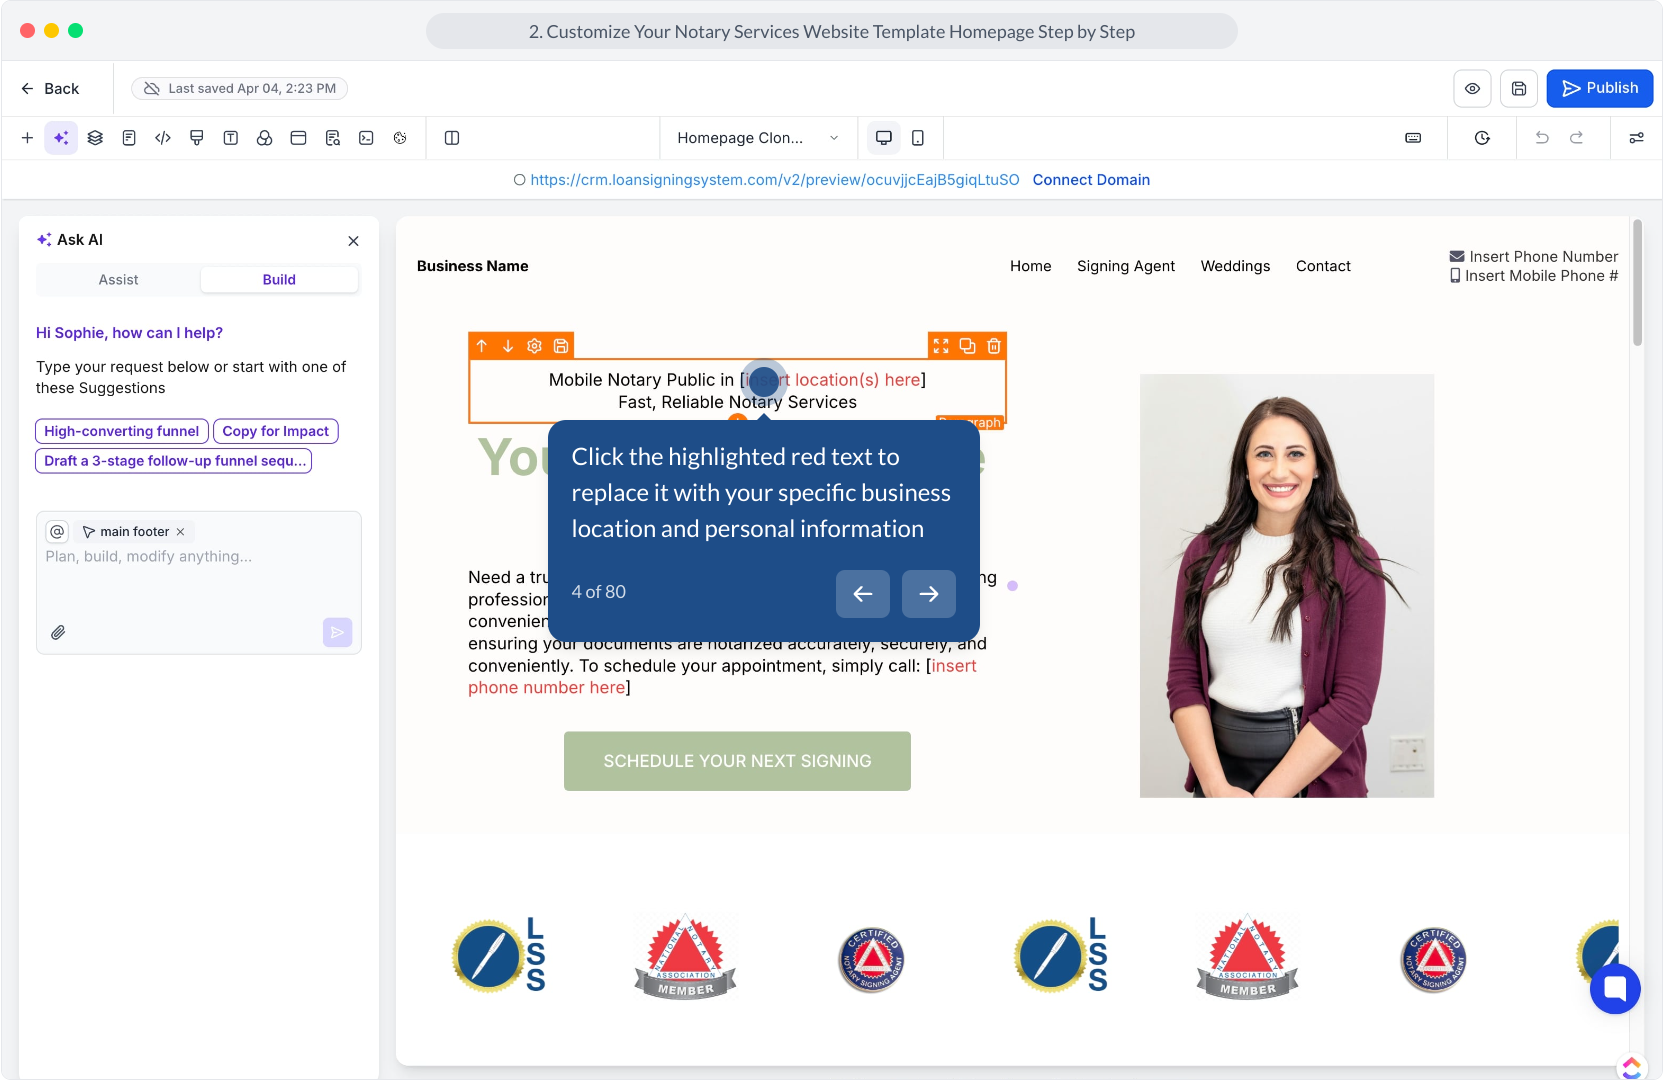
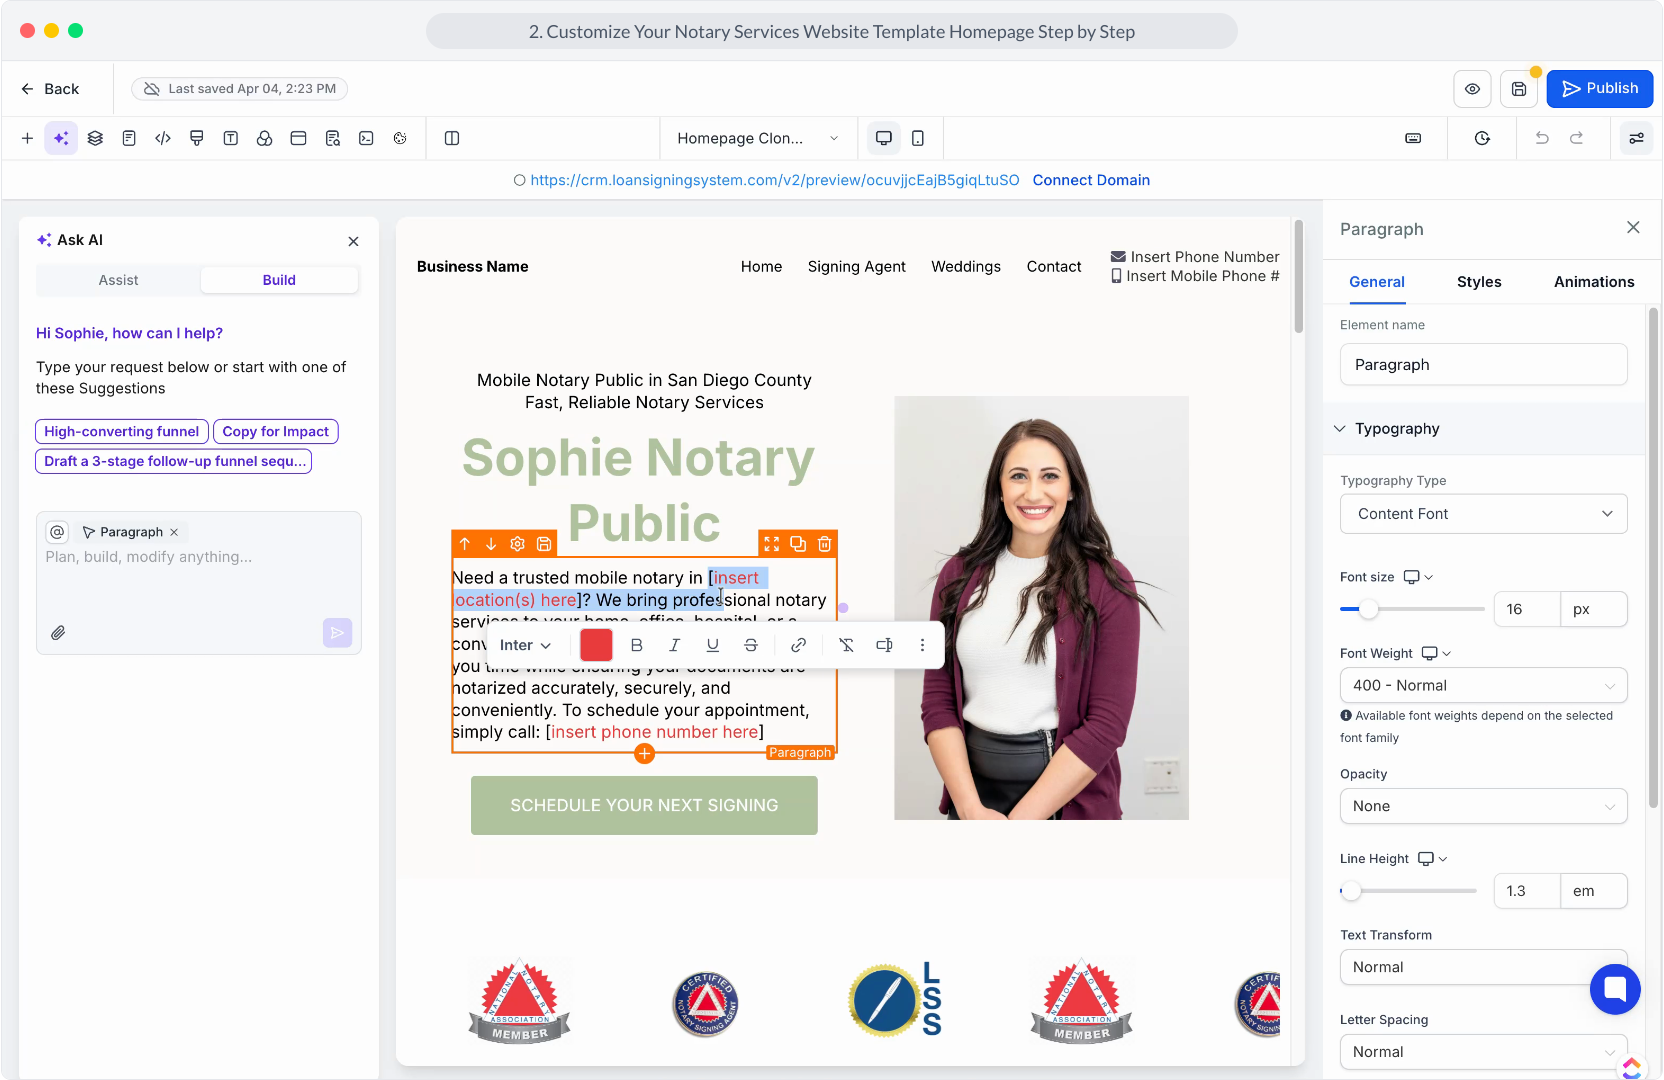
4. Click the highlighted red text to replace it with your specific business location and personal information
5. Video Step
(Play Now)

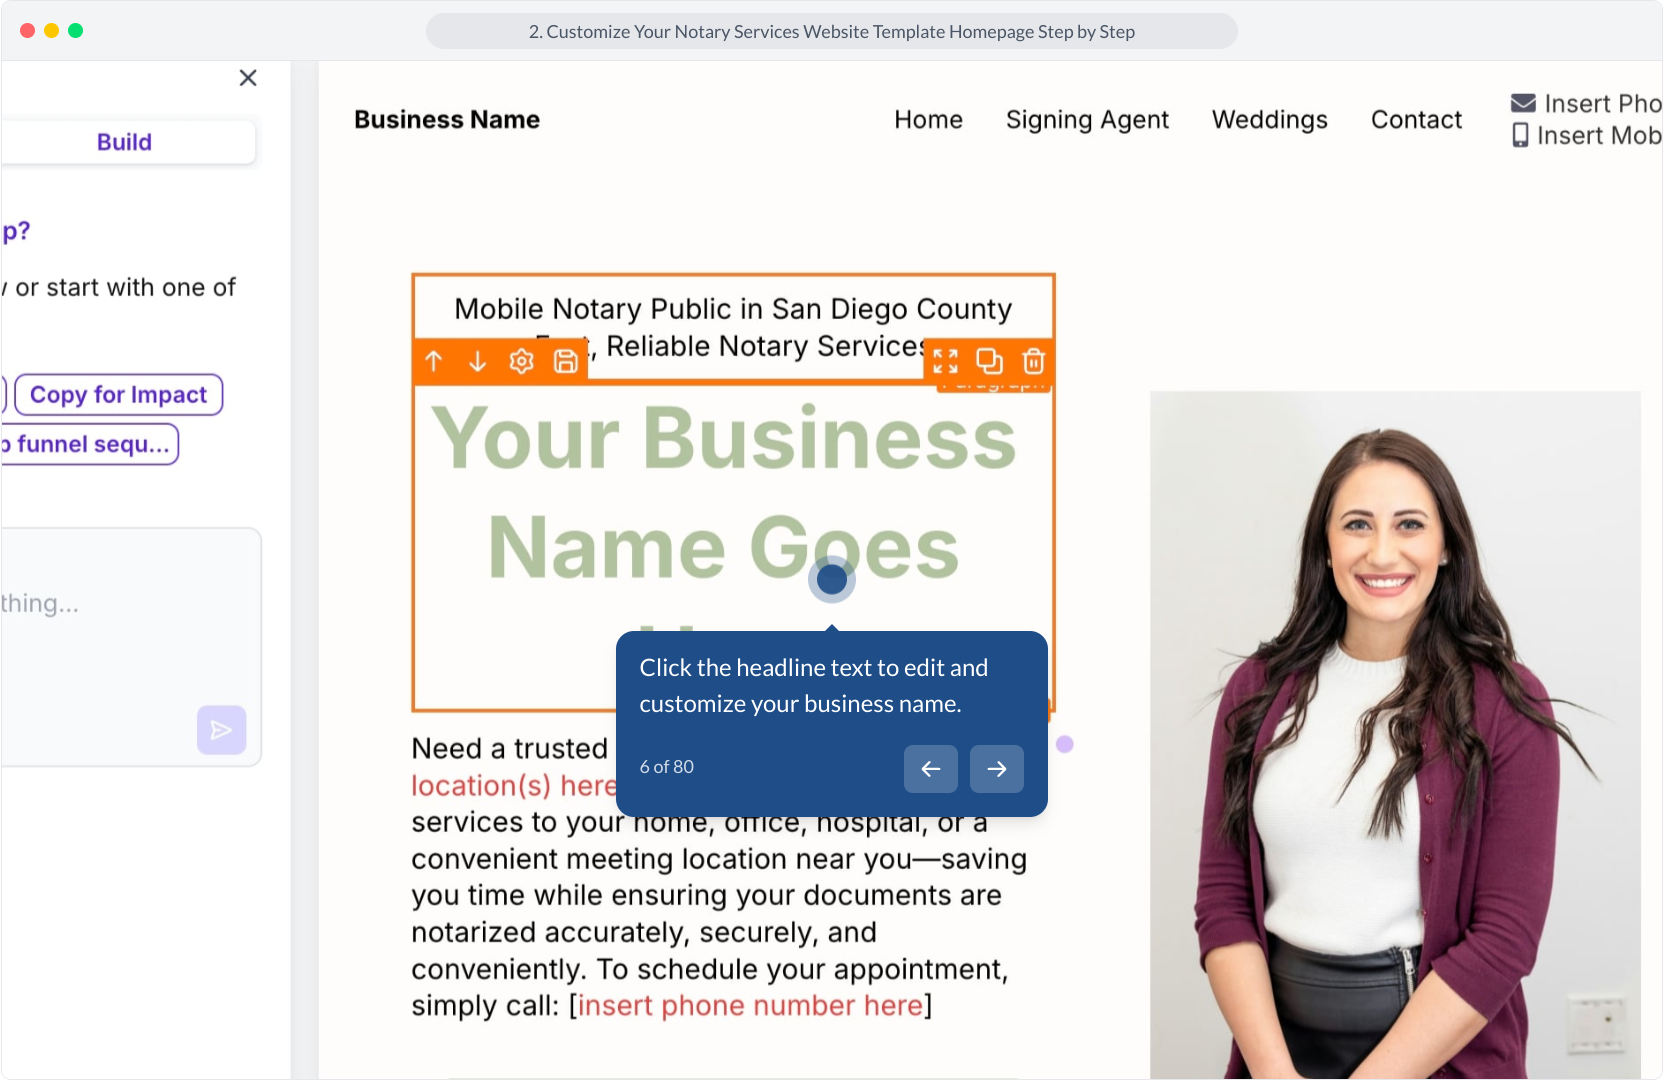
6. Click the headline text to edit and customize your business name.
7. Video Step
(Play Now)
8. Video Step
(Play Now)
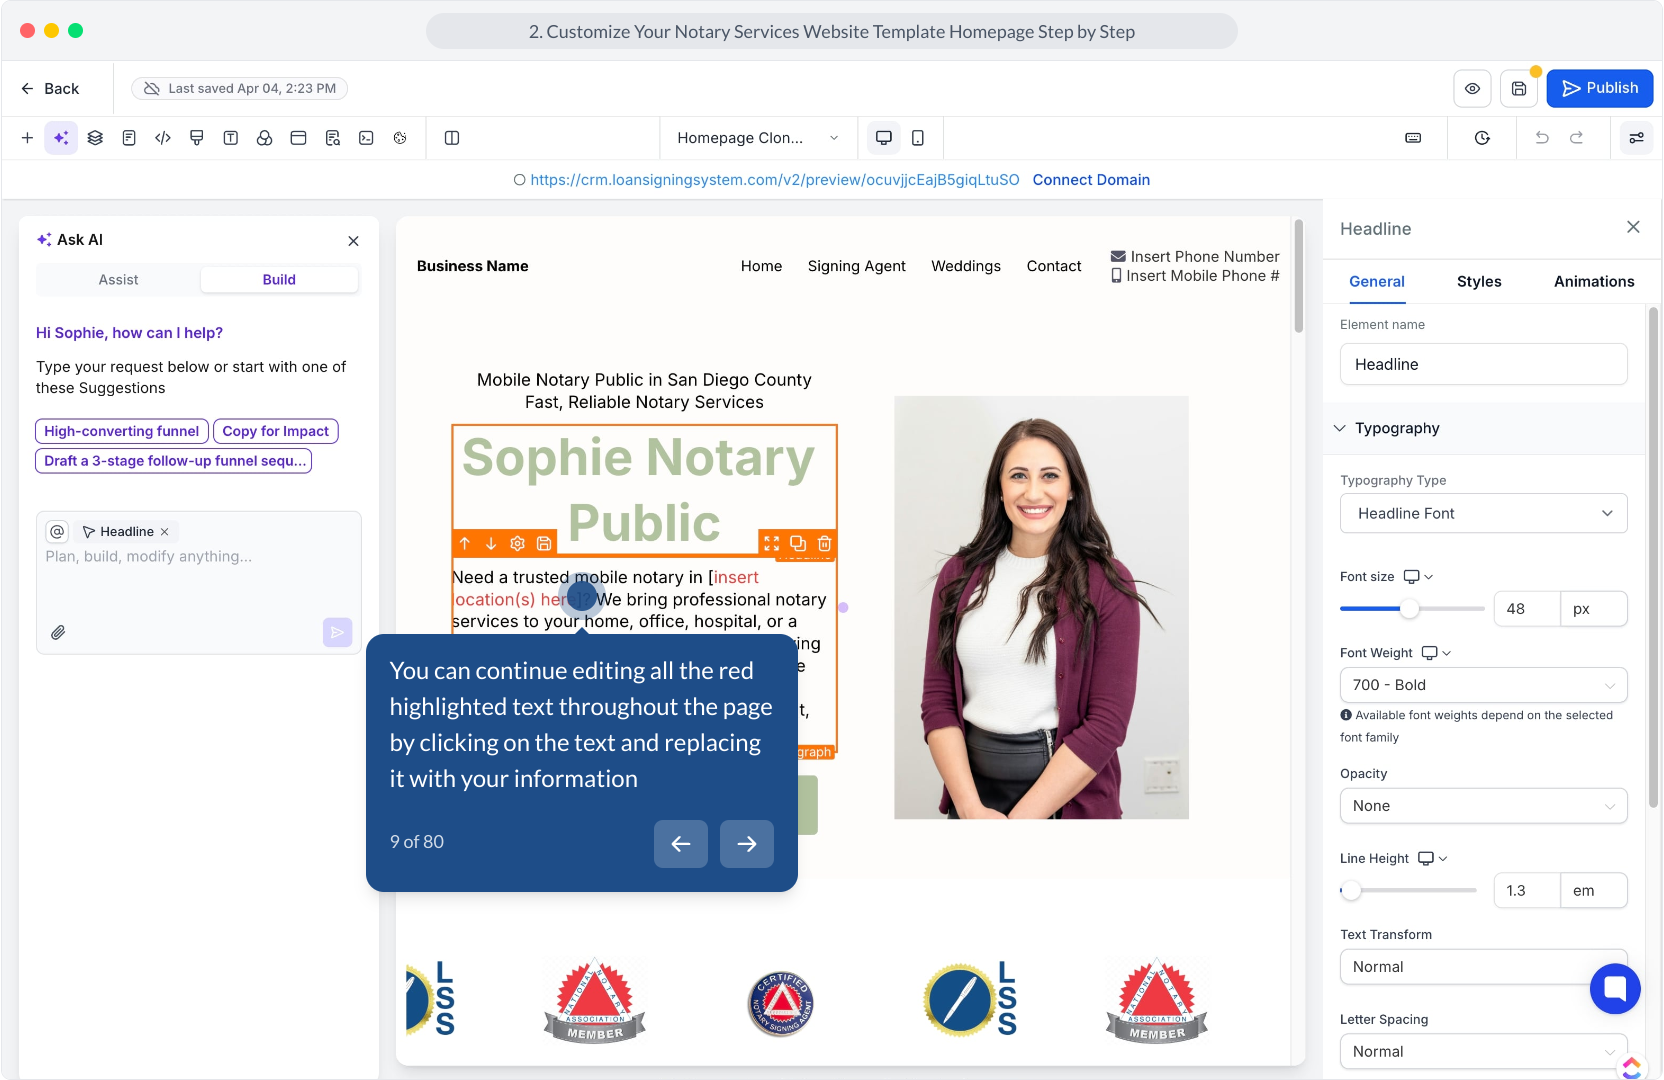
9. You can continue editing all the red highlighted text throughout the page by clicking on the text and replacing it with your information
10. Video Step
(Play Now)
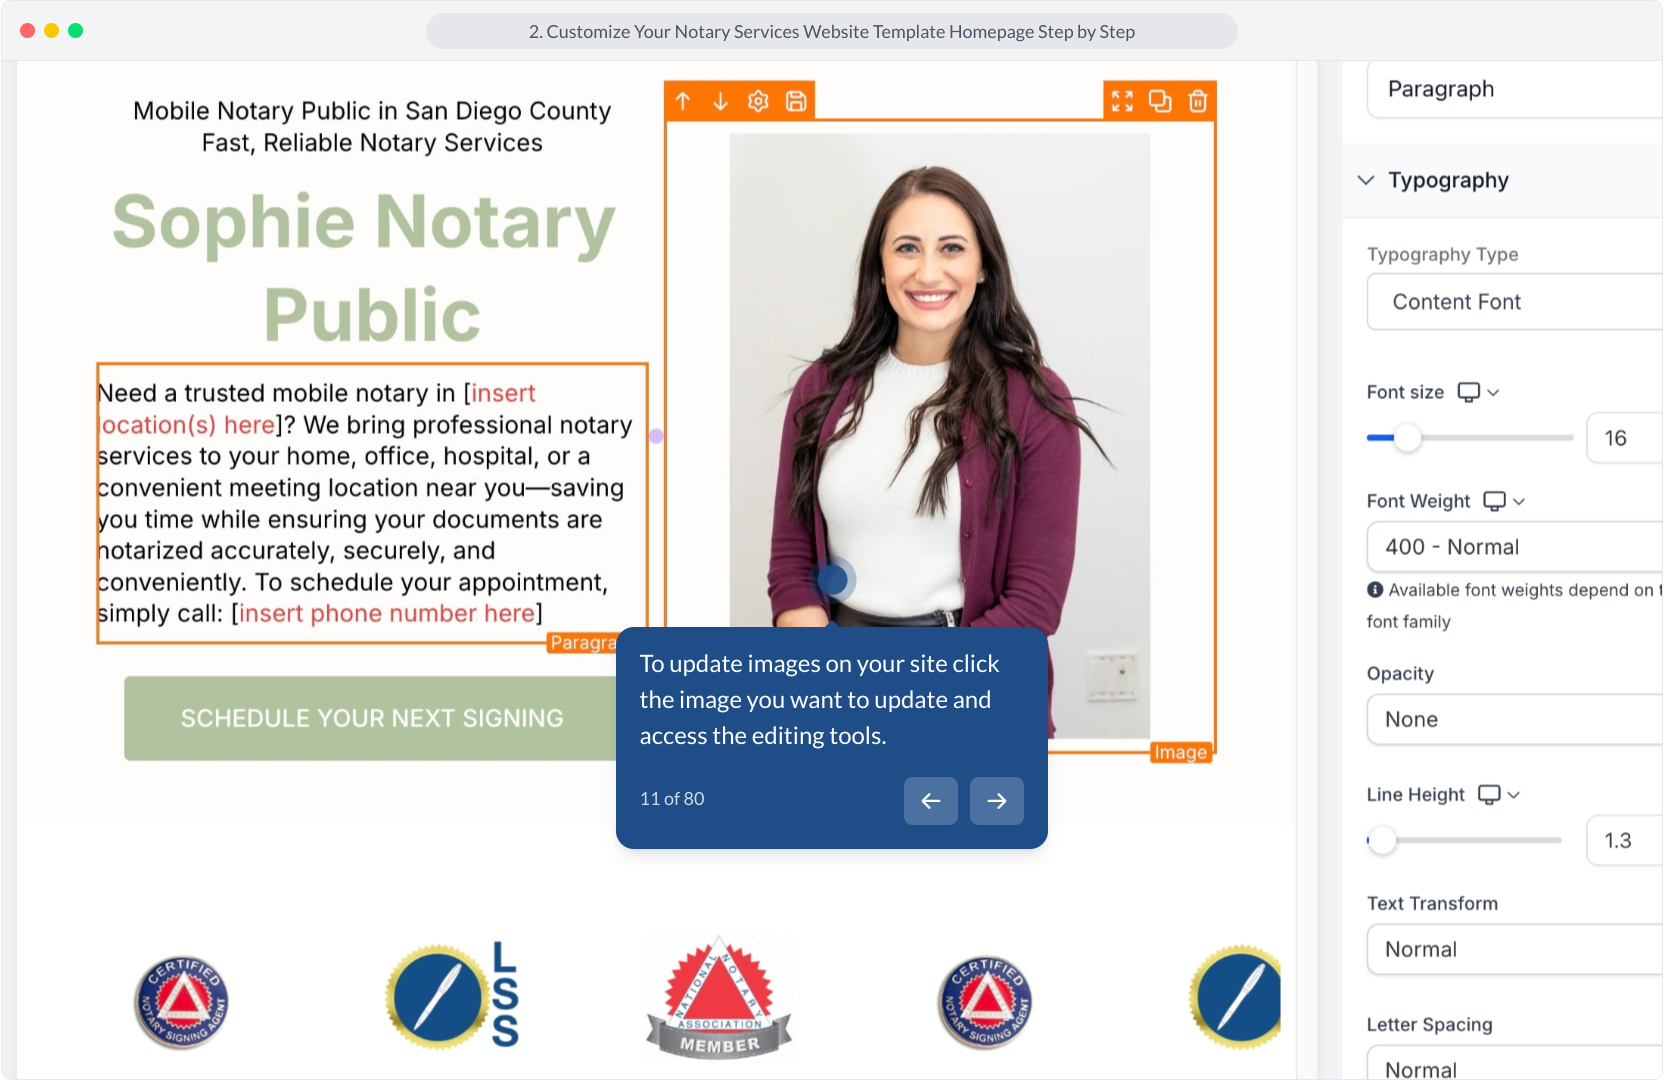
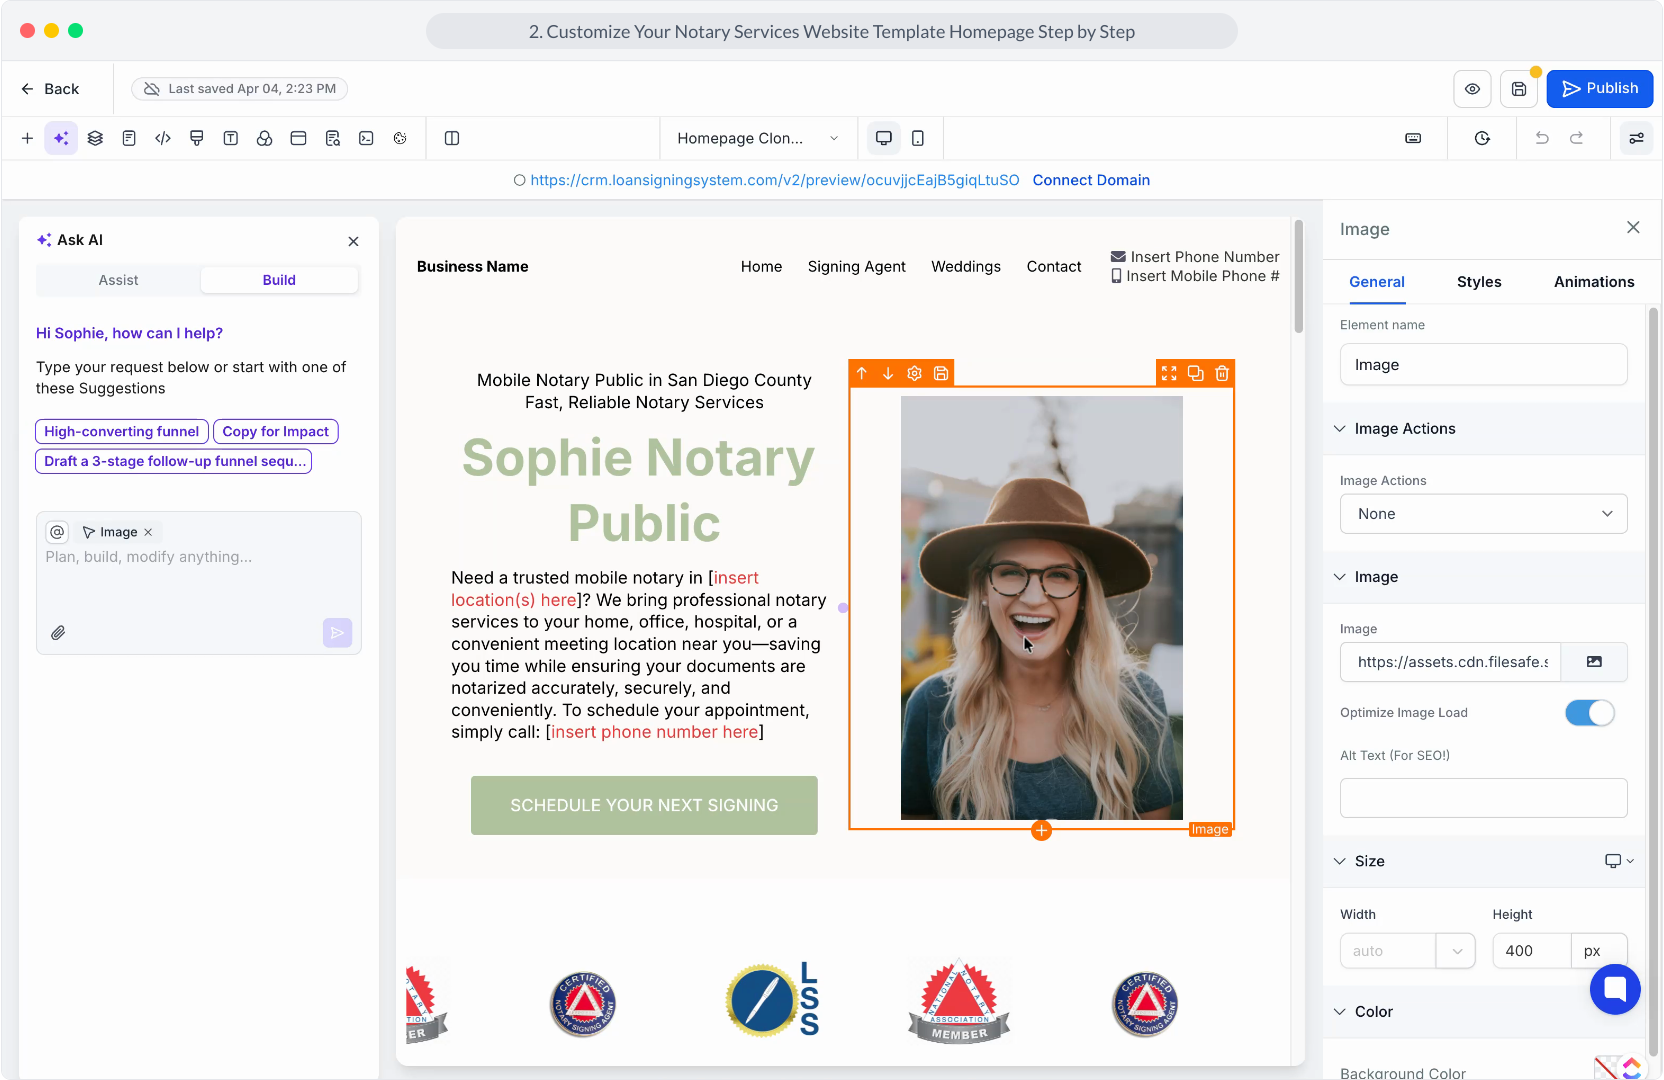
11. To update images on your site click the image you want to update and access the editing tools.
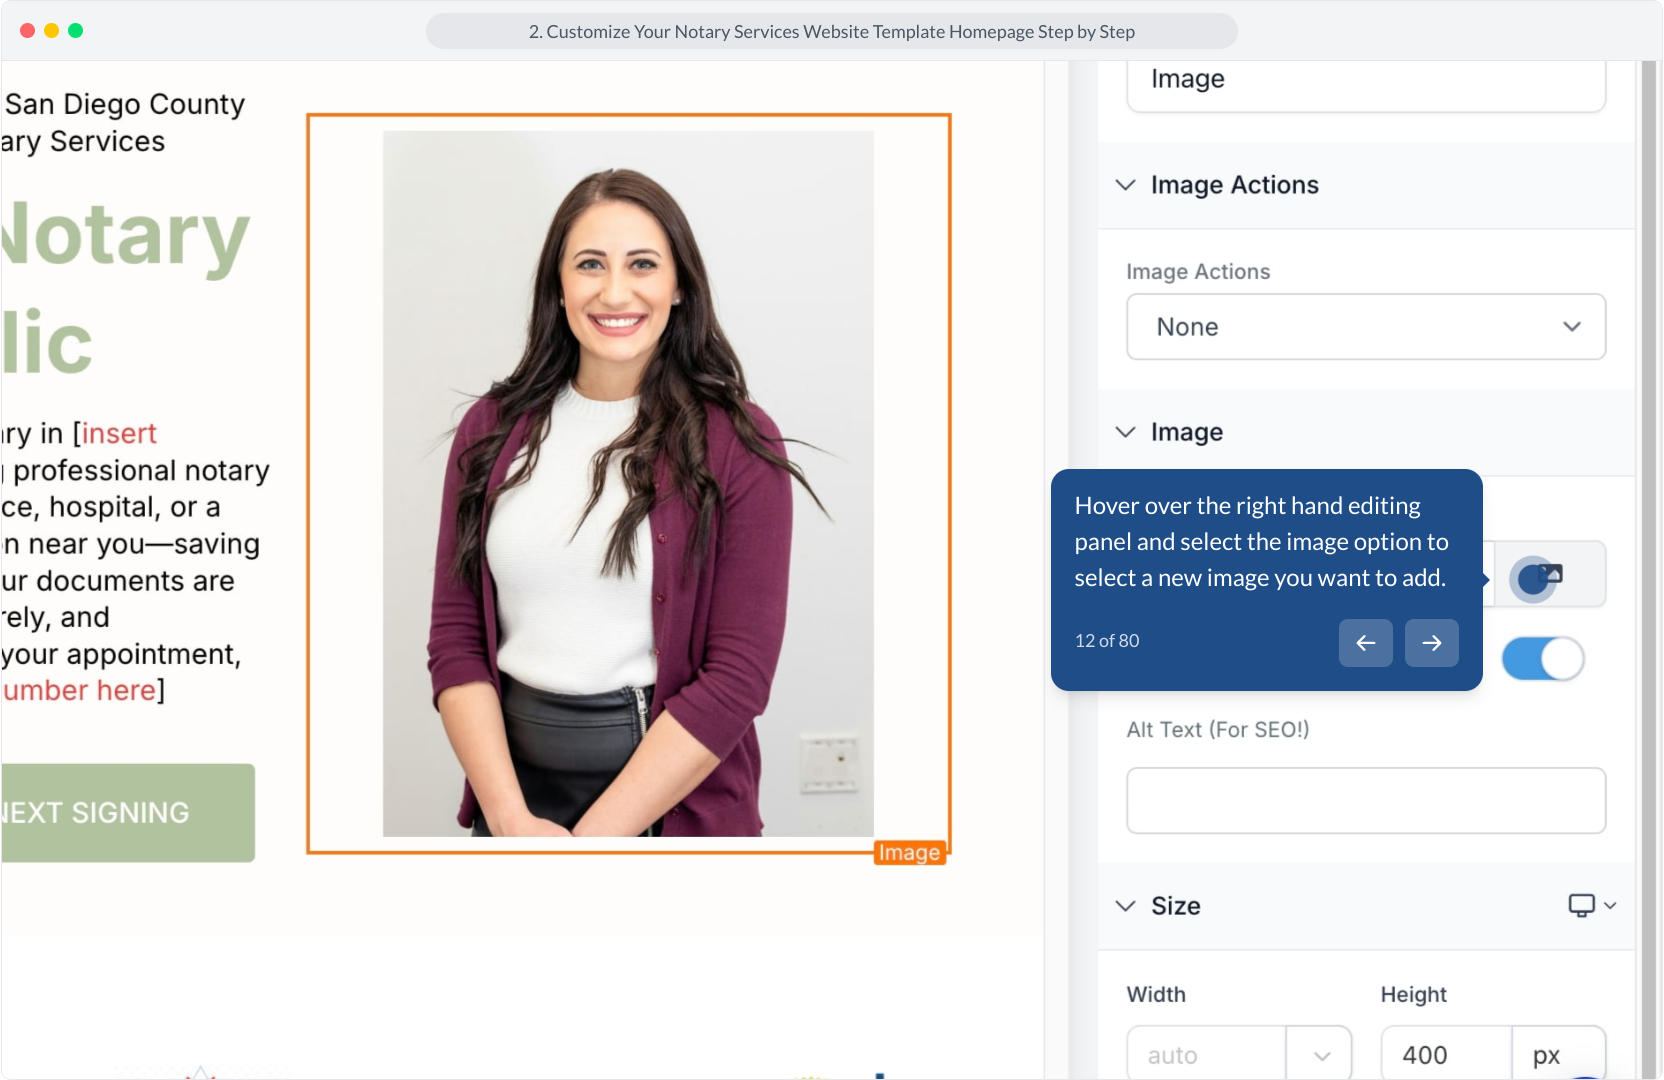
12. Hover over the right hand editing panel and select the image option to select a new image you want to add.
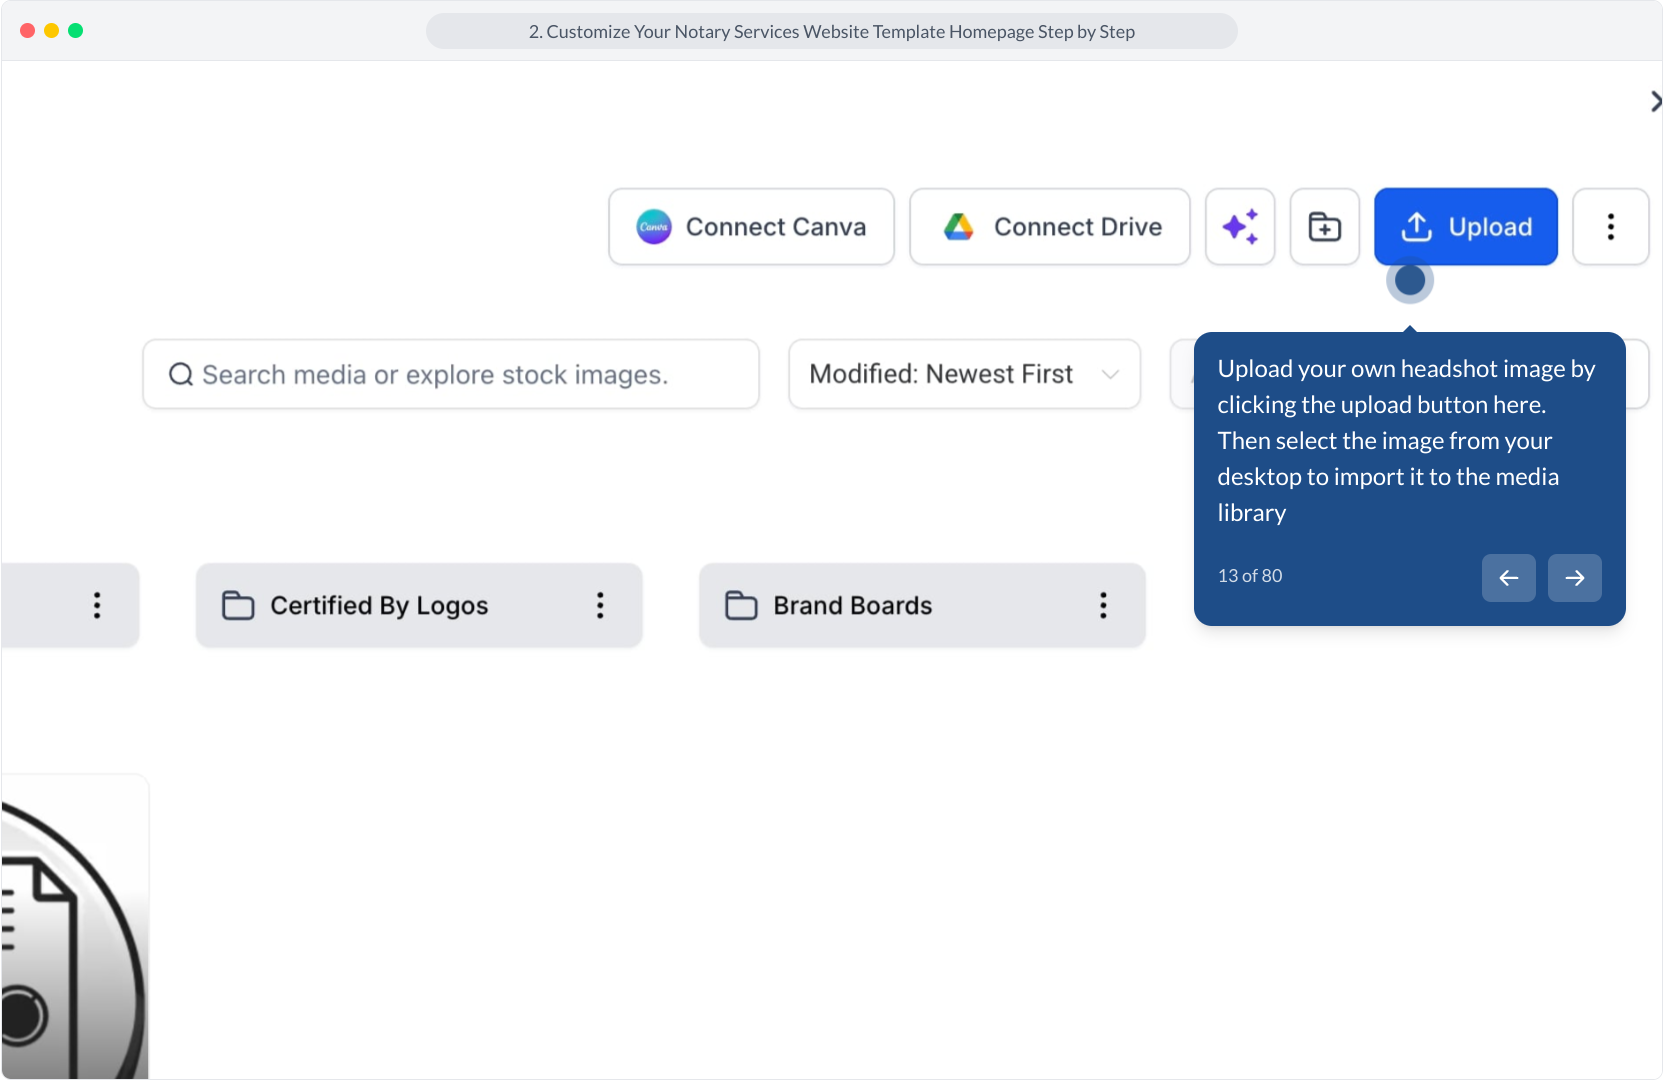
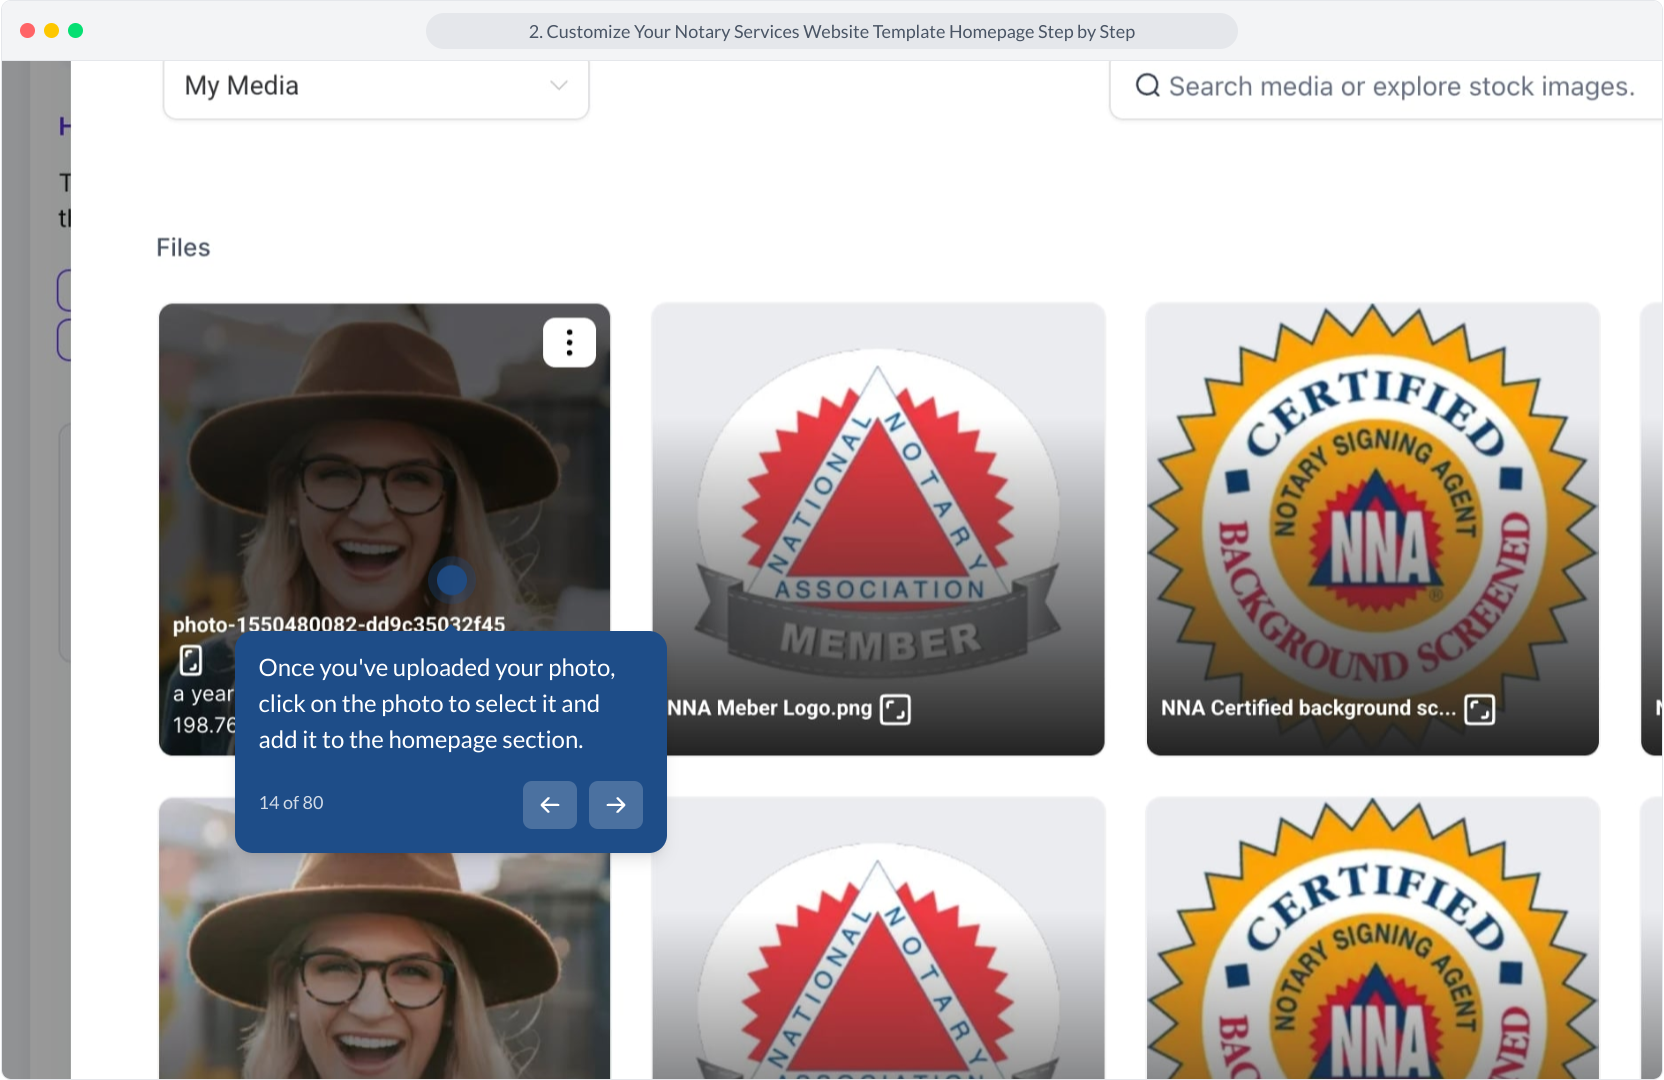
13. Upload your own headshot image by clicking the upload button here. Then select the image from your desktop to import it to the media library
14. Once you've uploaded your photo, click on the photo to select it and add it to the homepage section.
15. Video Step
(Play Now)
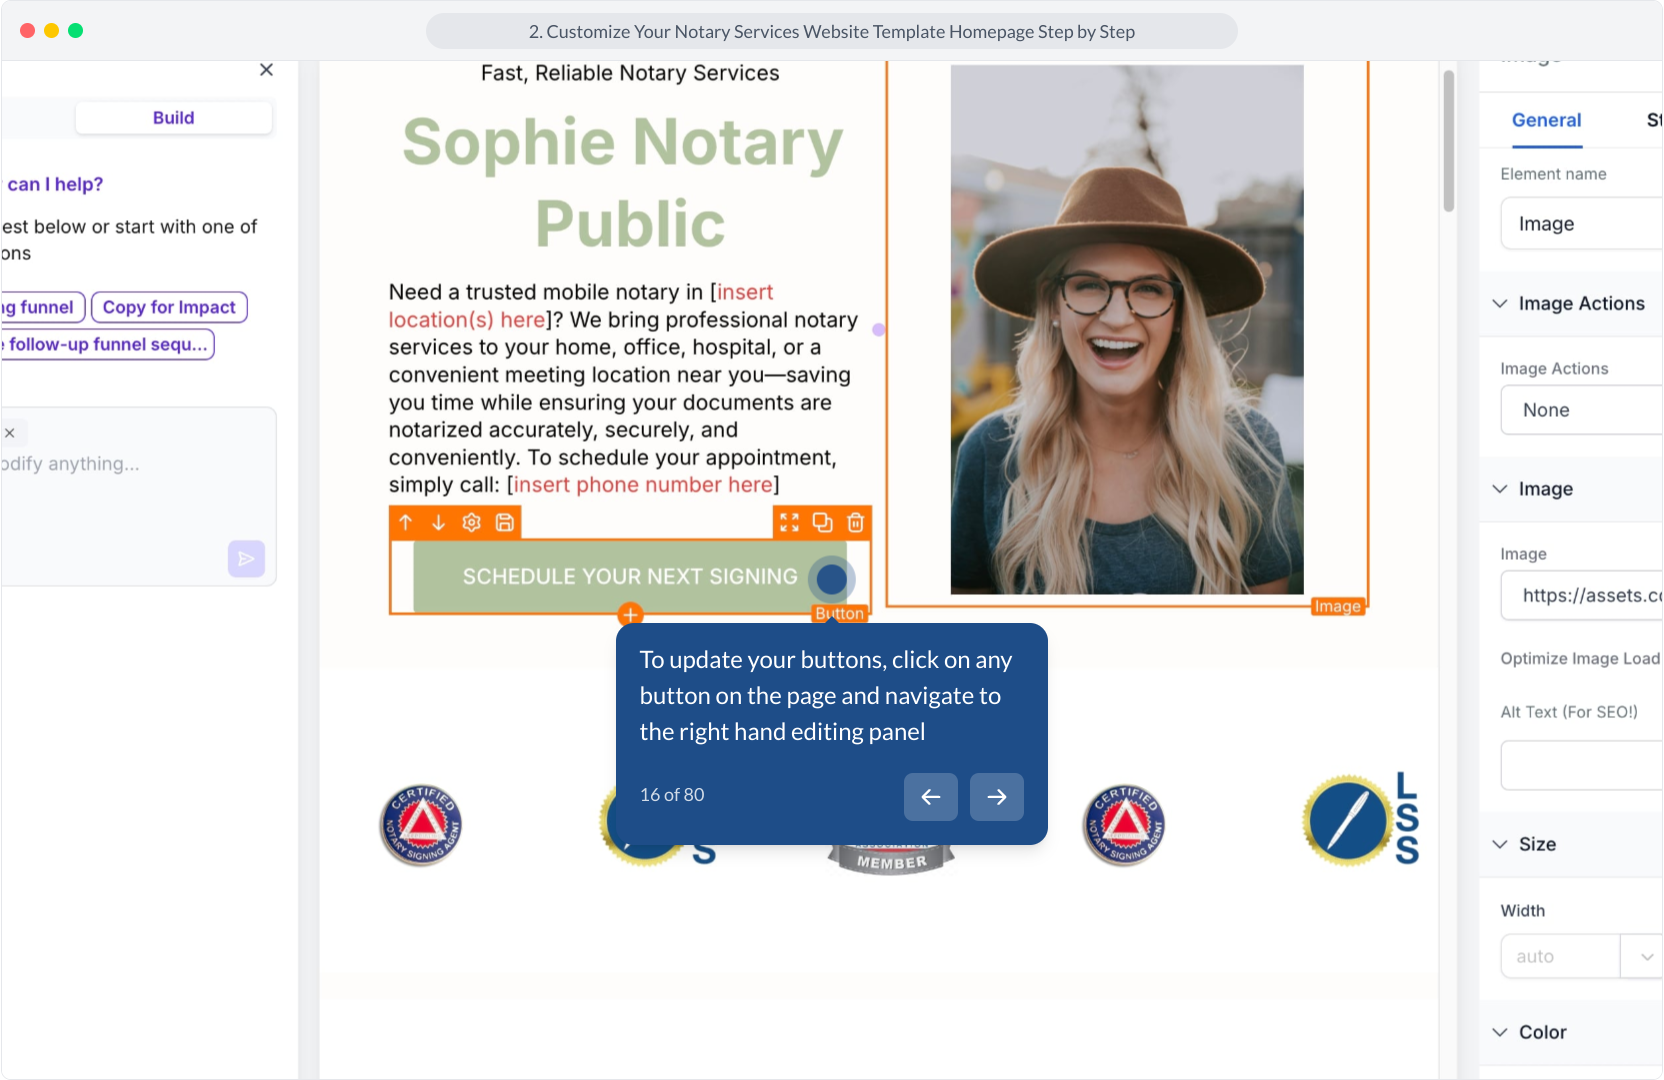
16. To update your buttons, click on any button on the page and navigate to the right hand editing panel
17. Video Step
(Play Now)
18. Be sure to change the "link to" option to the "Go To Page" option

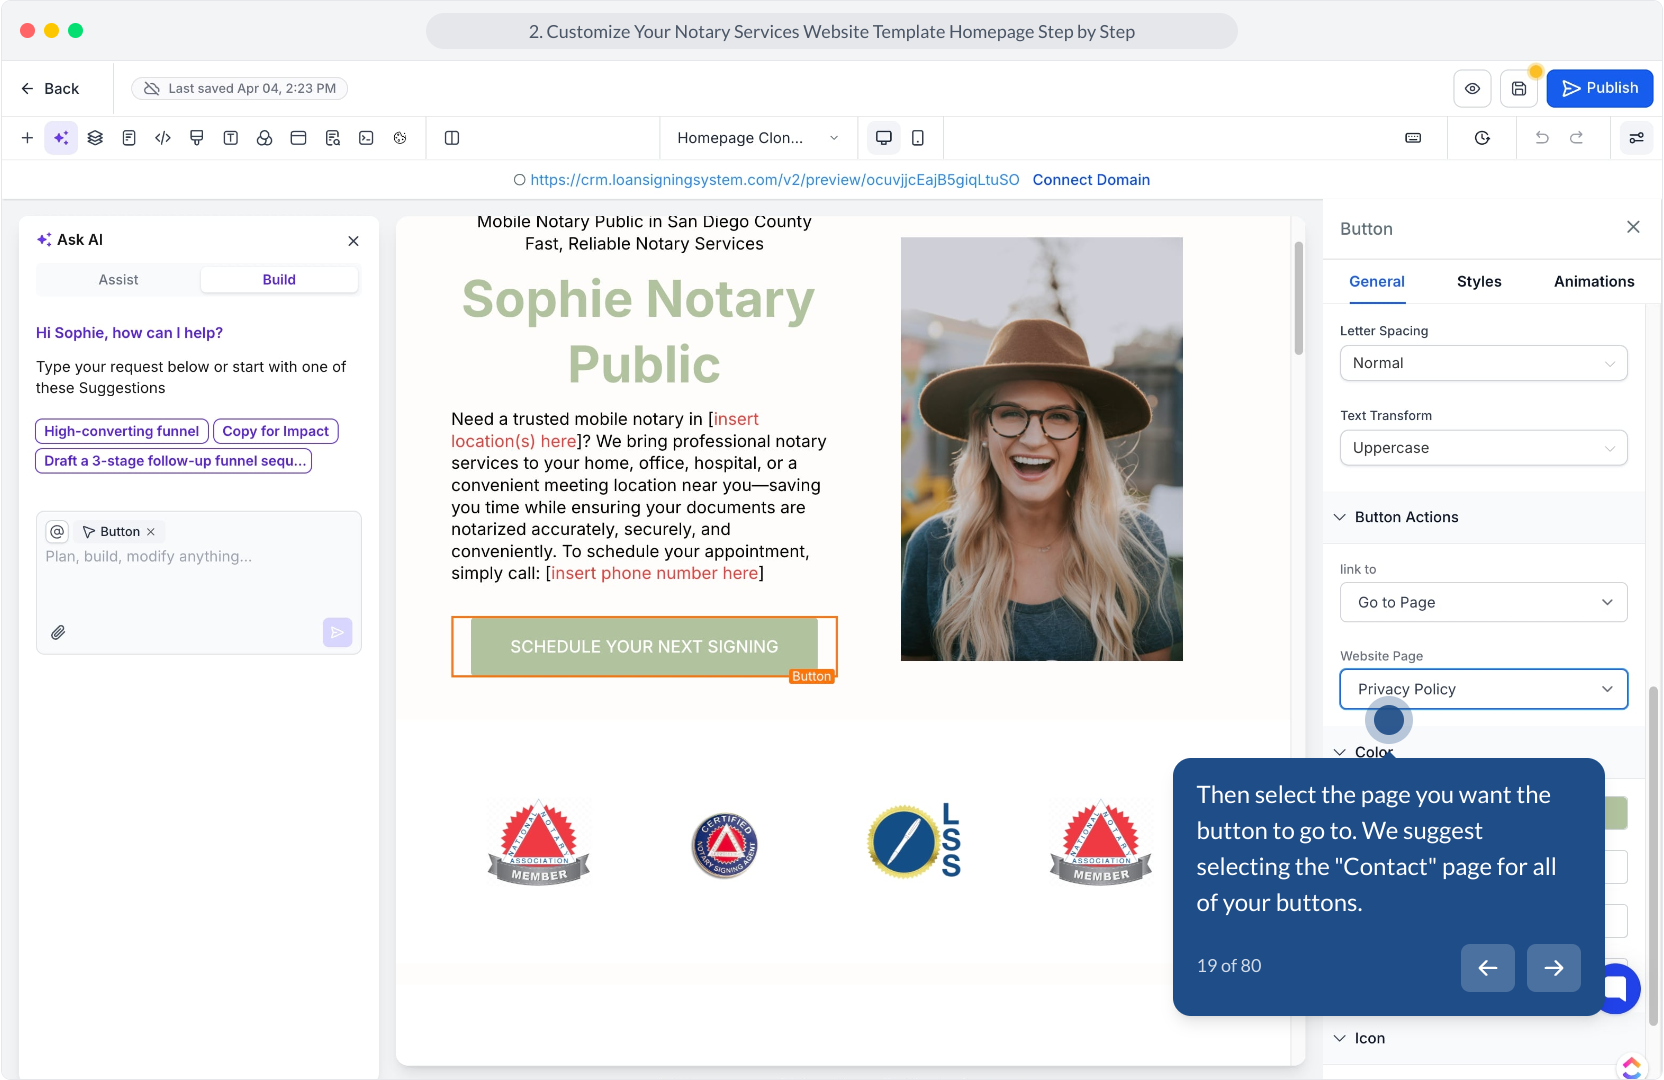
19. Then select the page you want the button to go to. We suggest selecting the "Contact" page for all of your buttons.
20. Video Step
(Play Now)
21. Repeat this process for every other button on your site.

22. Video Step
(Play Now)
23. You can change out additional photos on your site by repeating the same process. Simply click on the photo you want to change to upon up the editor menu on the right hand side

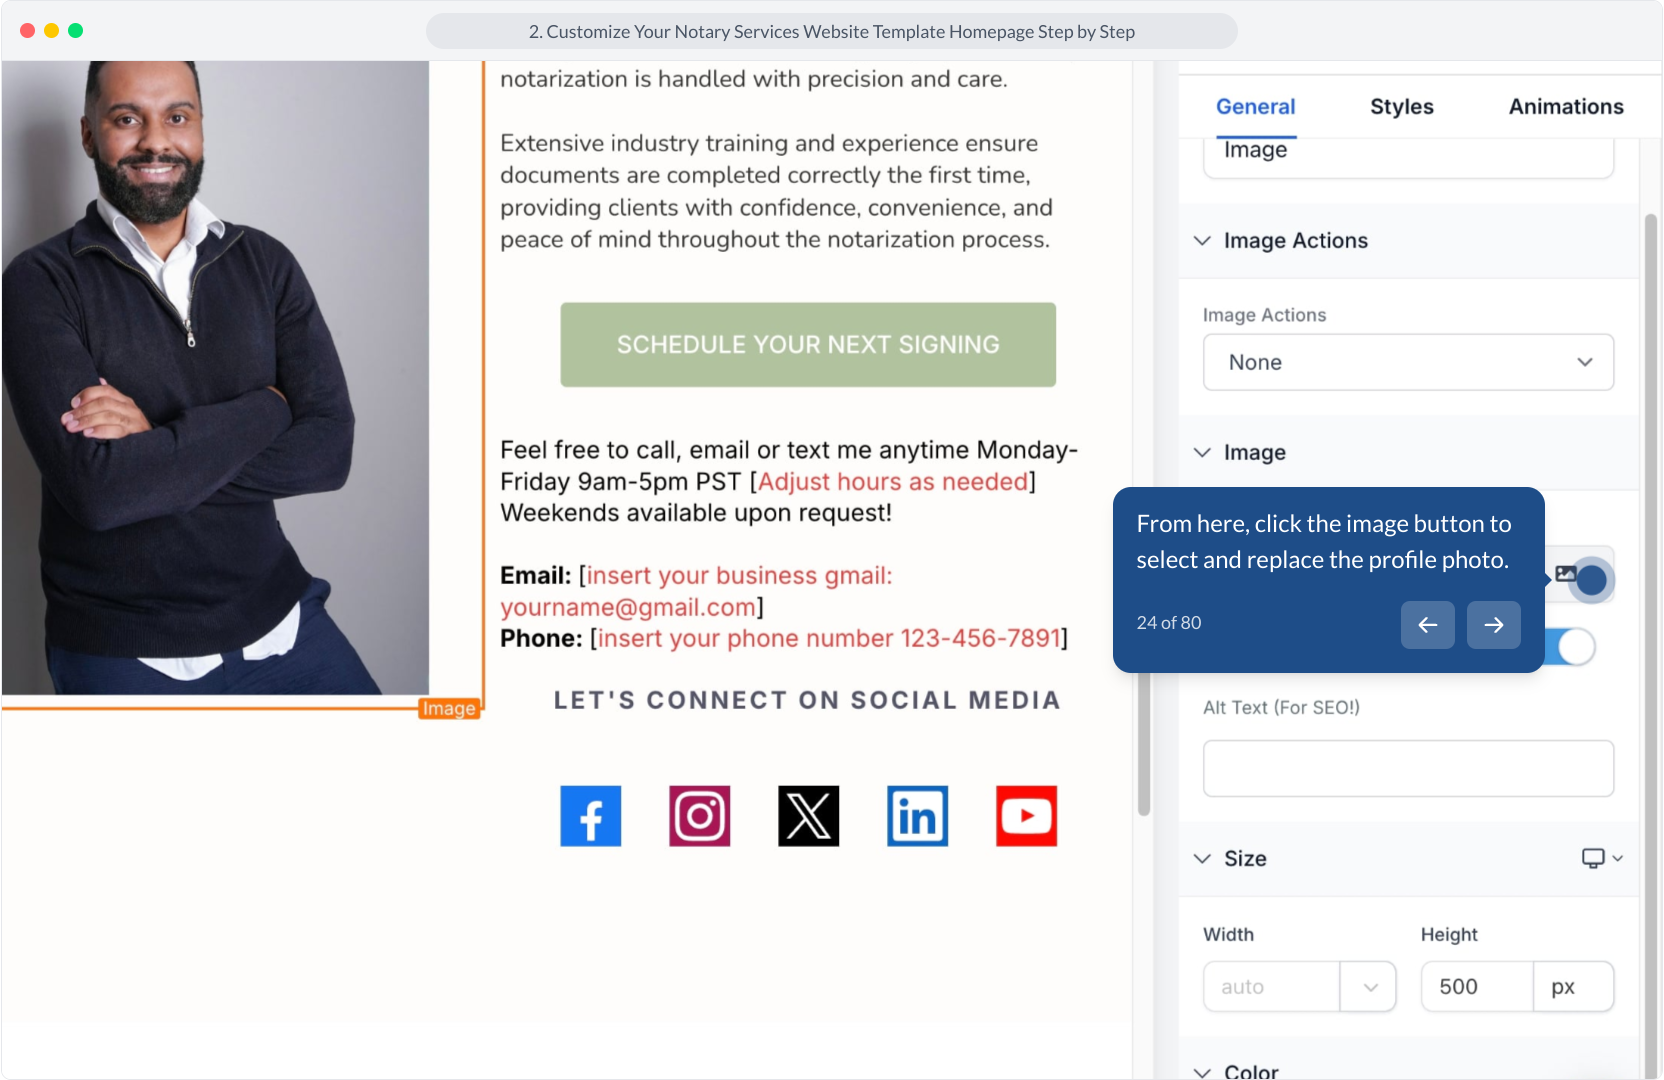
24. From here, click the image button to select and replace the profile photo.
25. After that, click on the photo file to select and edit it within your template.
26. Video Step
(Play Now)
27. You can save your site updates as a draft by clicking on the "SAVE" button on the top right hand corner of the site.
28. Video Step
(Play Now)
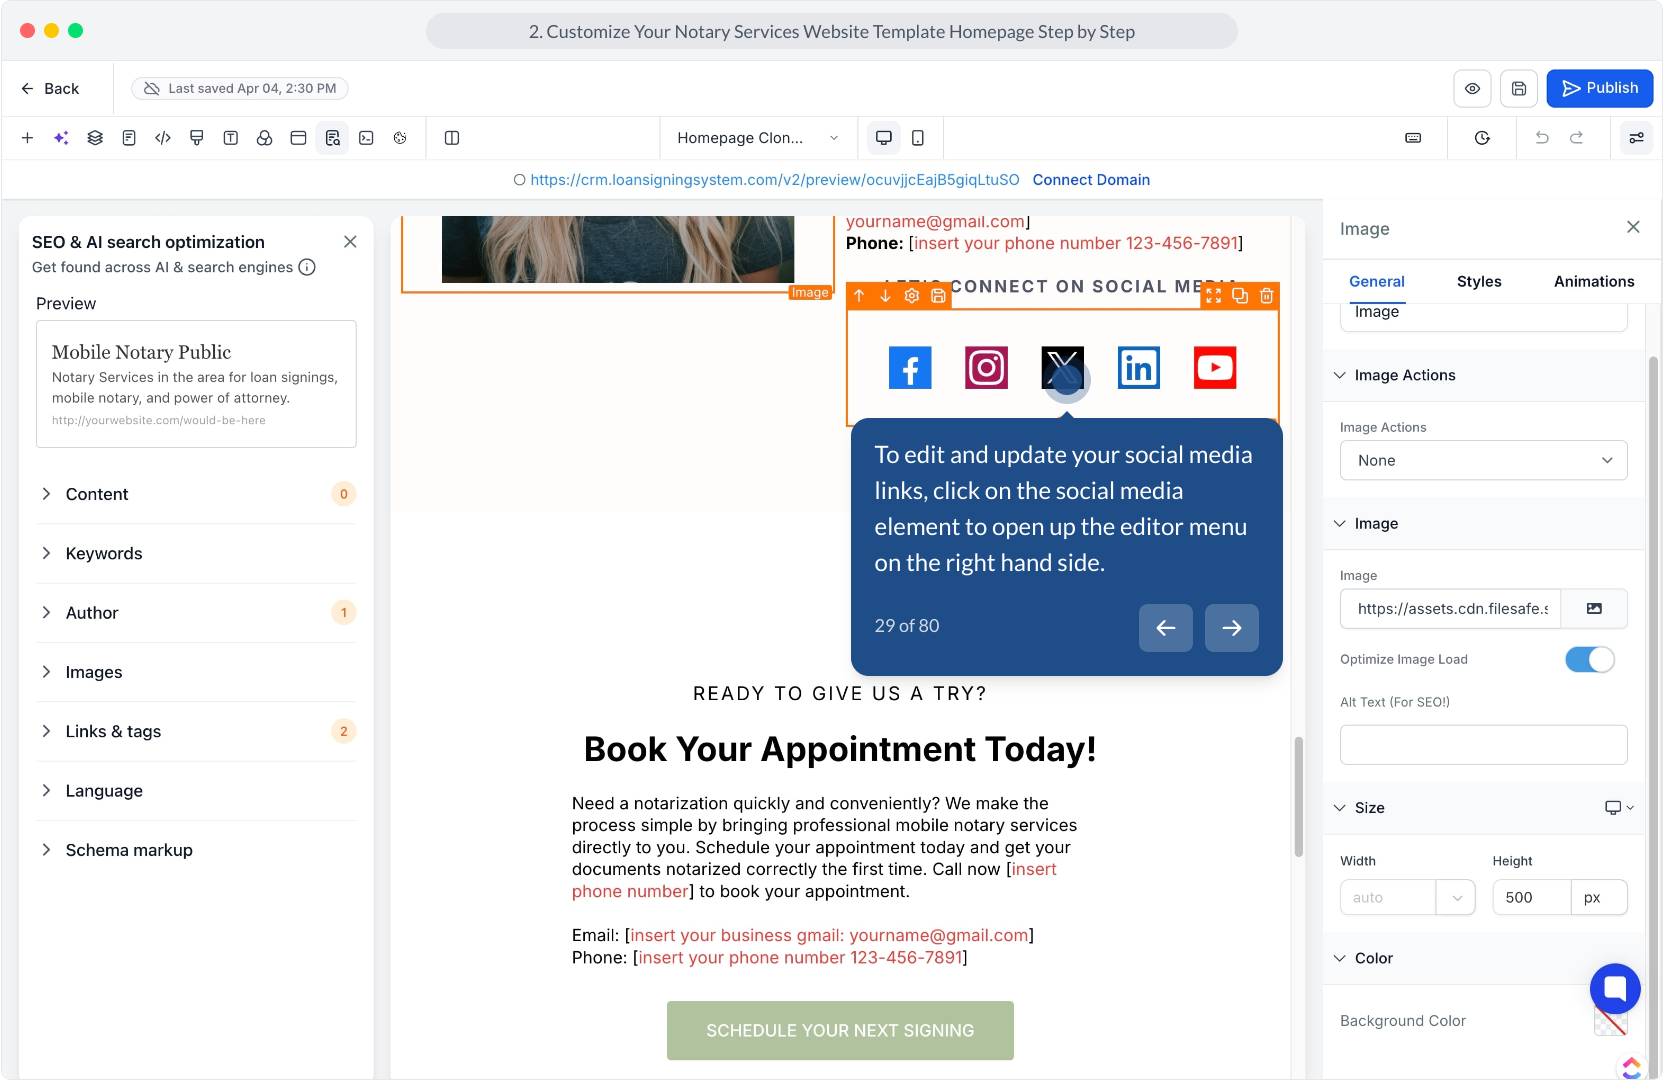
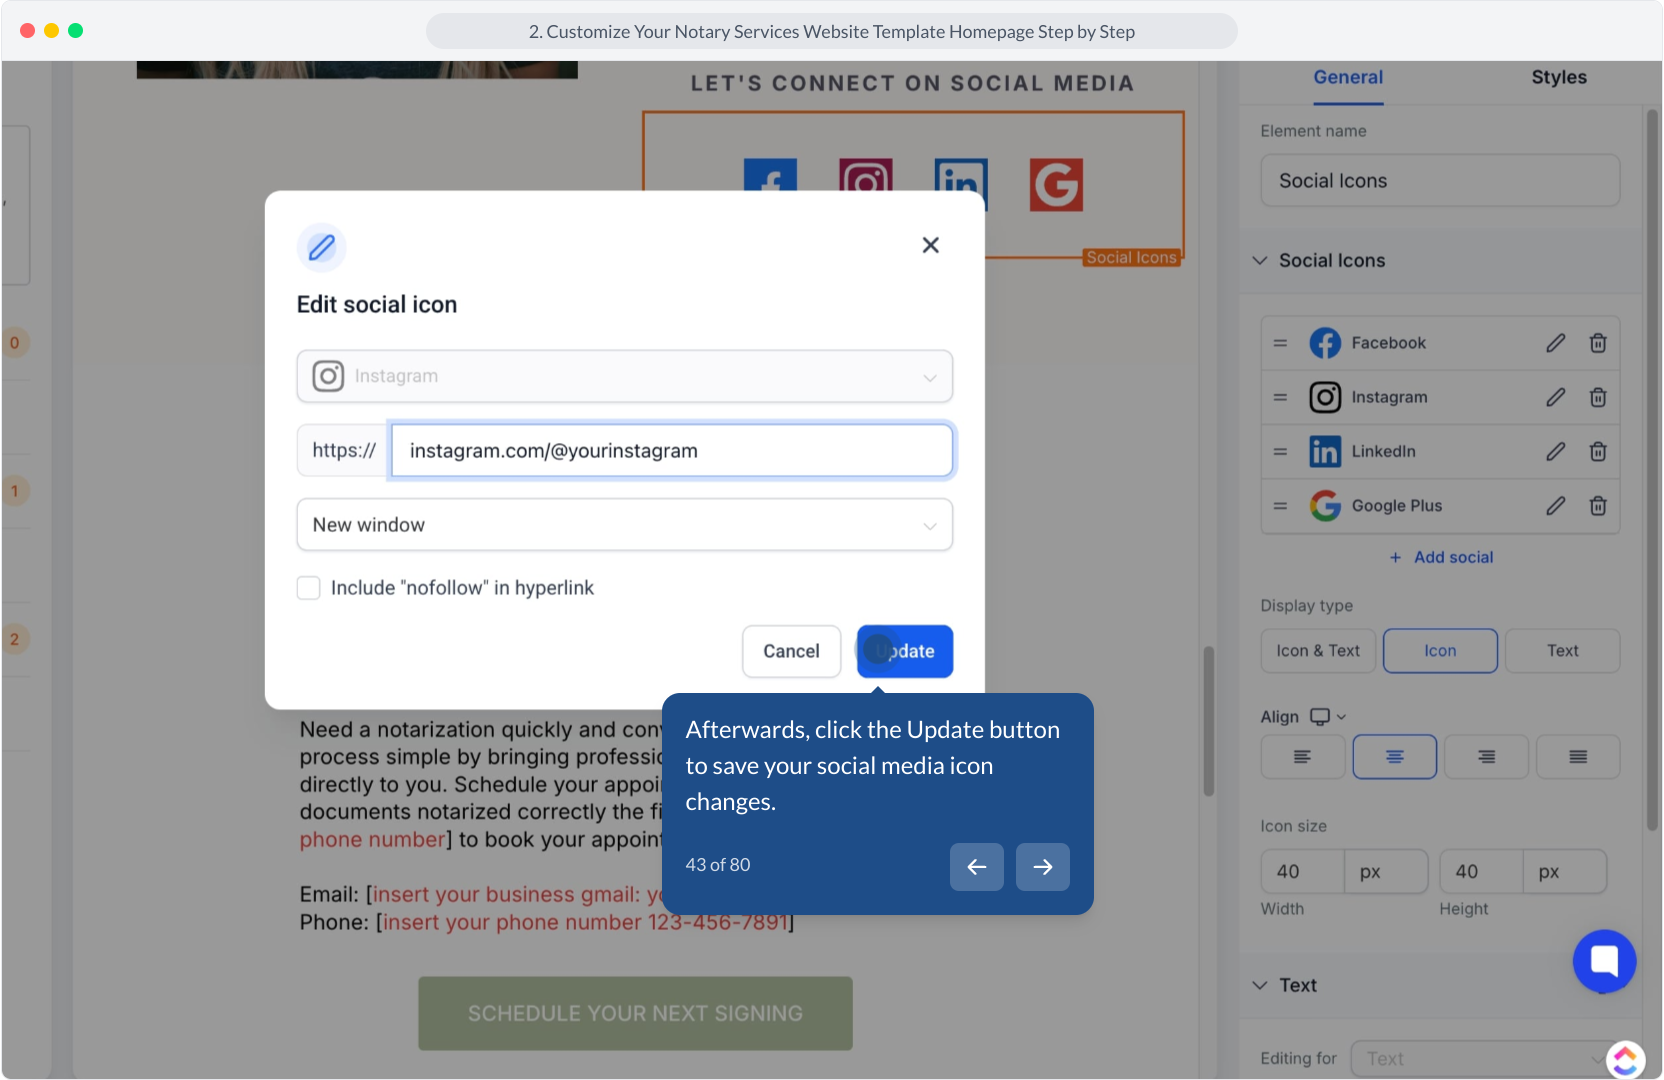
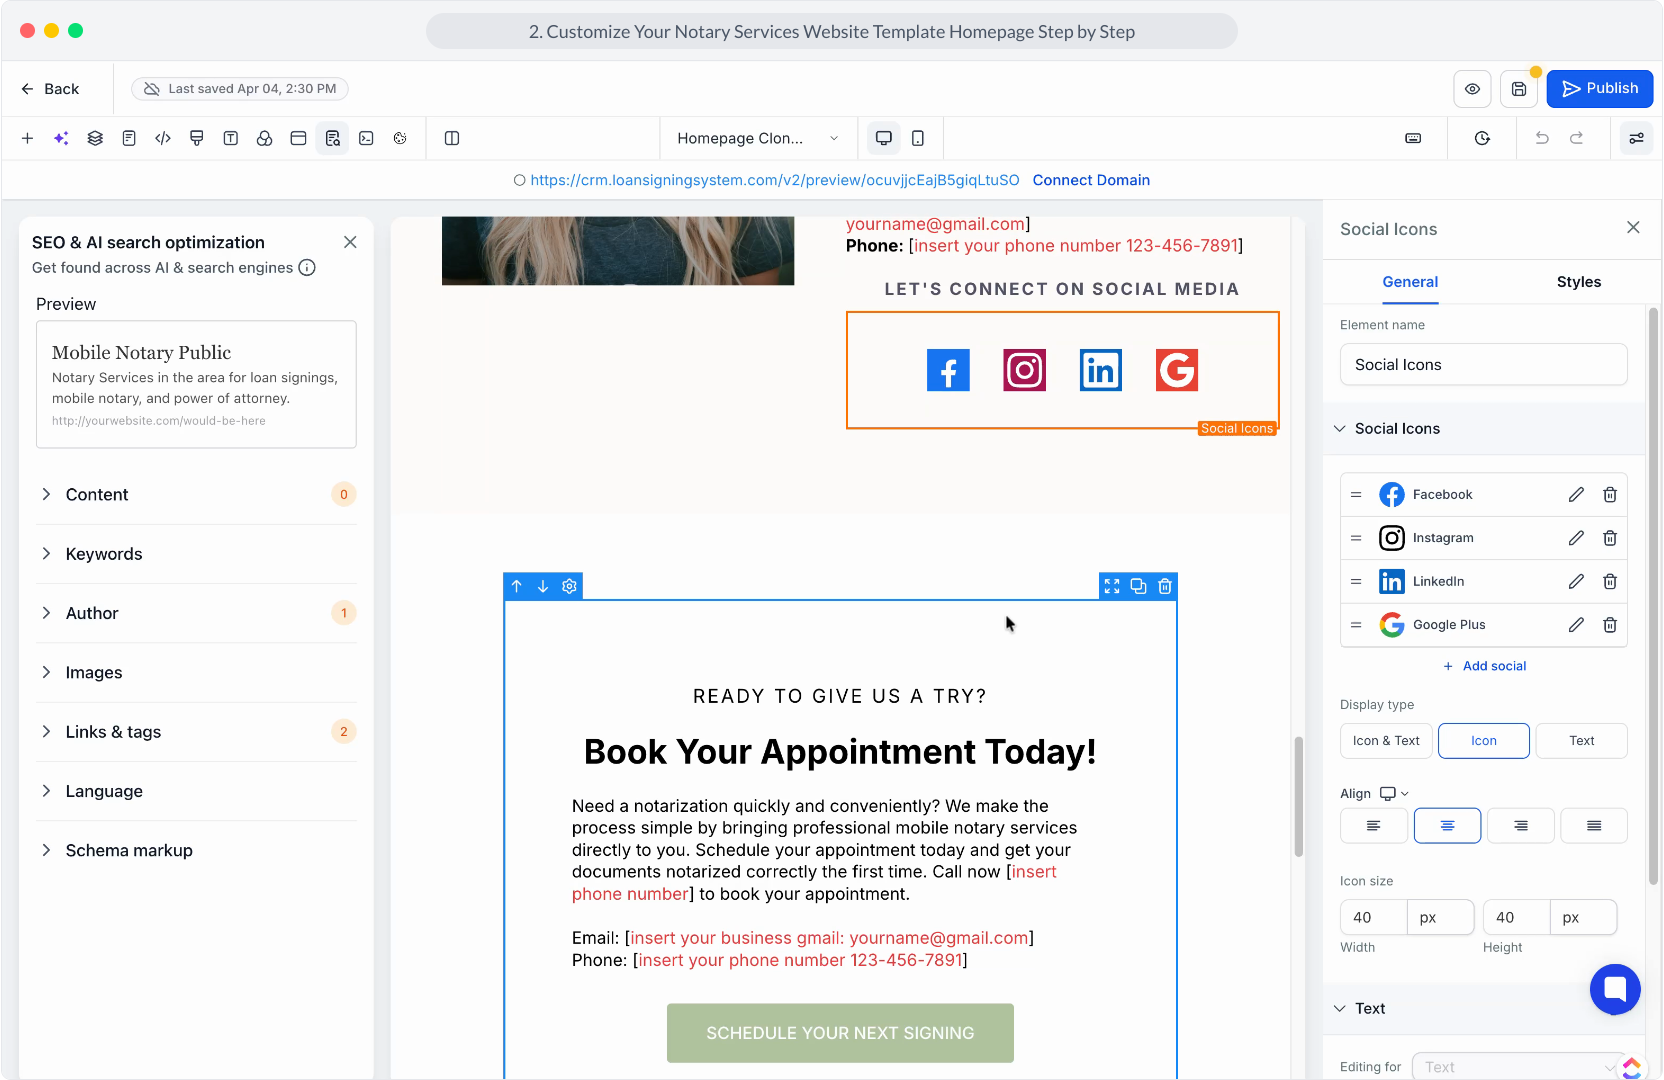
29. To edit and update your social media links, click on the social media element to open up the editor menu on the right hand side.
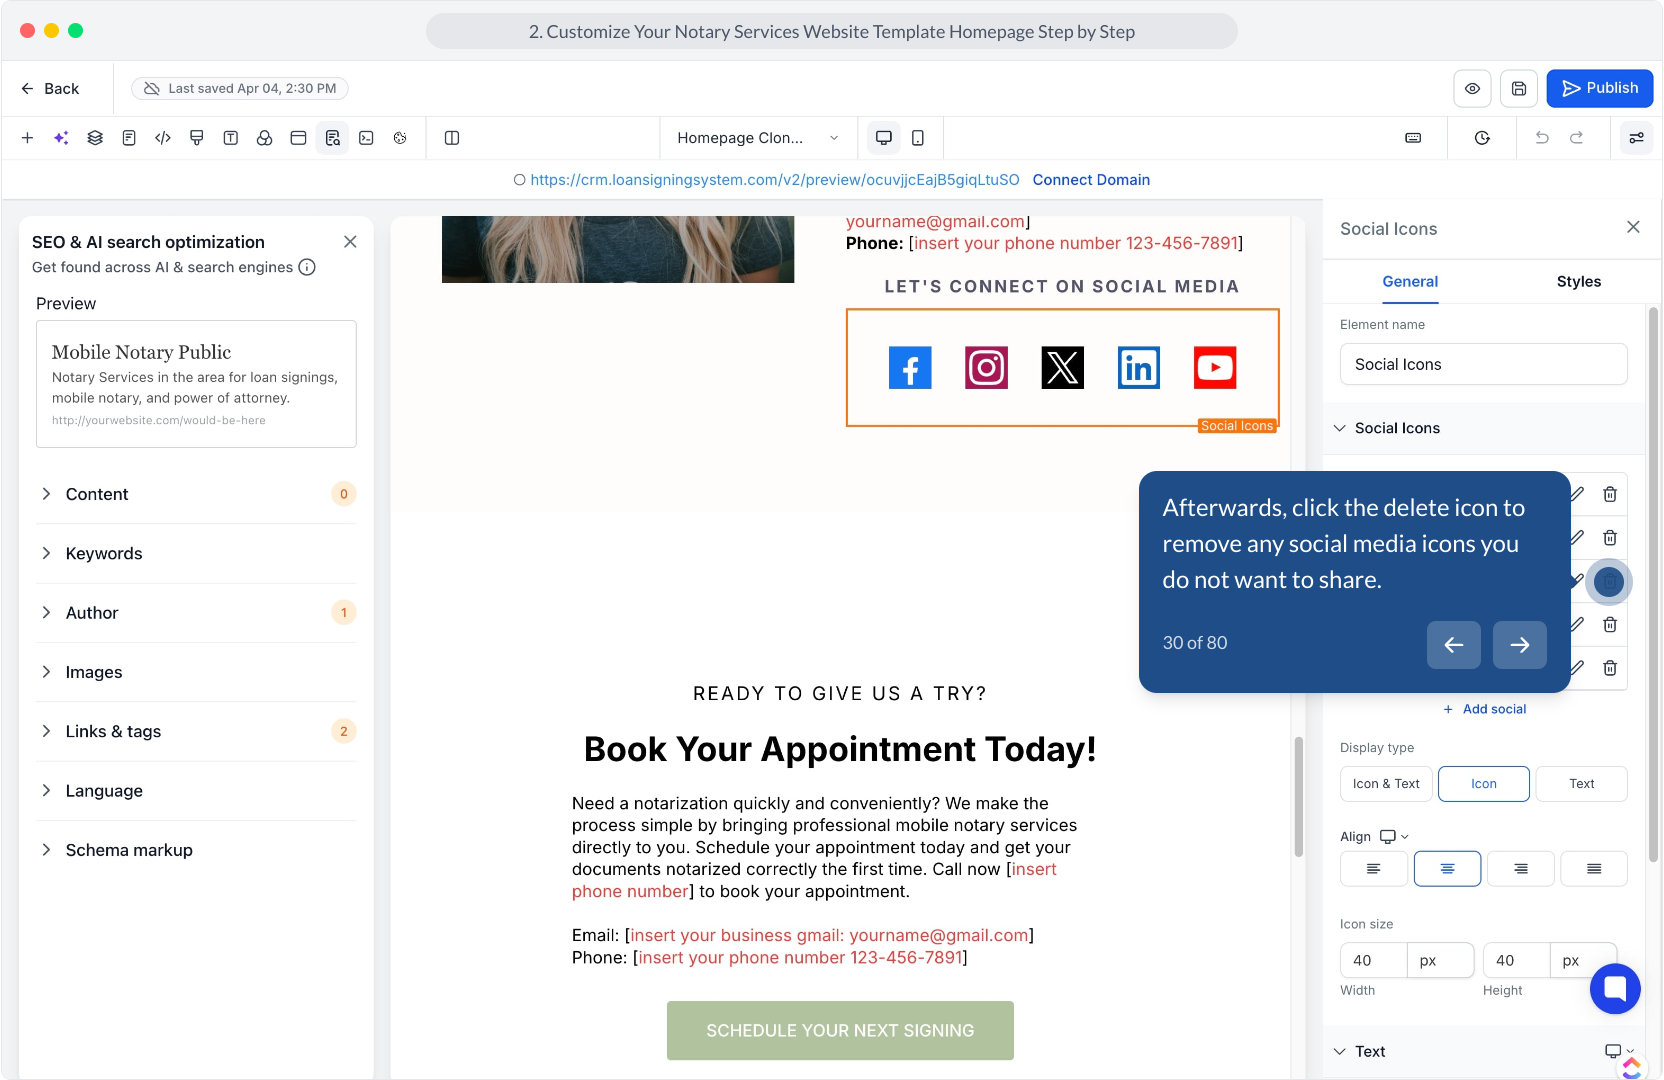
30. Afterwards, click the delete icon to remove any social media icons you do not want to share.
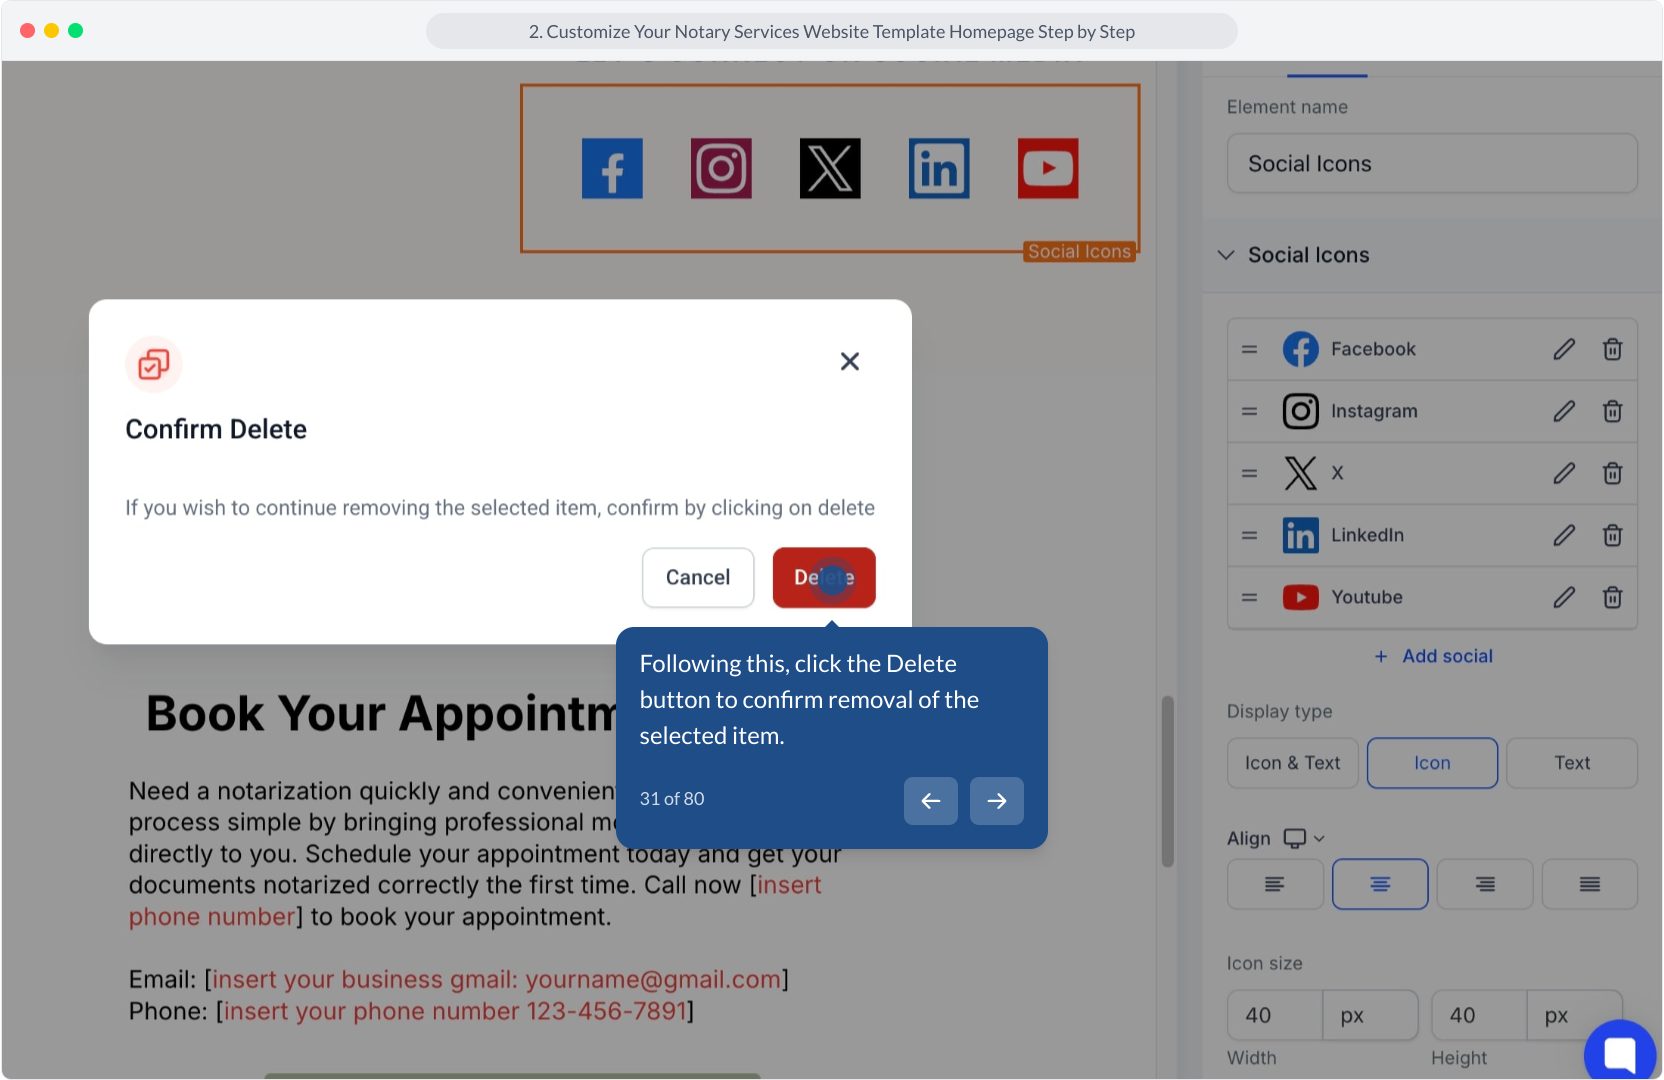
31. Following this, click the Delete button to confirm removal of the selected item.
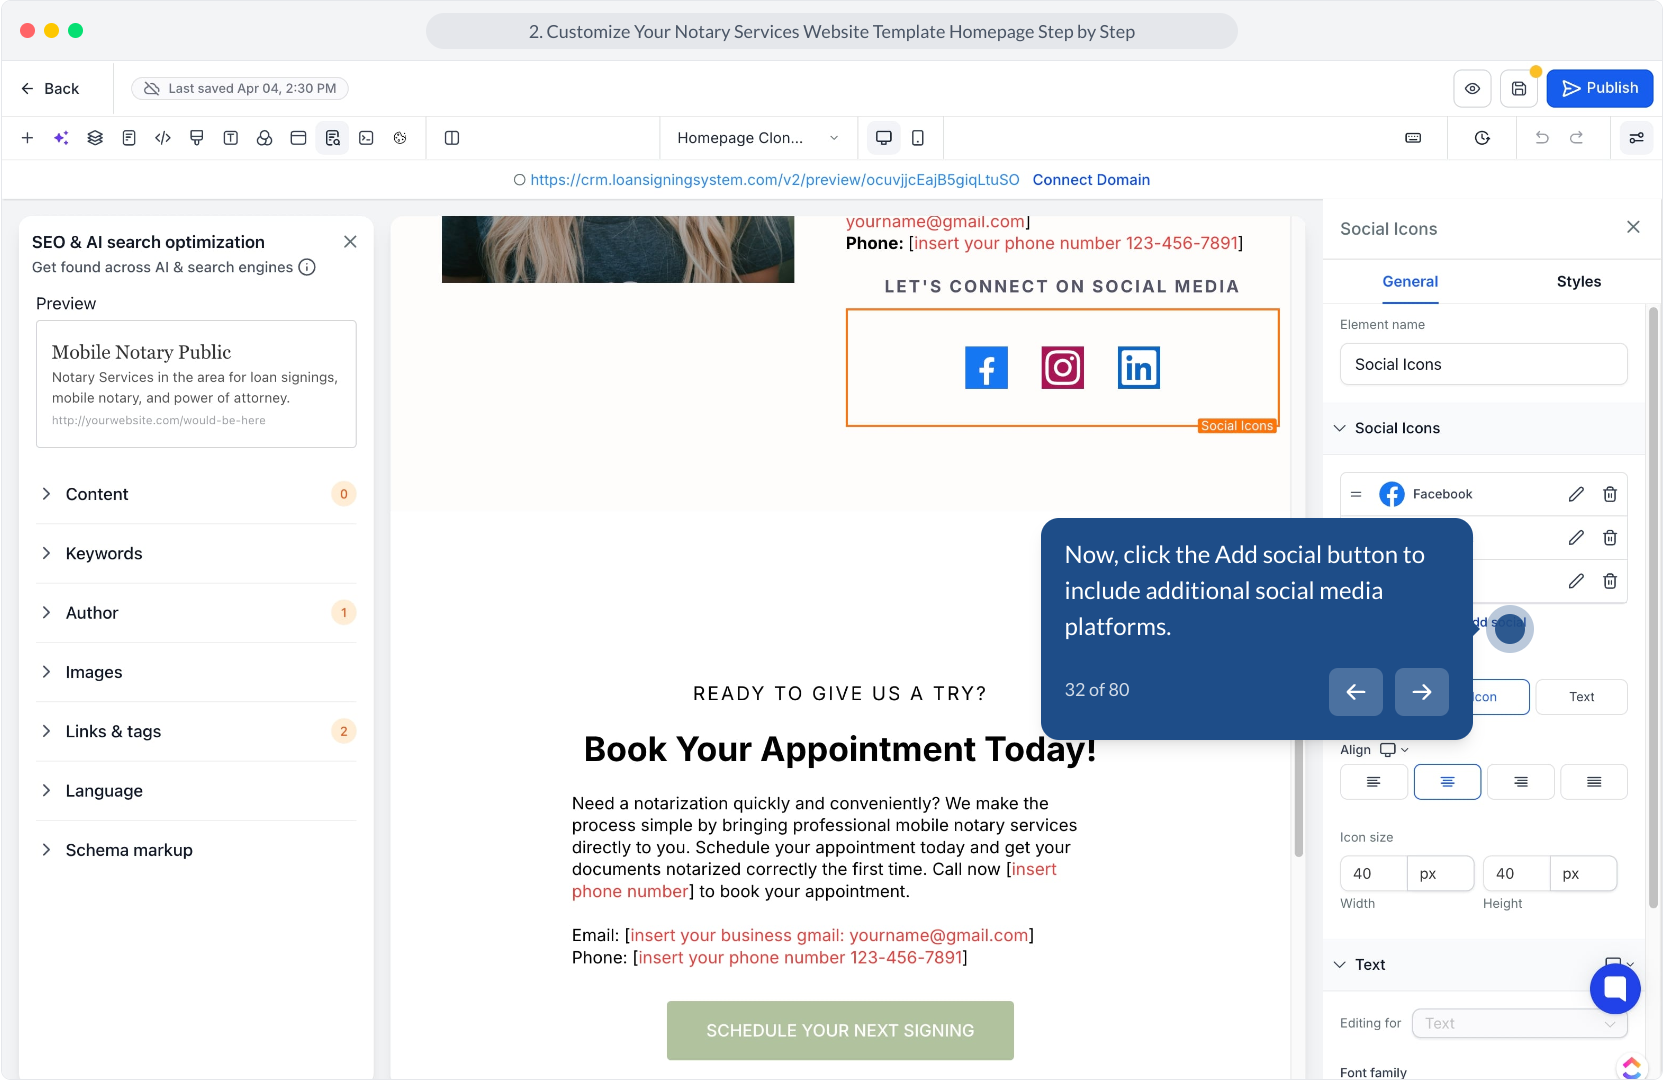
32. Now, click the Add social button to include additional social media platforms.
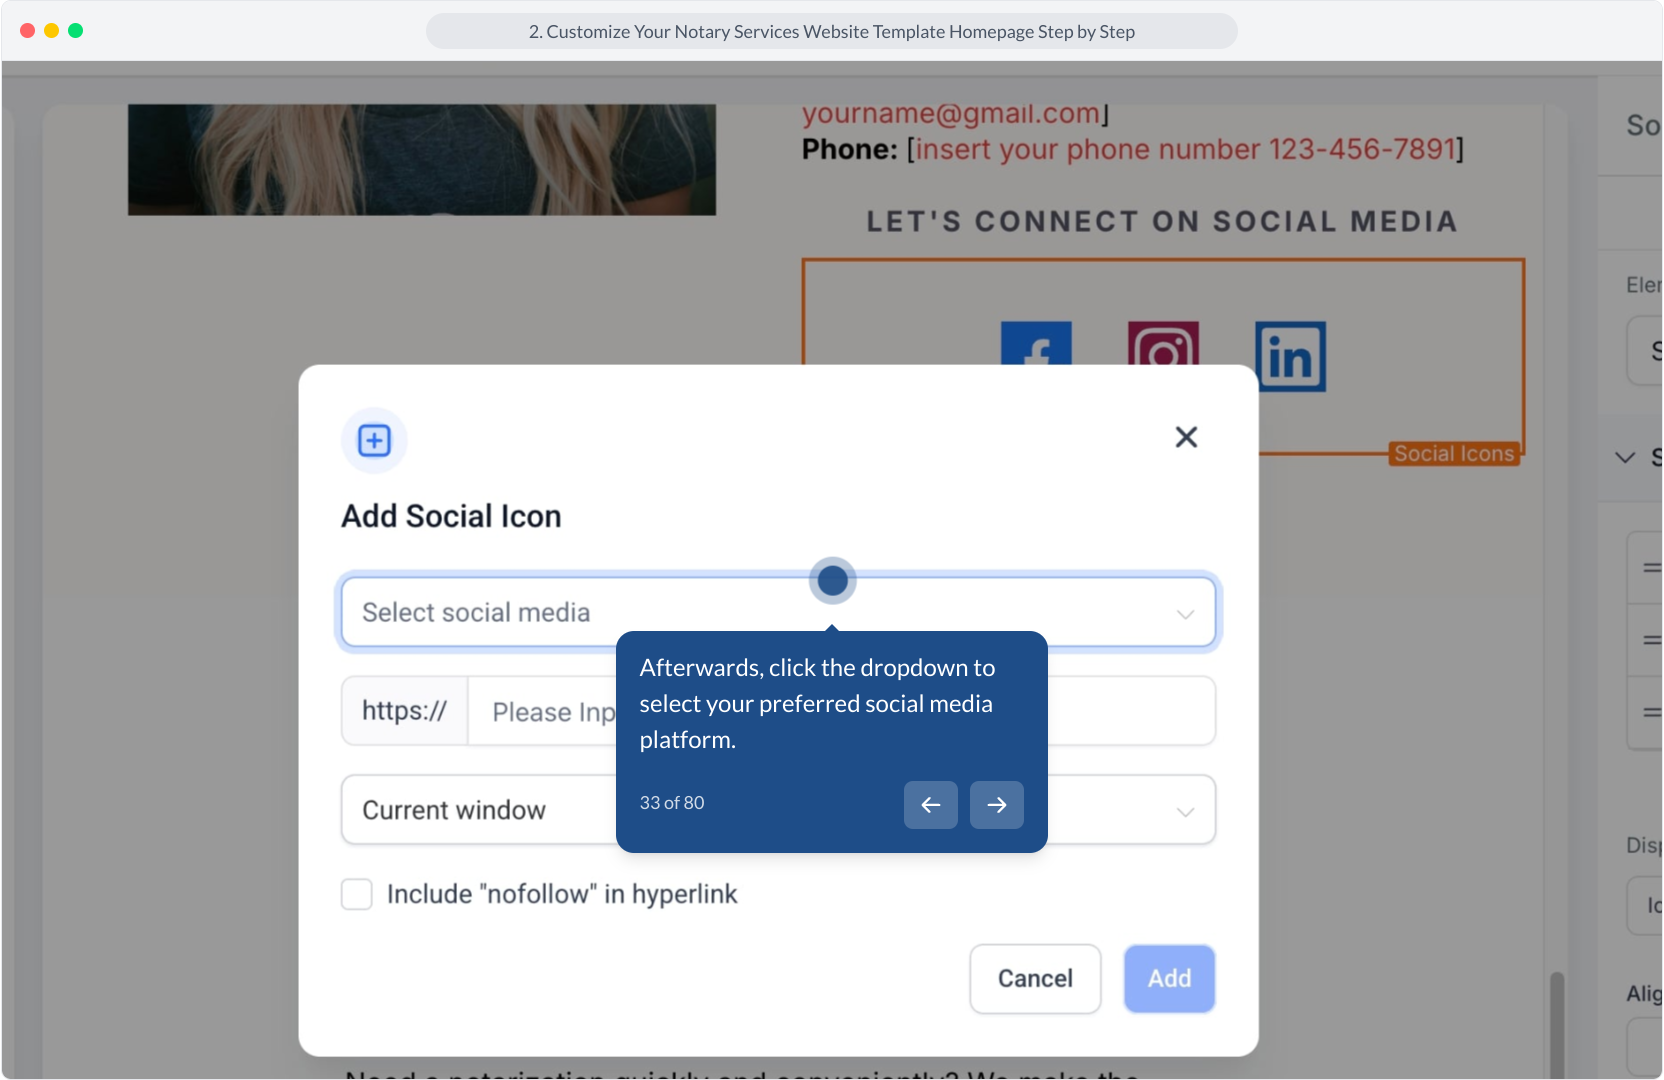
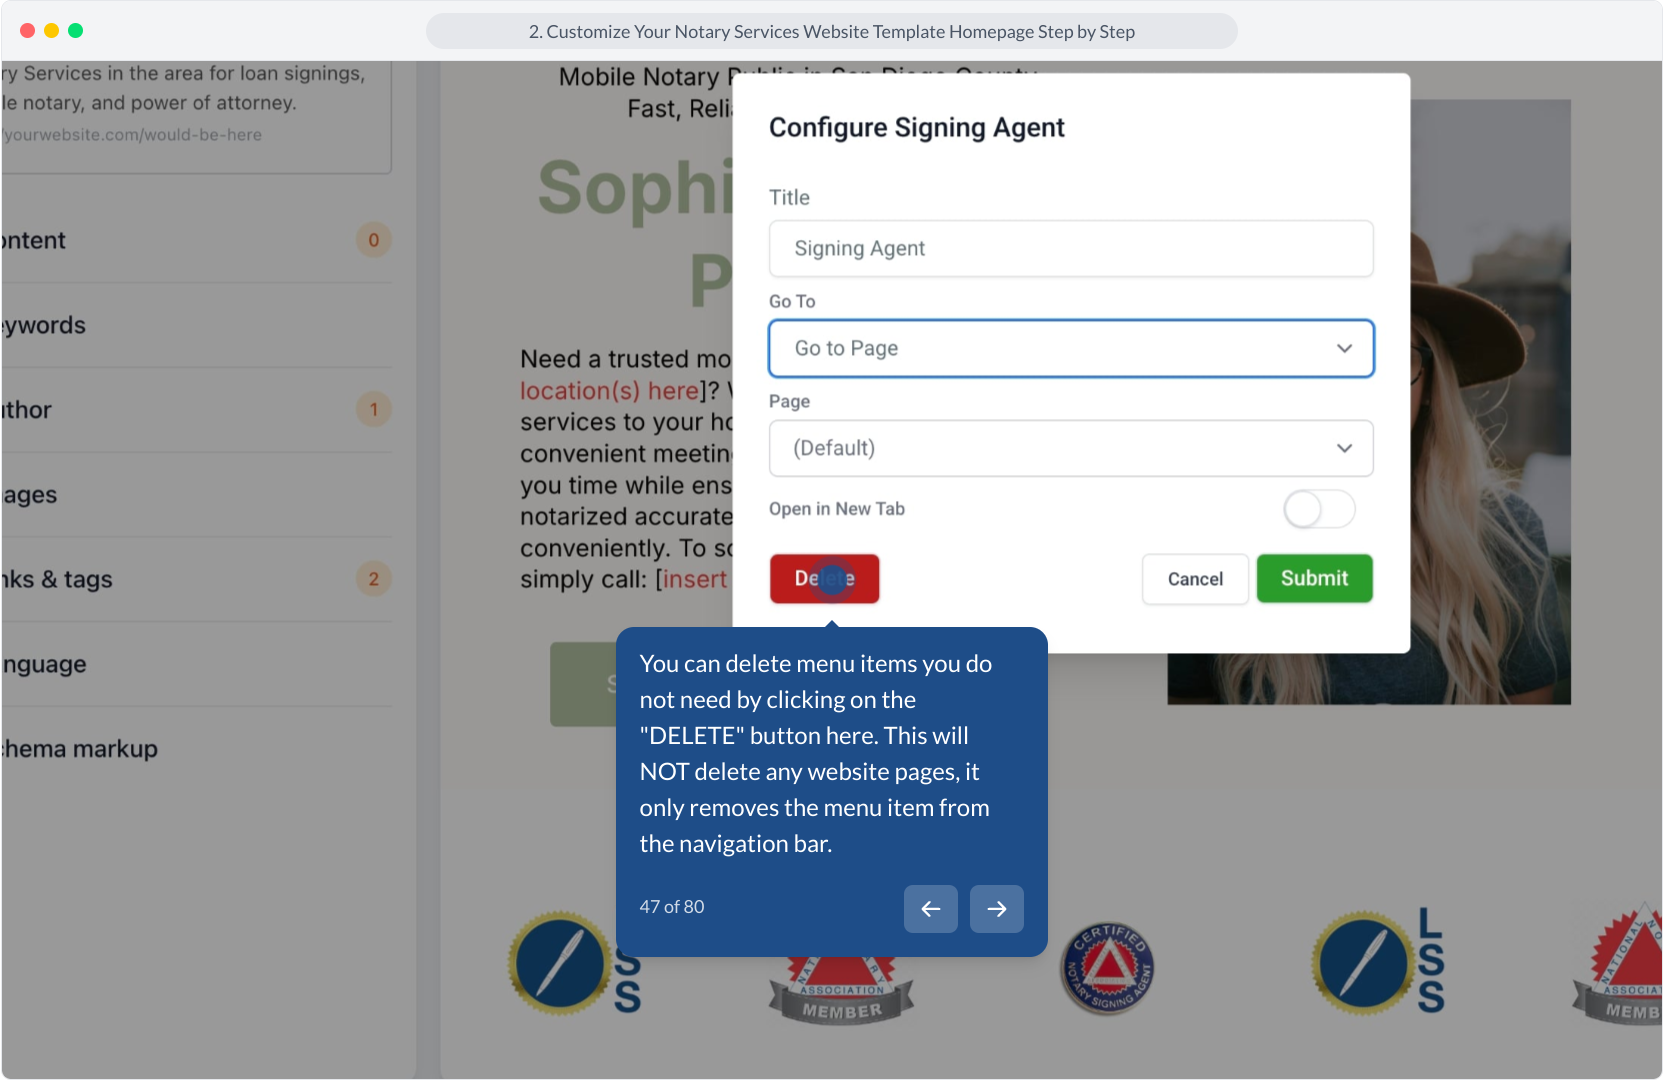
33. Afterwards, click the dropdown to select your preferred social media platform.
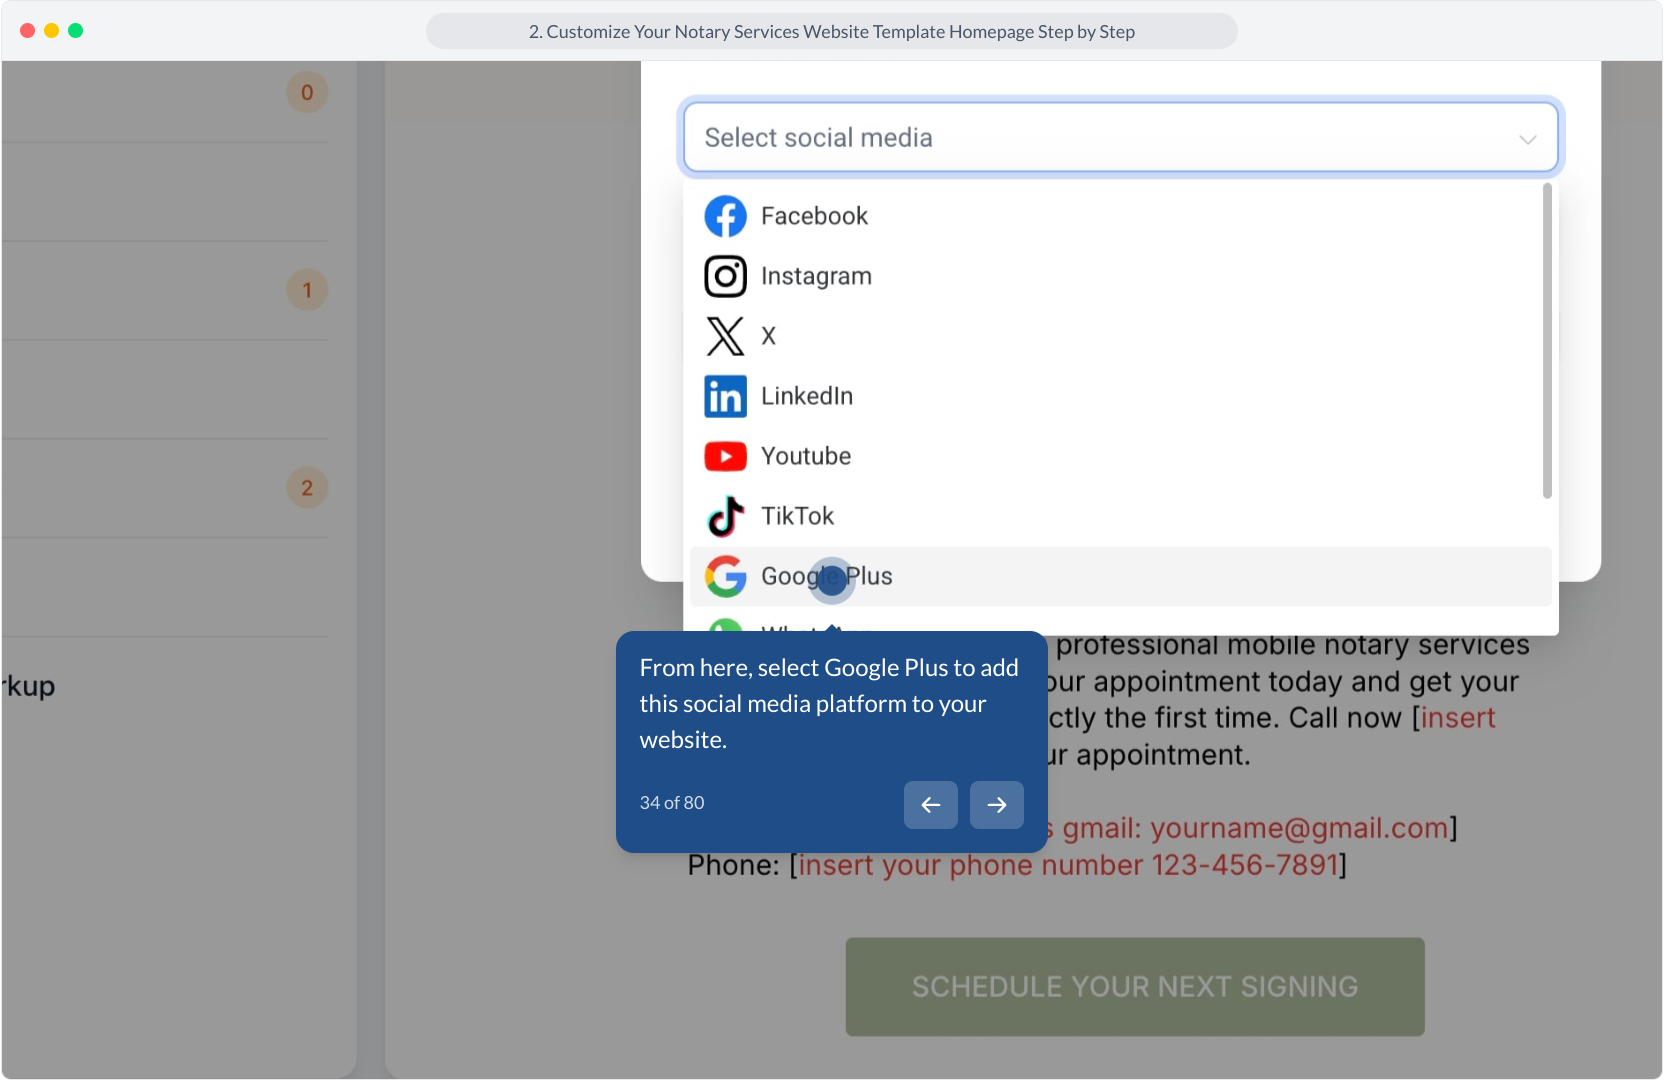
34. From here, select Google Plus to add this social media platform to your website.
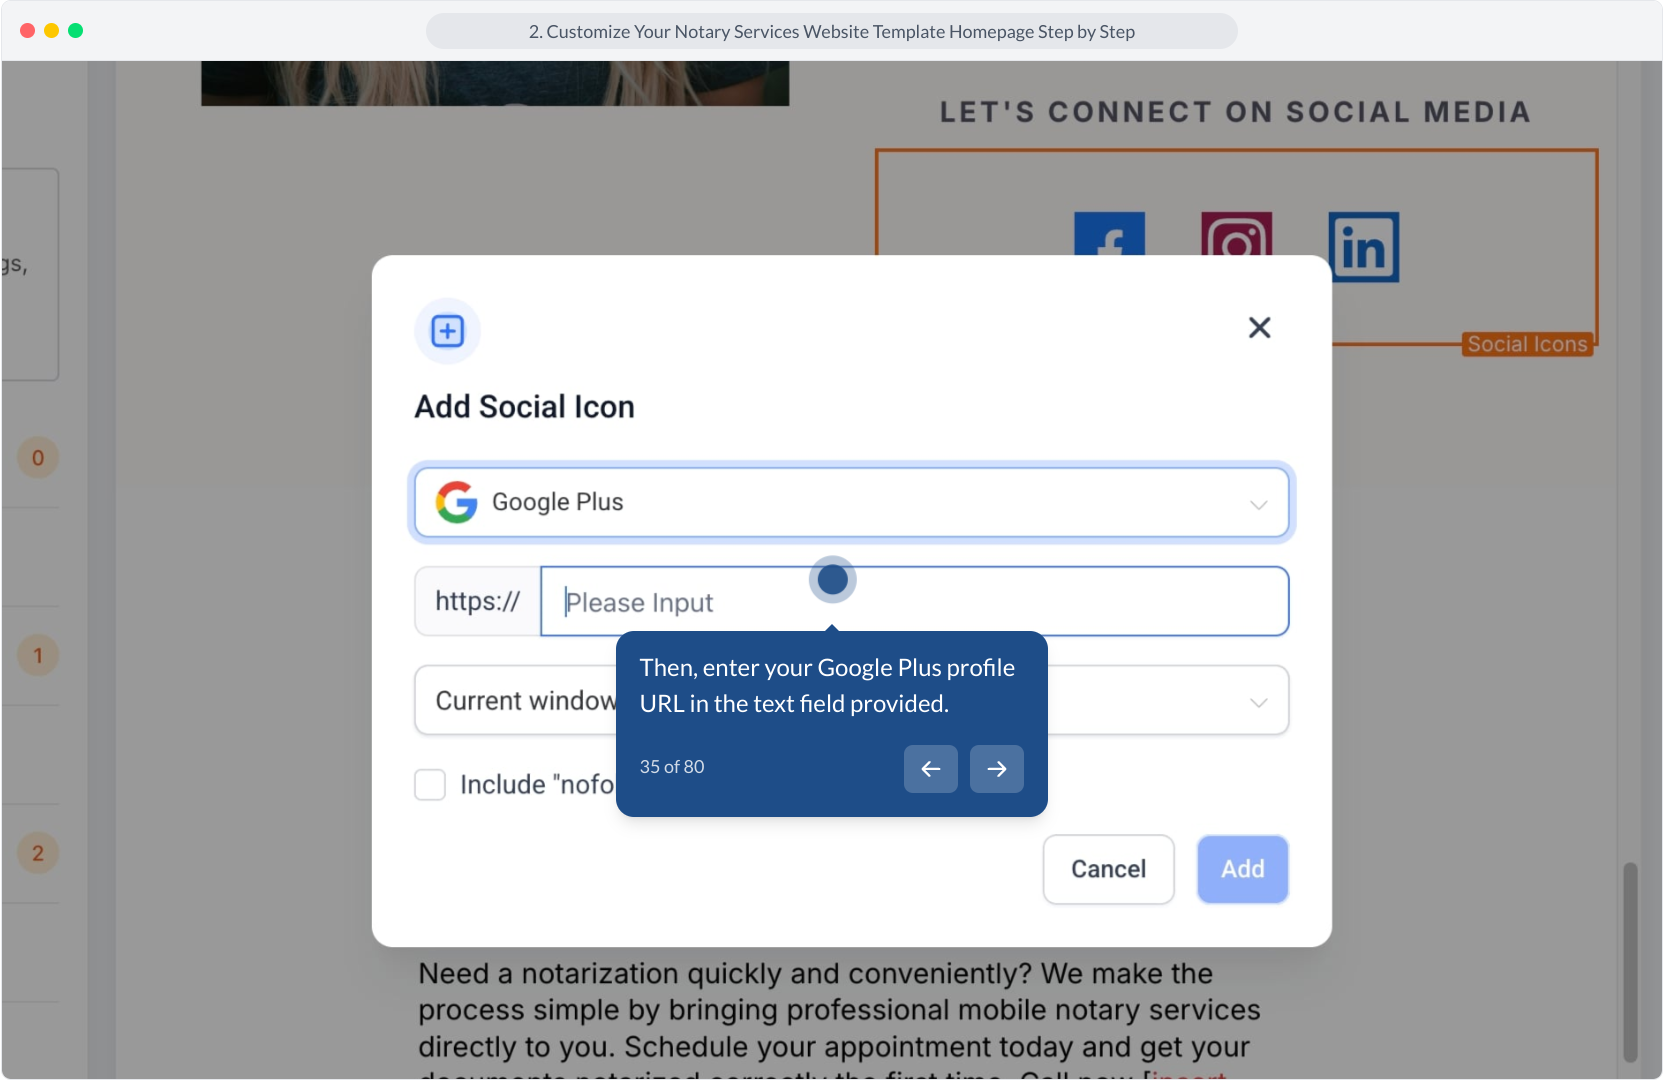
35. Then, enter your Google Plus profile URL in the text field provided.
36. Video Step
(Play Now)
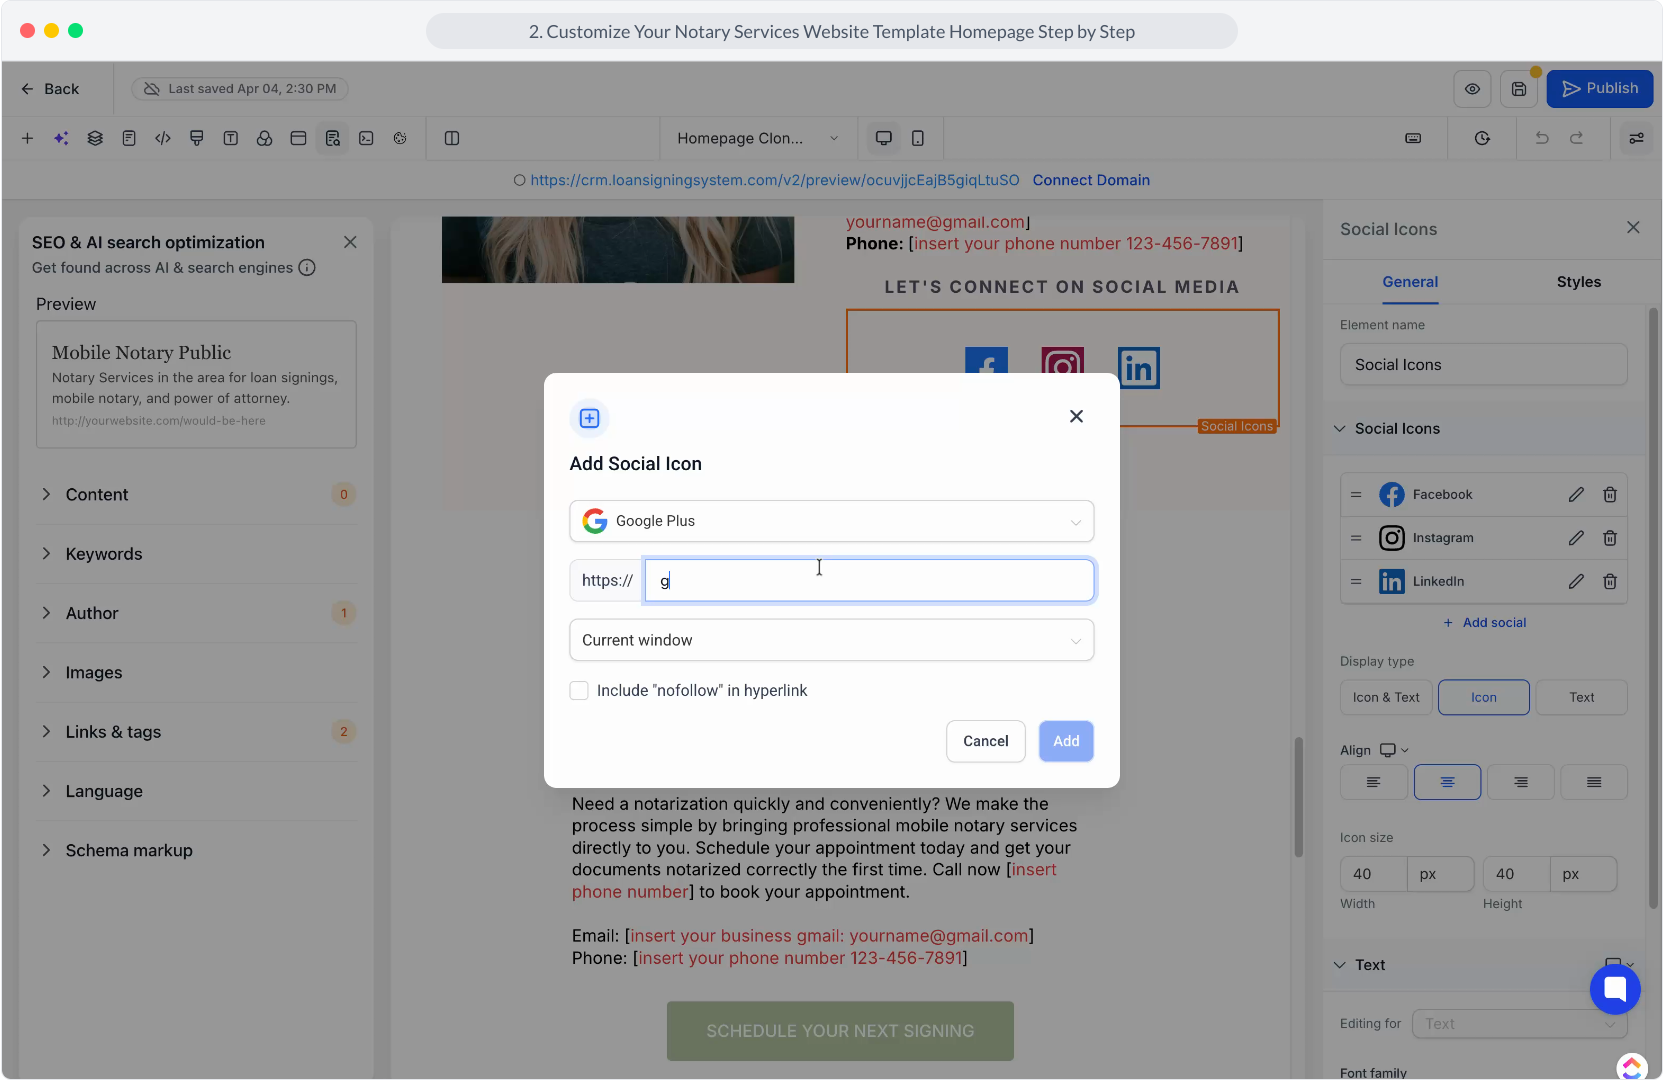
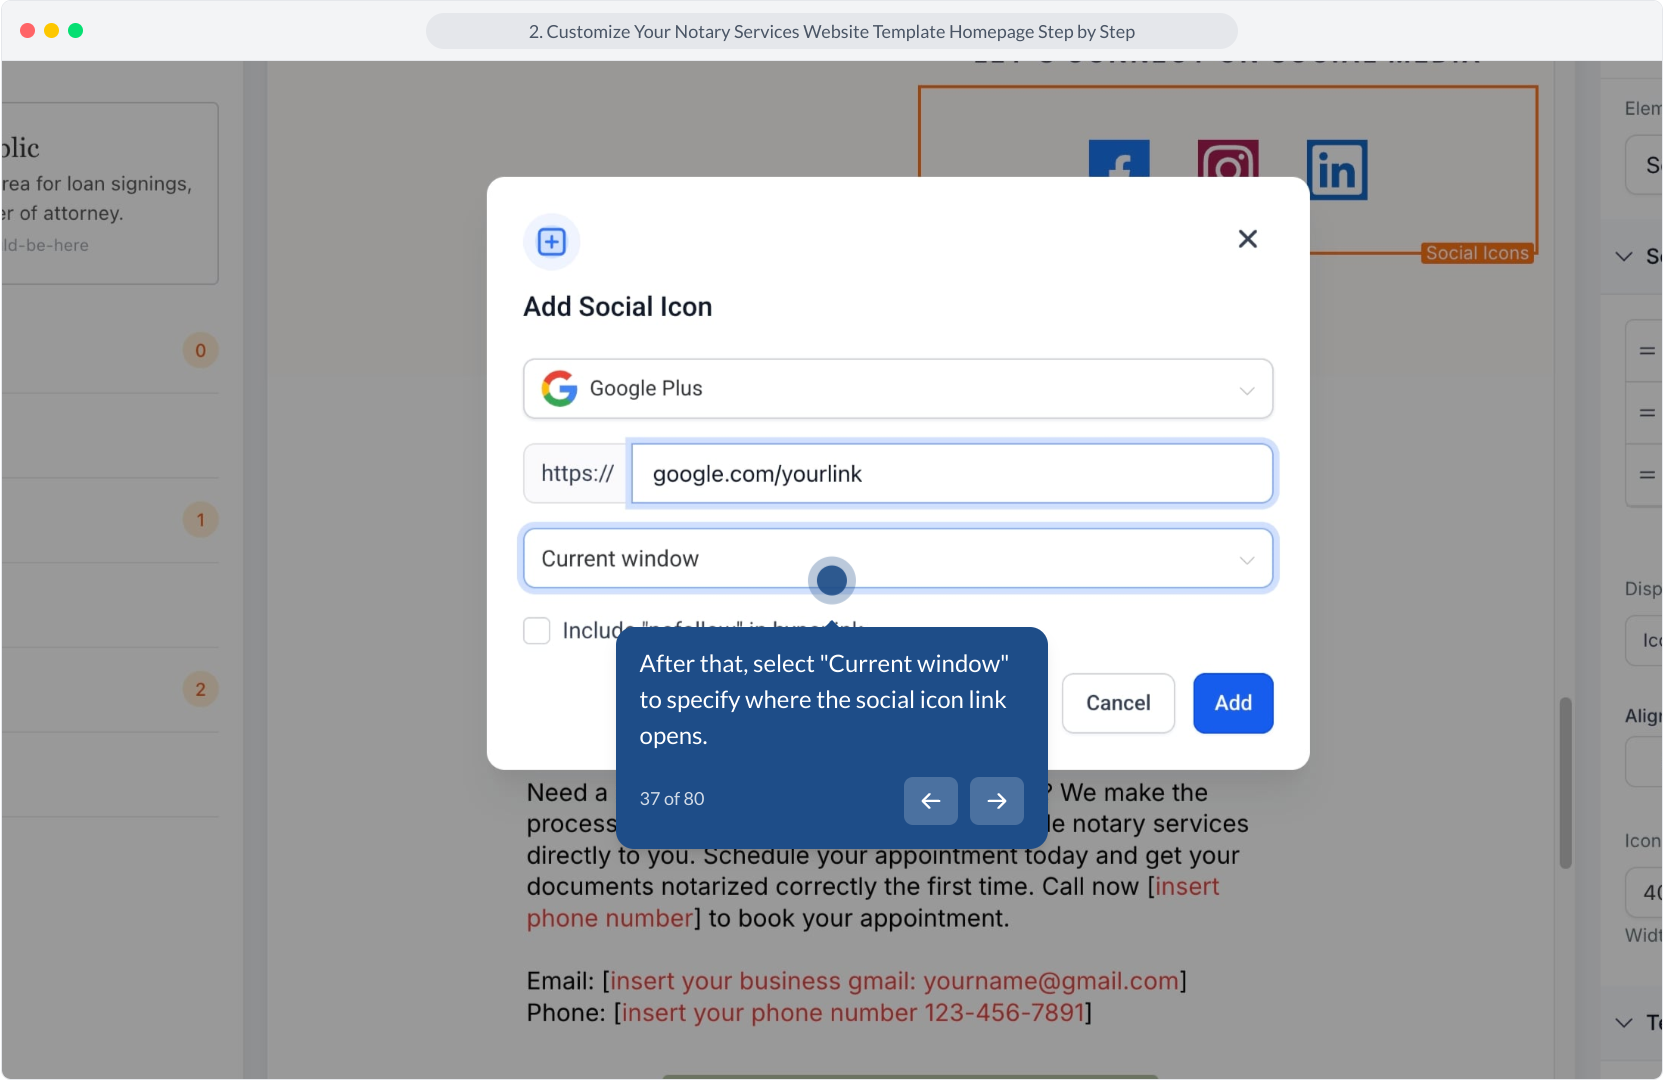
37. After that, select "Current window" to specify where the social icon link opens.
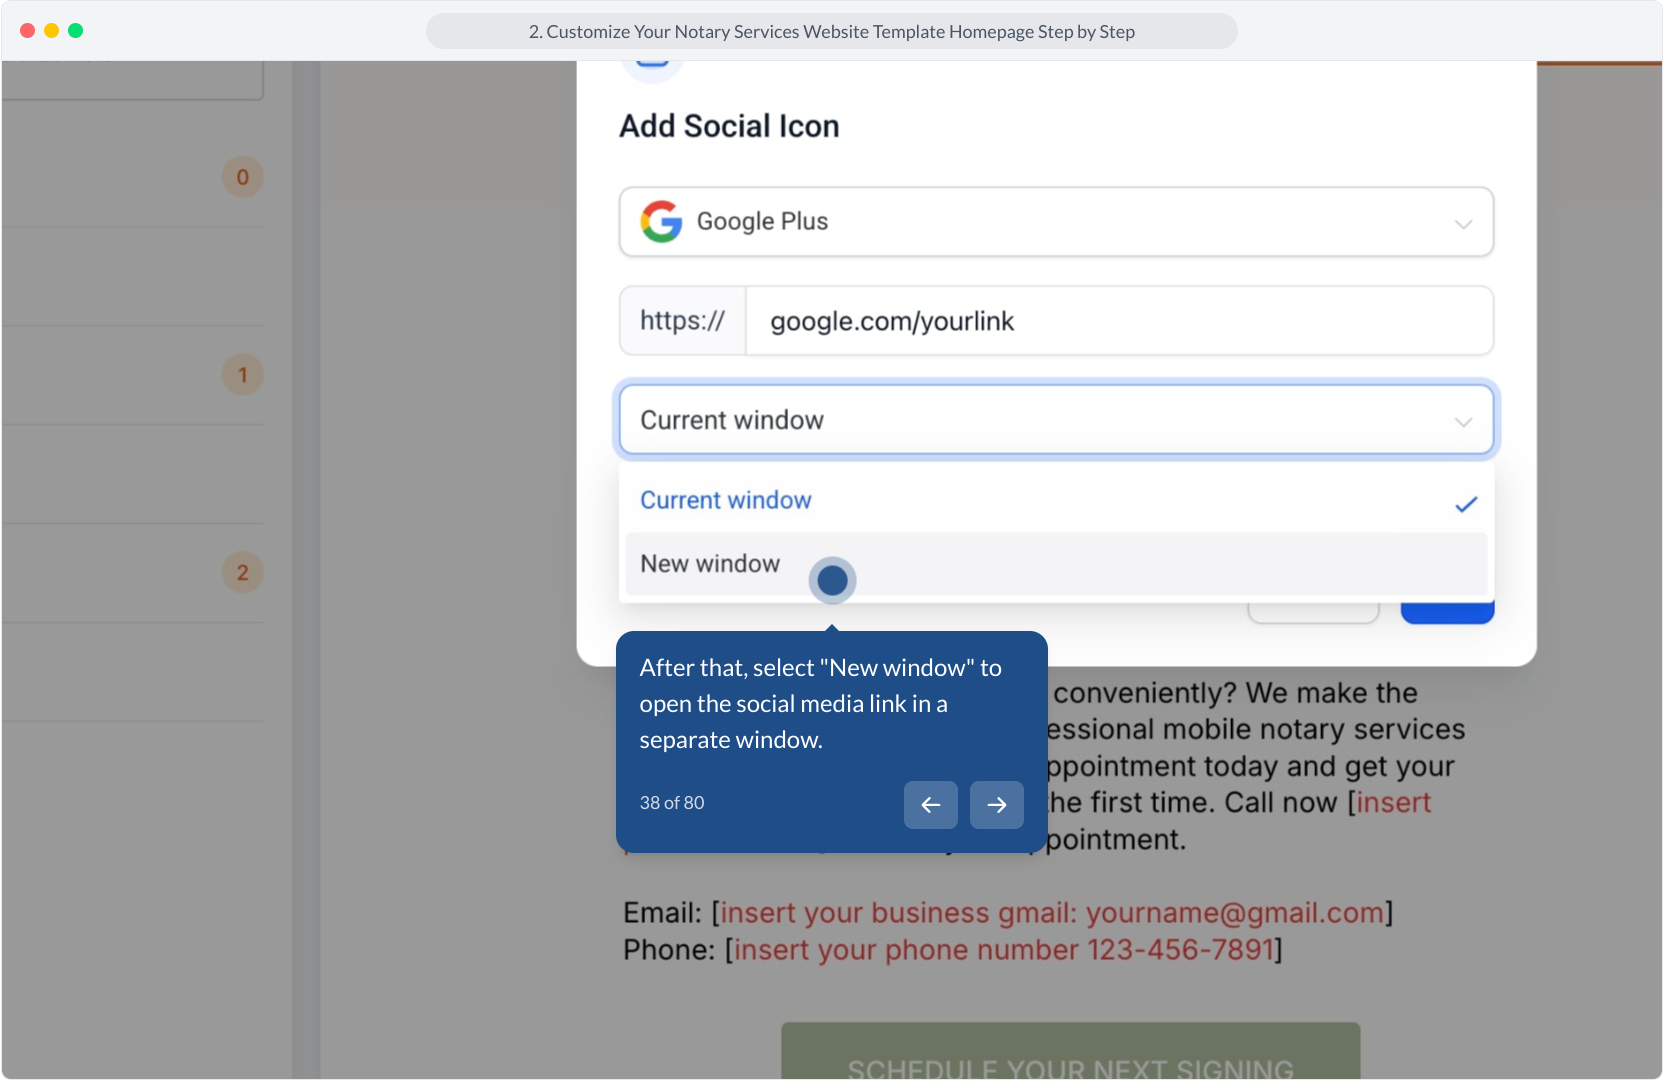
38. After that, select "New window" to open the social media link in a separate window.
39. Following that, click the Add button to confirm adding the Google Plus social icon.

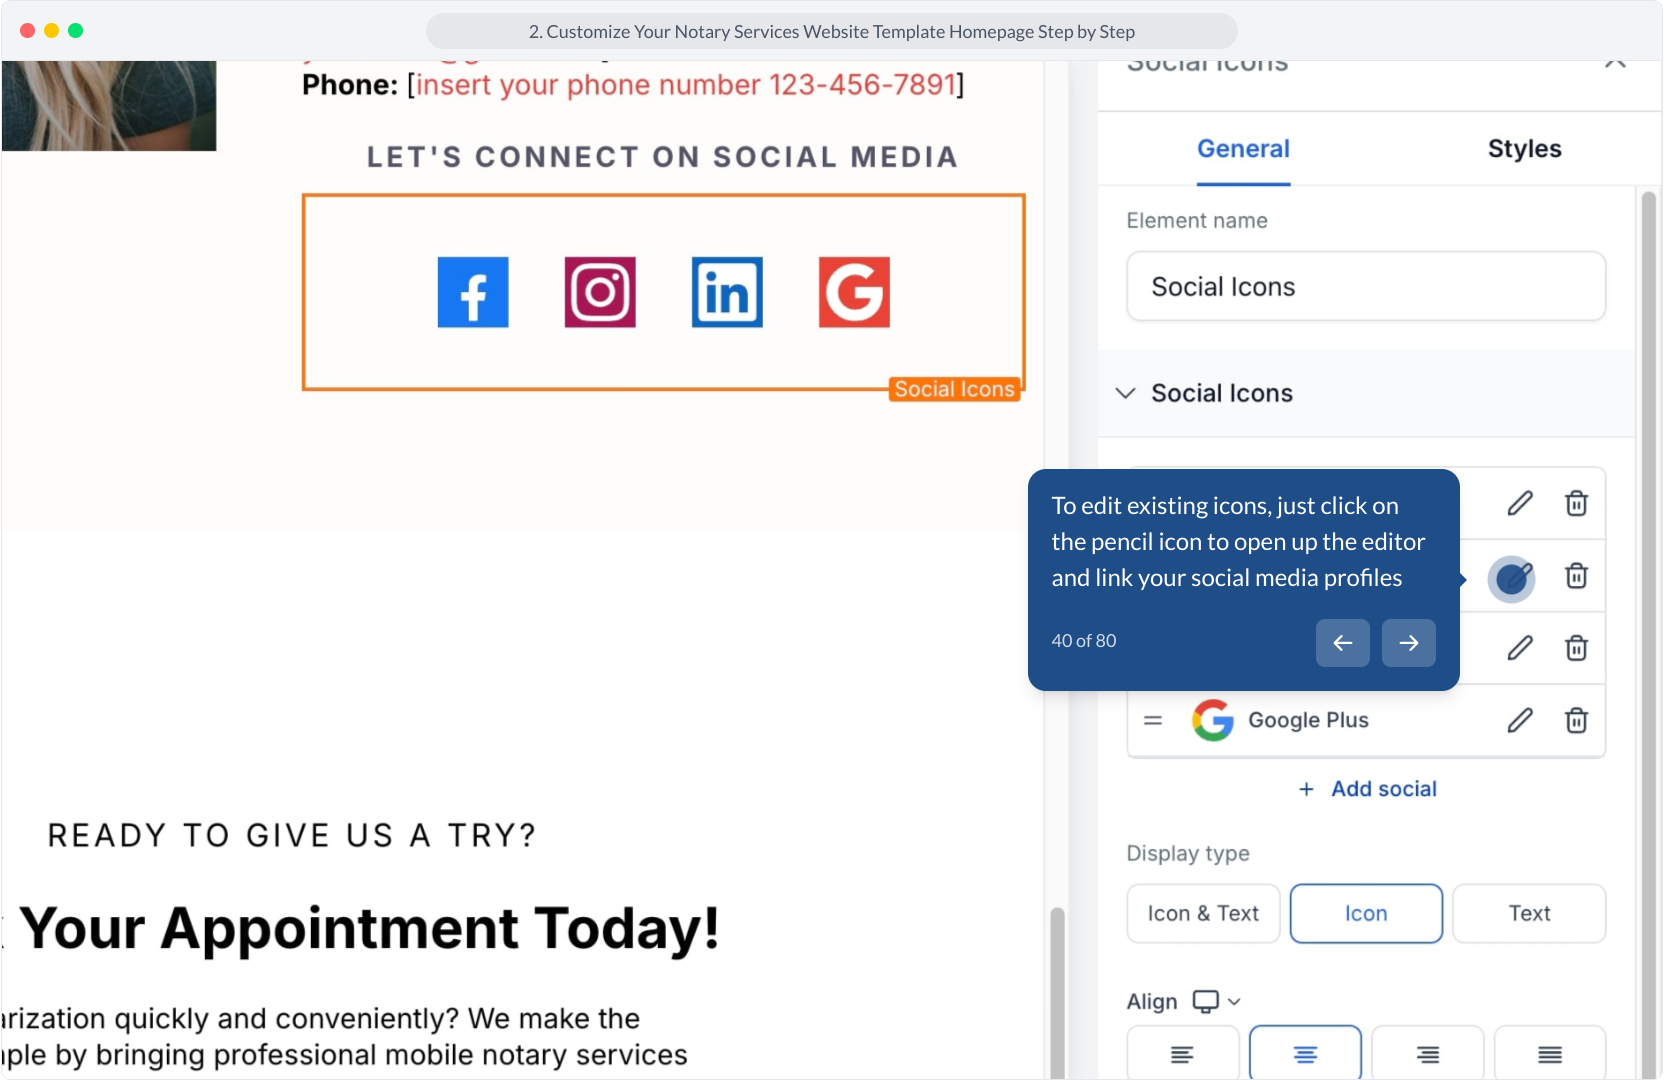
40. To edit existing icons, just click on the pencil icon to open up the editor and link your social media profiles
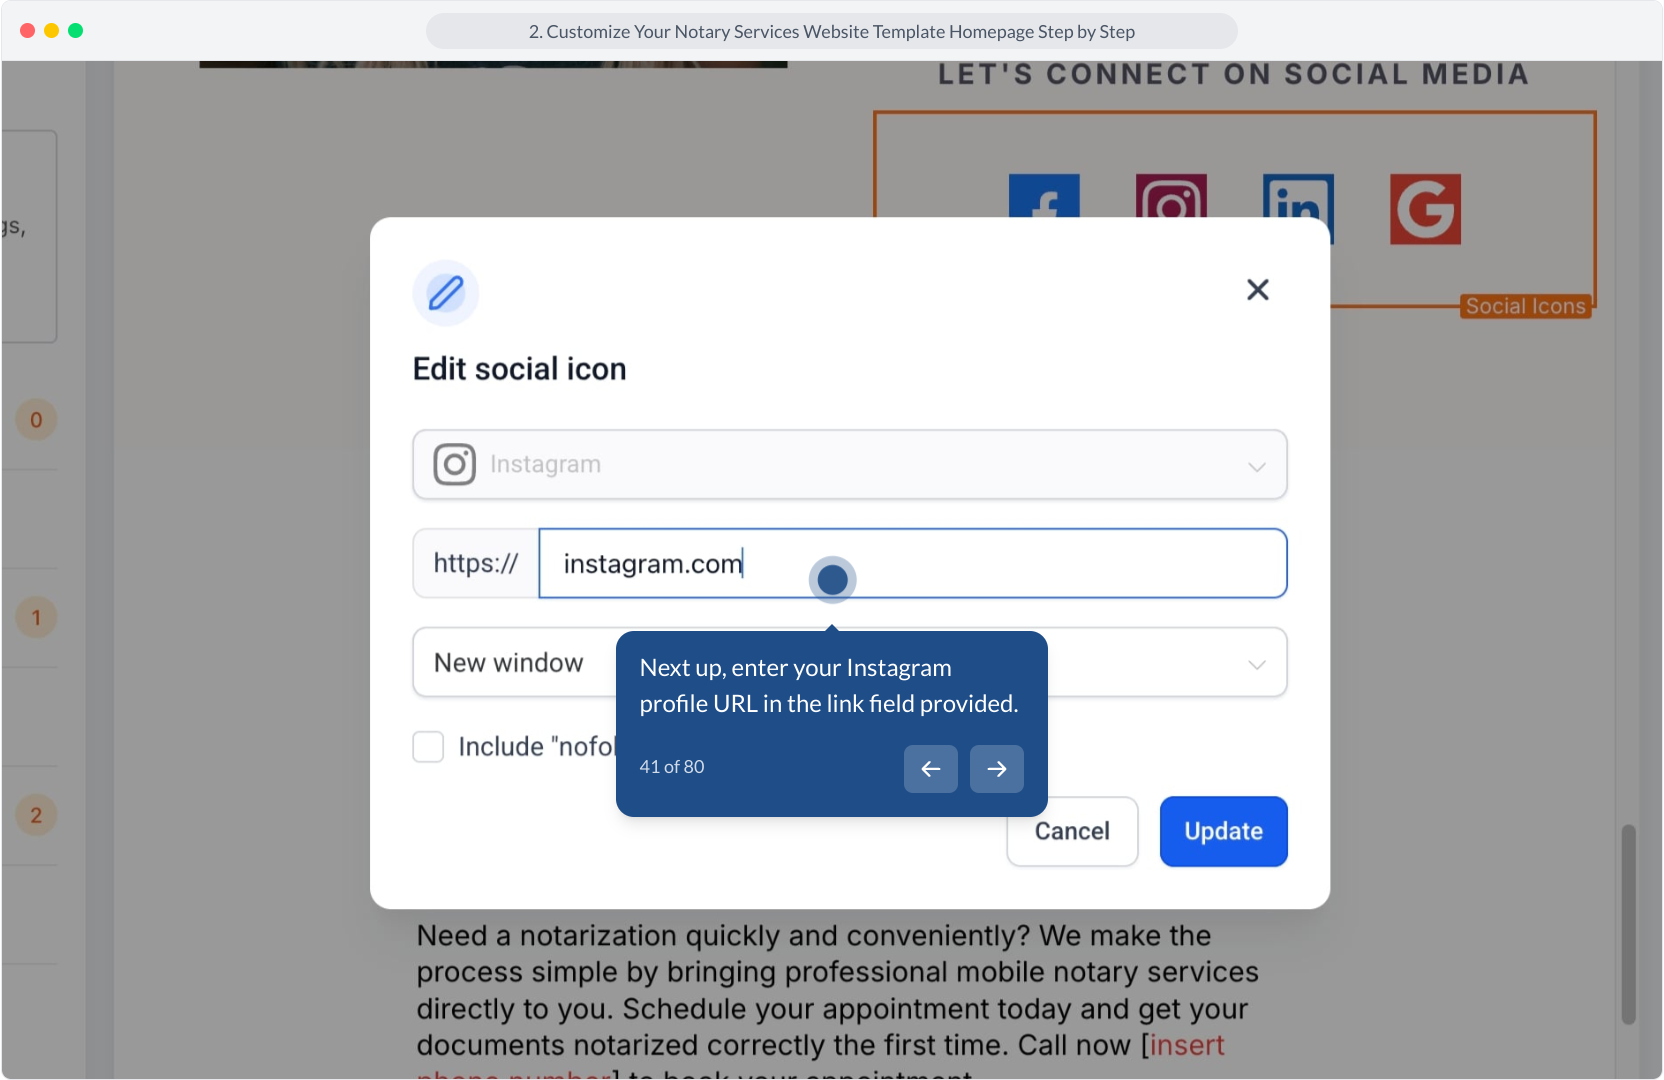
41. Next up, enter your Instagram profile URL in the link field provided.
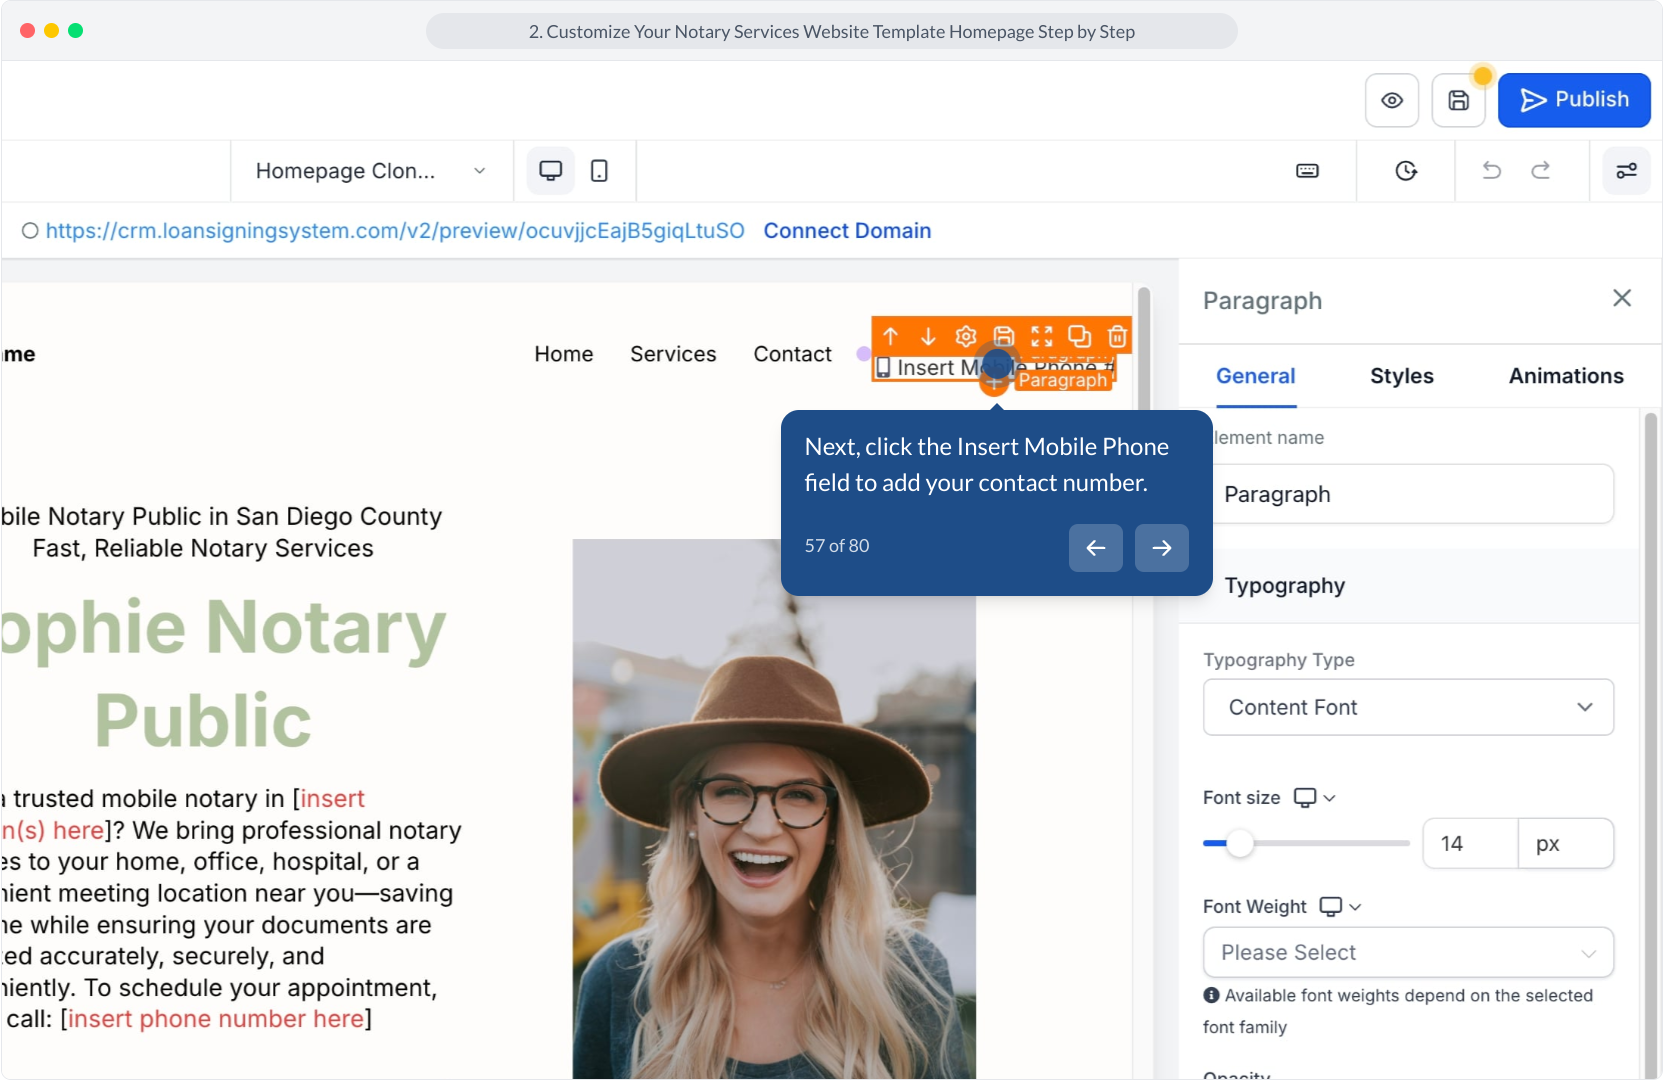
42. Video Step
(Play Now)

43. Afterwards, click the Update button to save your social media icon changes.
44. Video Step
(Play Now)
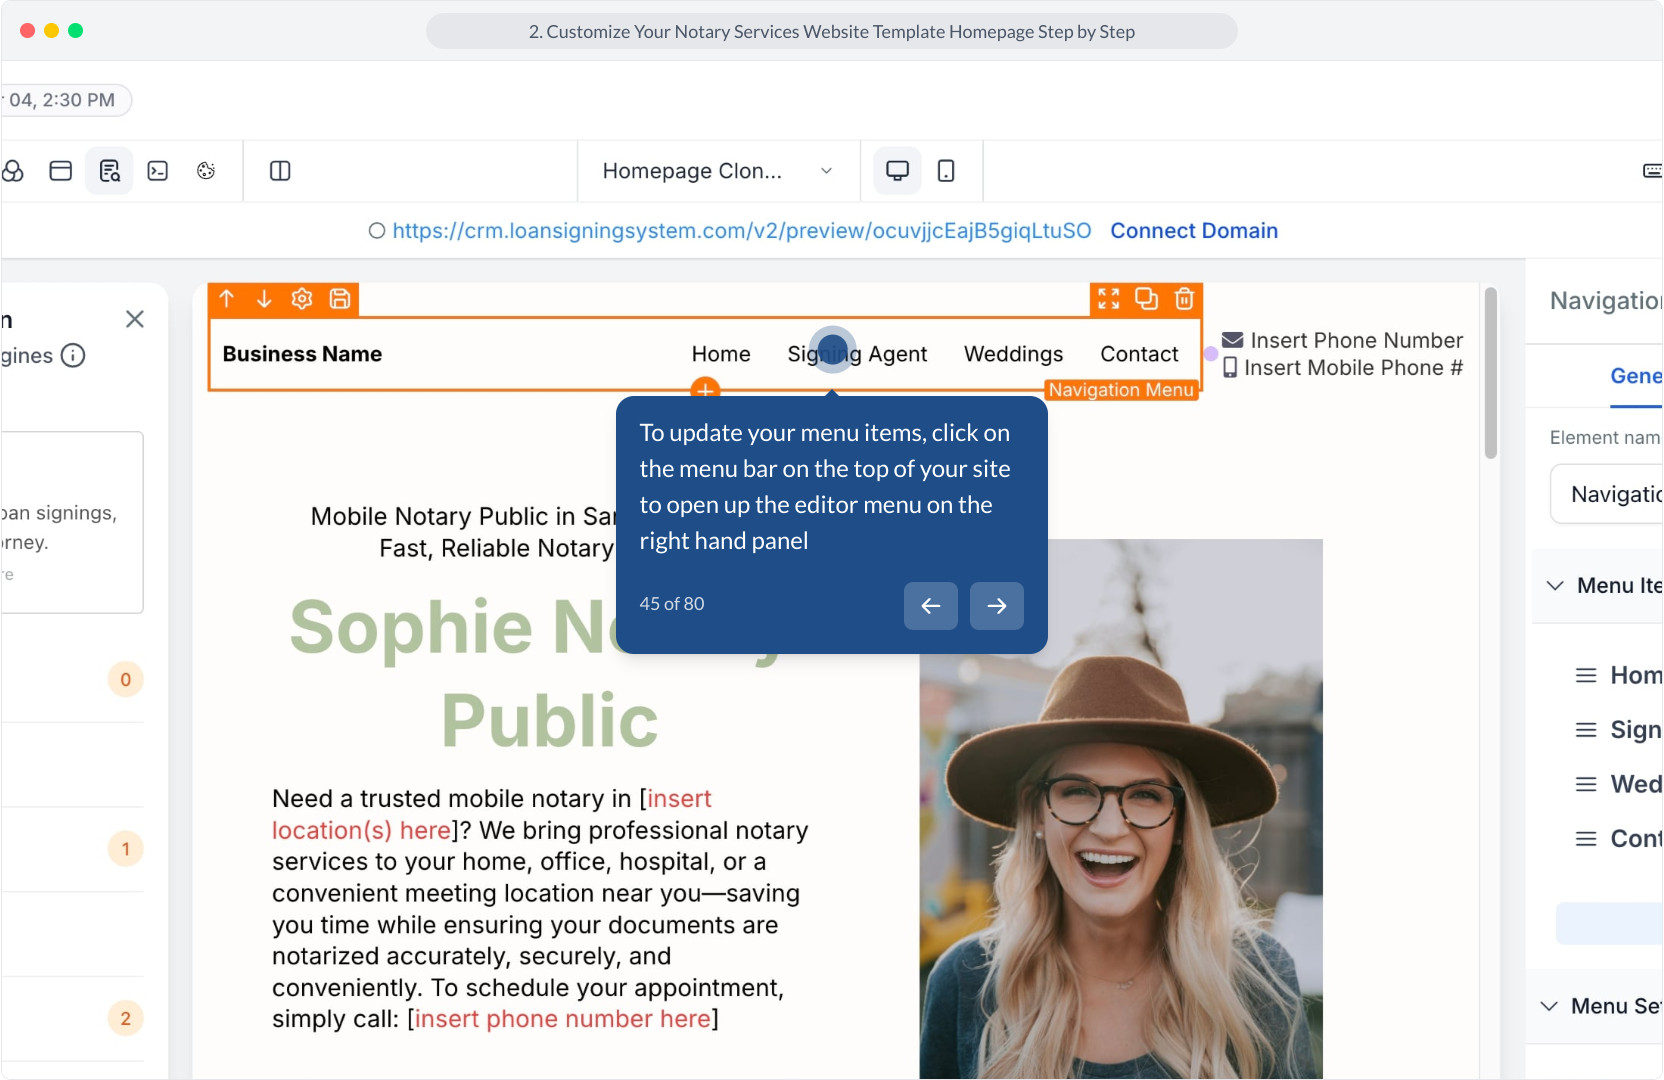
45. To update your menu items, click on the menu bar on the top of your site to open up the editor menu on the right hand panel
46. Afterwards, click the Contact menu item to edit each menu option

47. You can delete menu items you do not need by clicking on the "DELETE" button here. This will NOT delete any website pages, it only removes the menu item from the navigation bar.
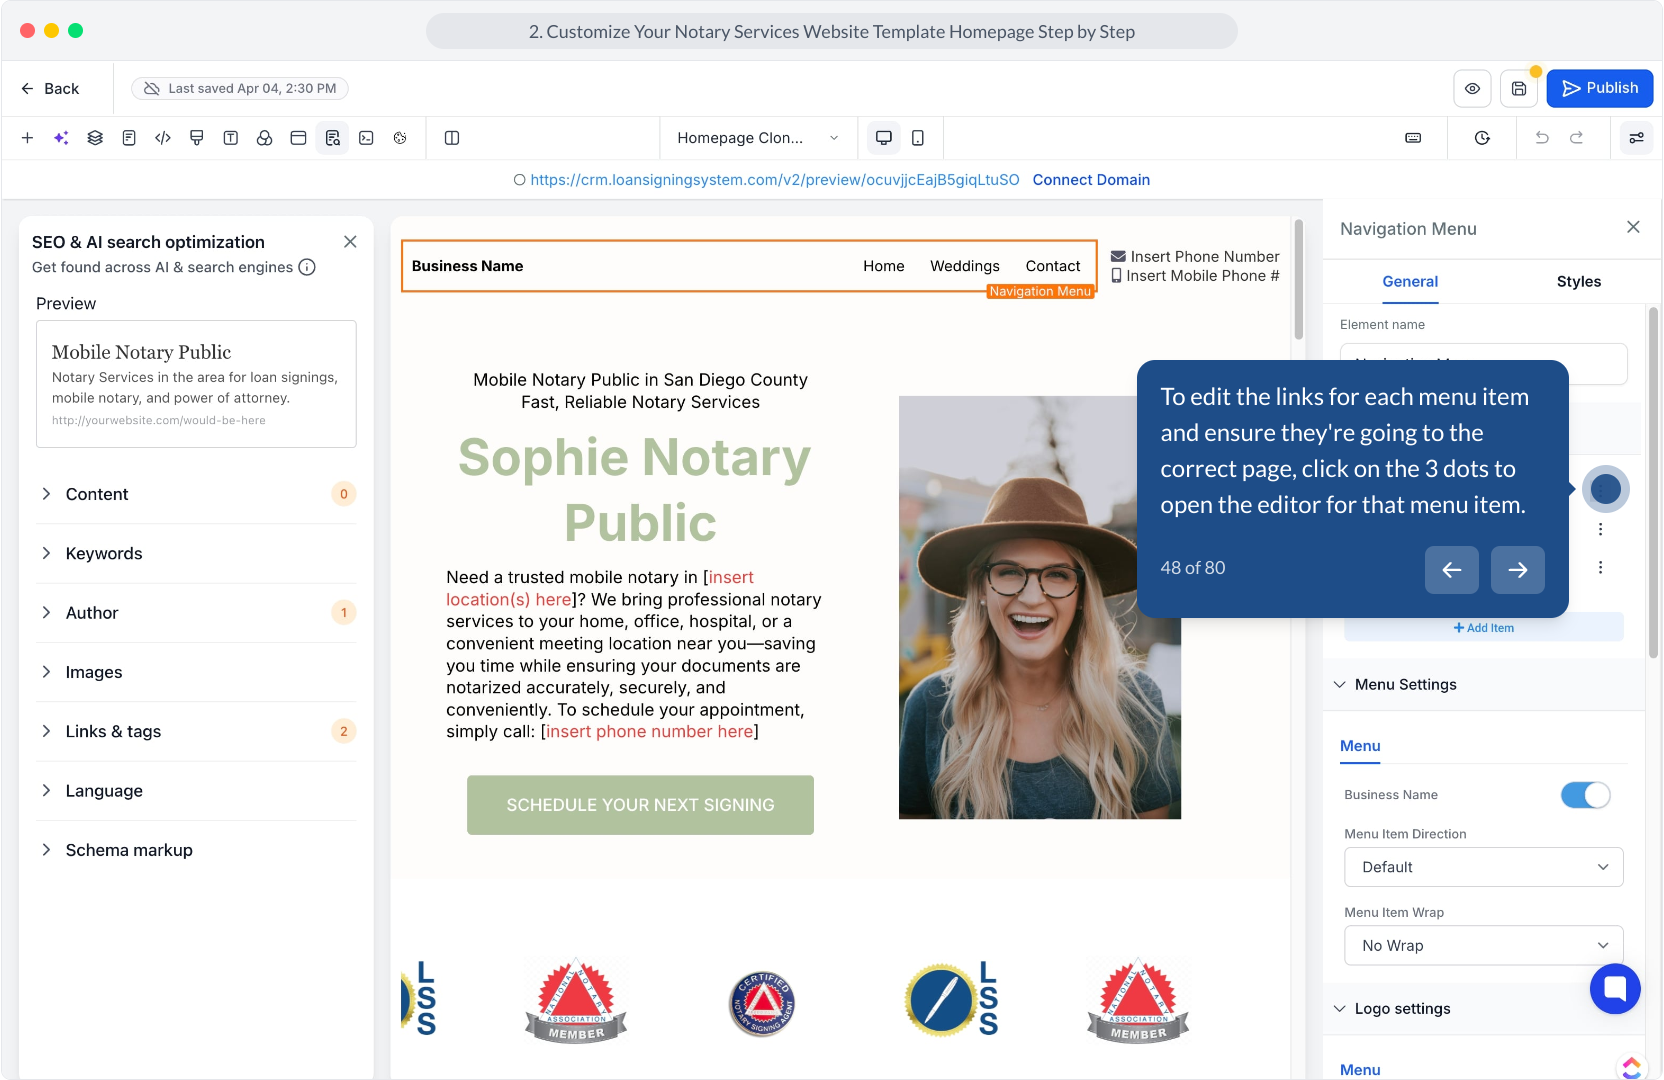
48. To edit the links for each menu item and ensure they're going to the correct page, click on the 3 dots to open the editor for that menu item.
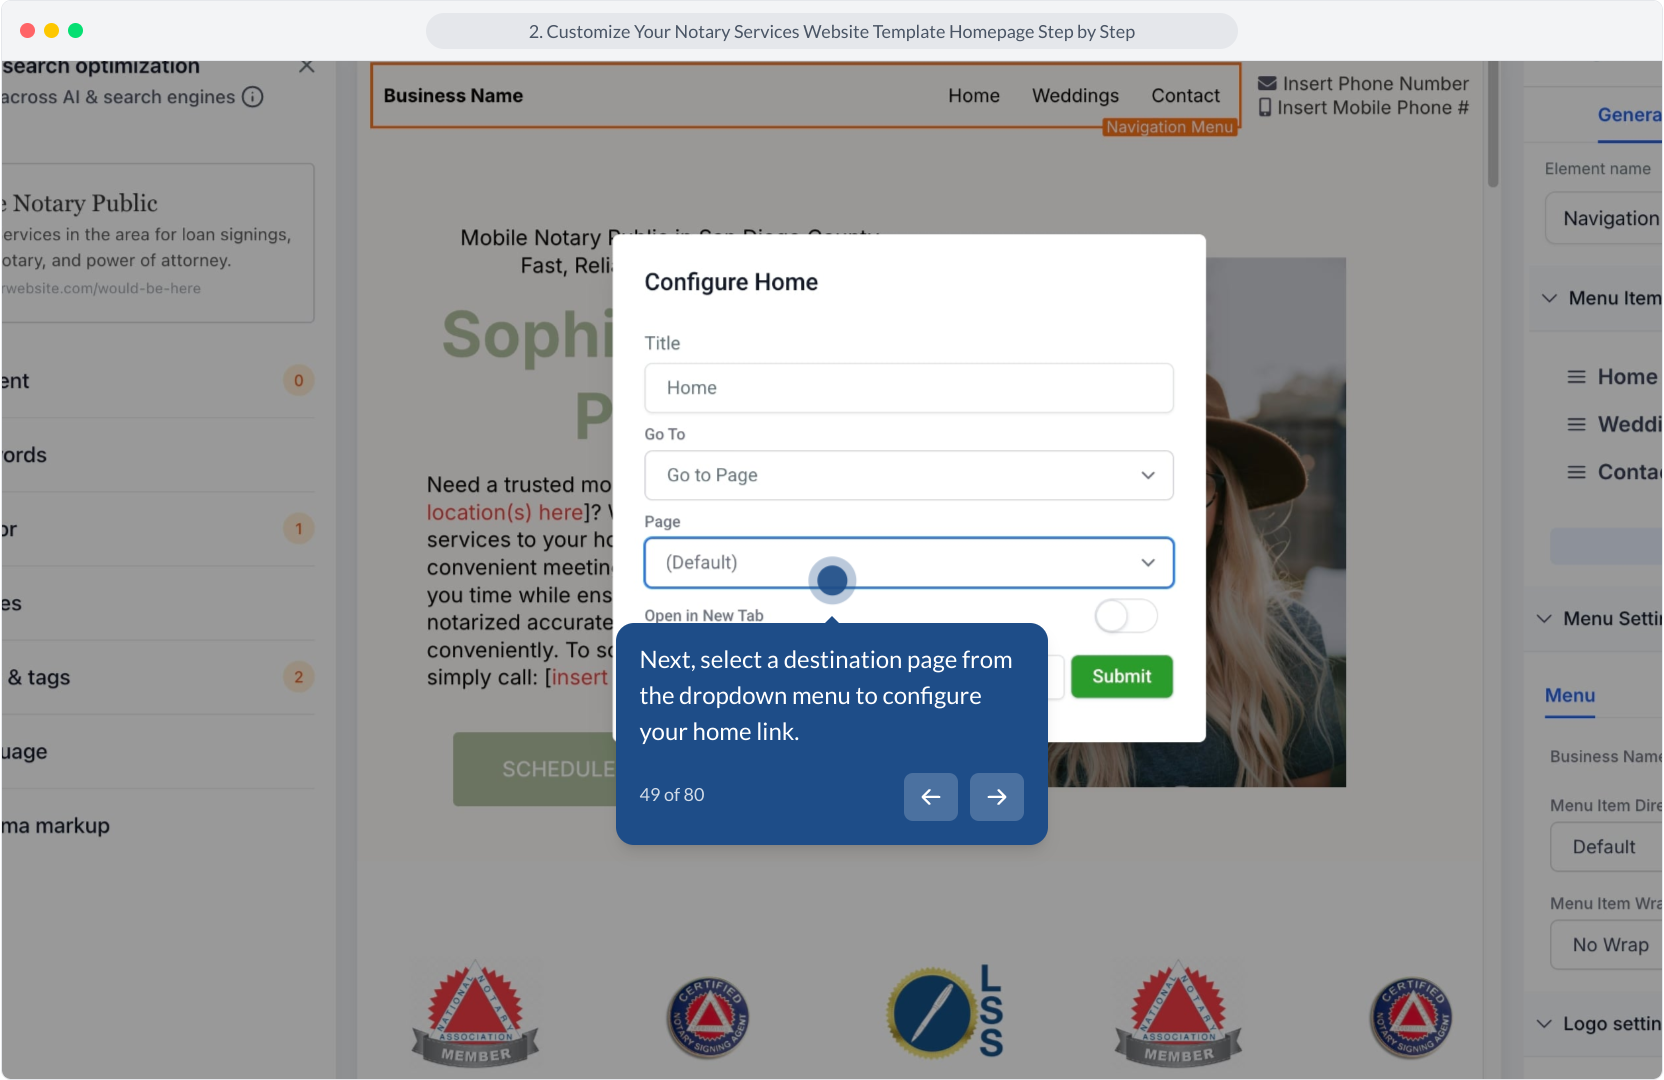
49. Next, select a destination page from the dropdown menu to configure your home link.
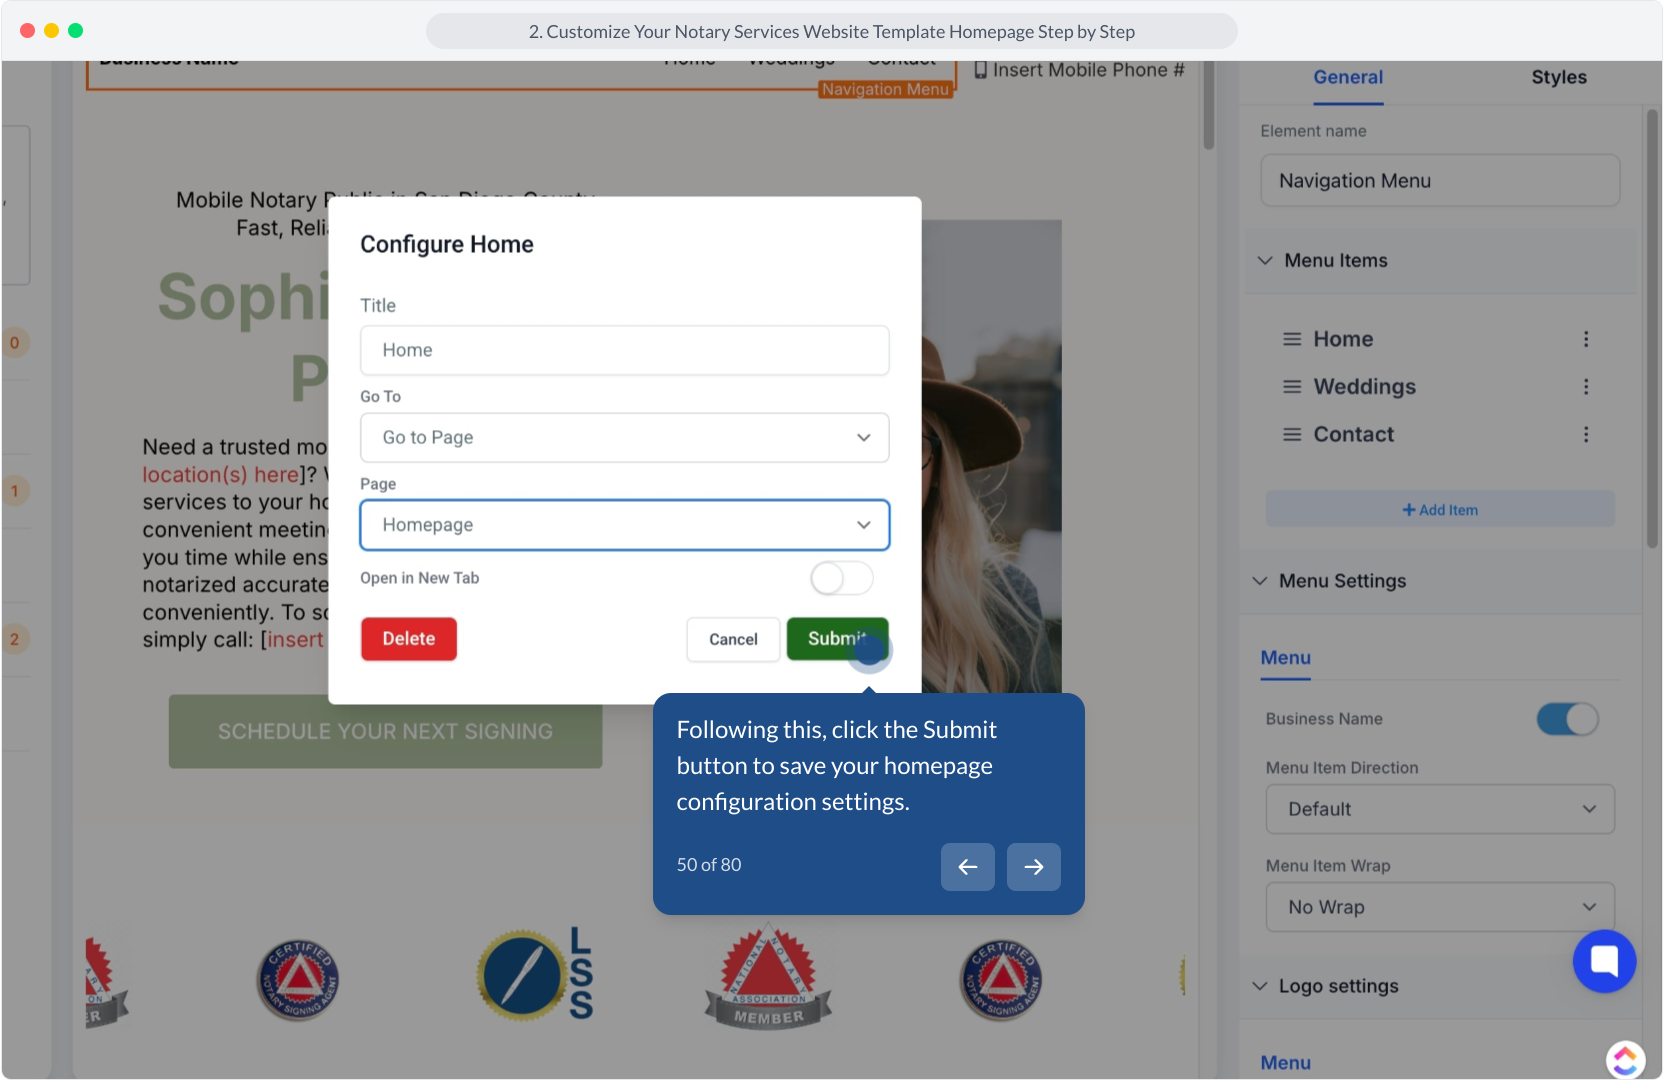
50. Following this, click the Submit button to save your homepage configuration settings.
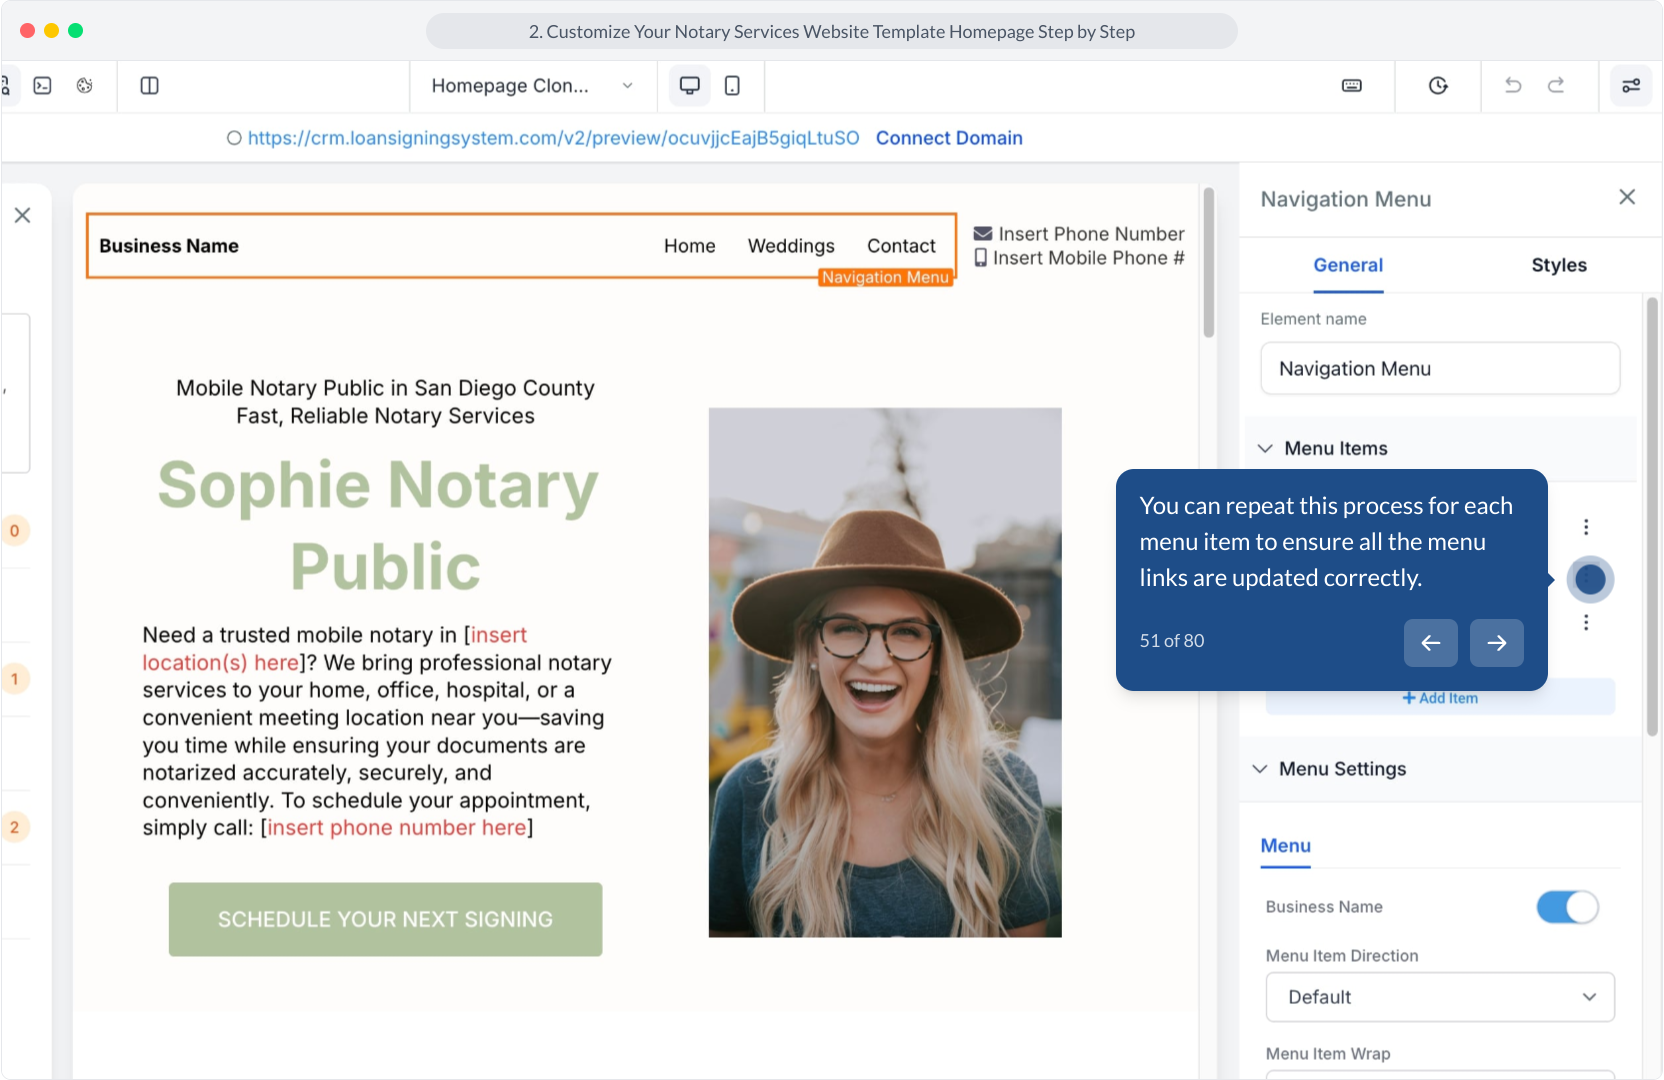
51. You can repeat this process for each menu item to ensure all the menu links are updated correctly.
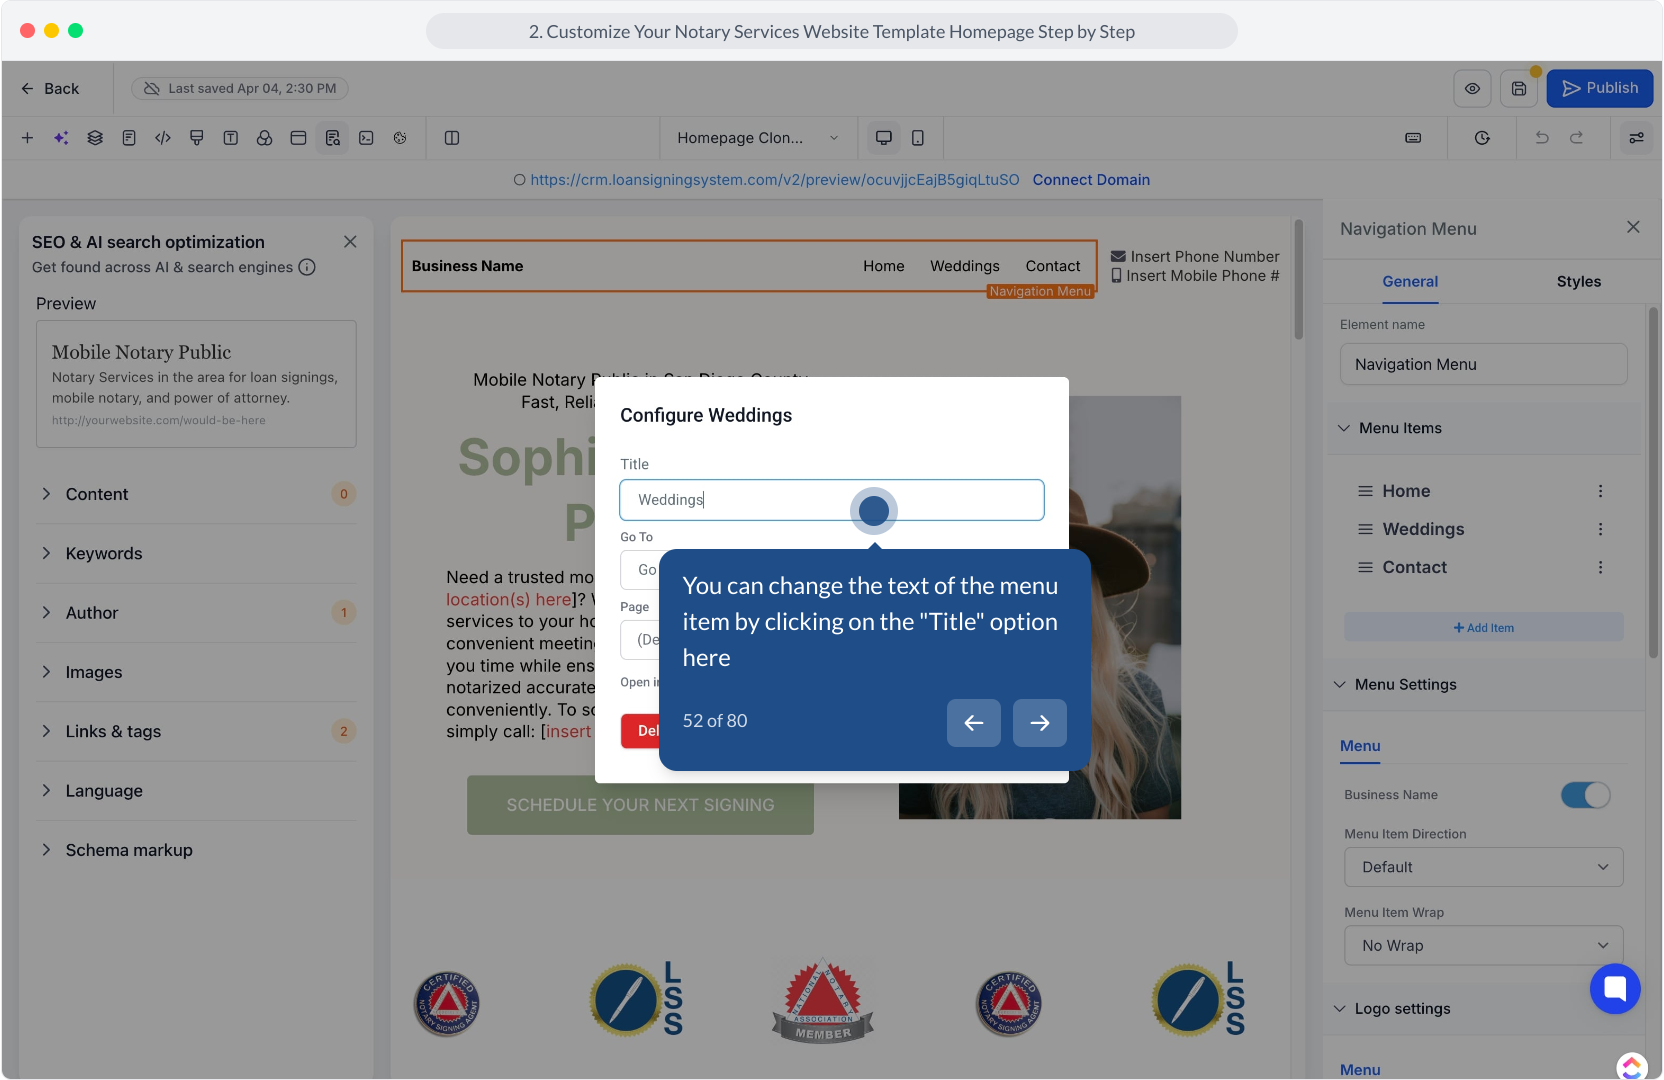
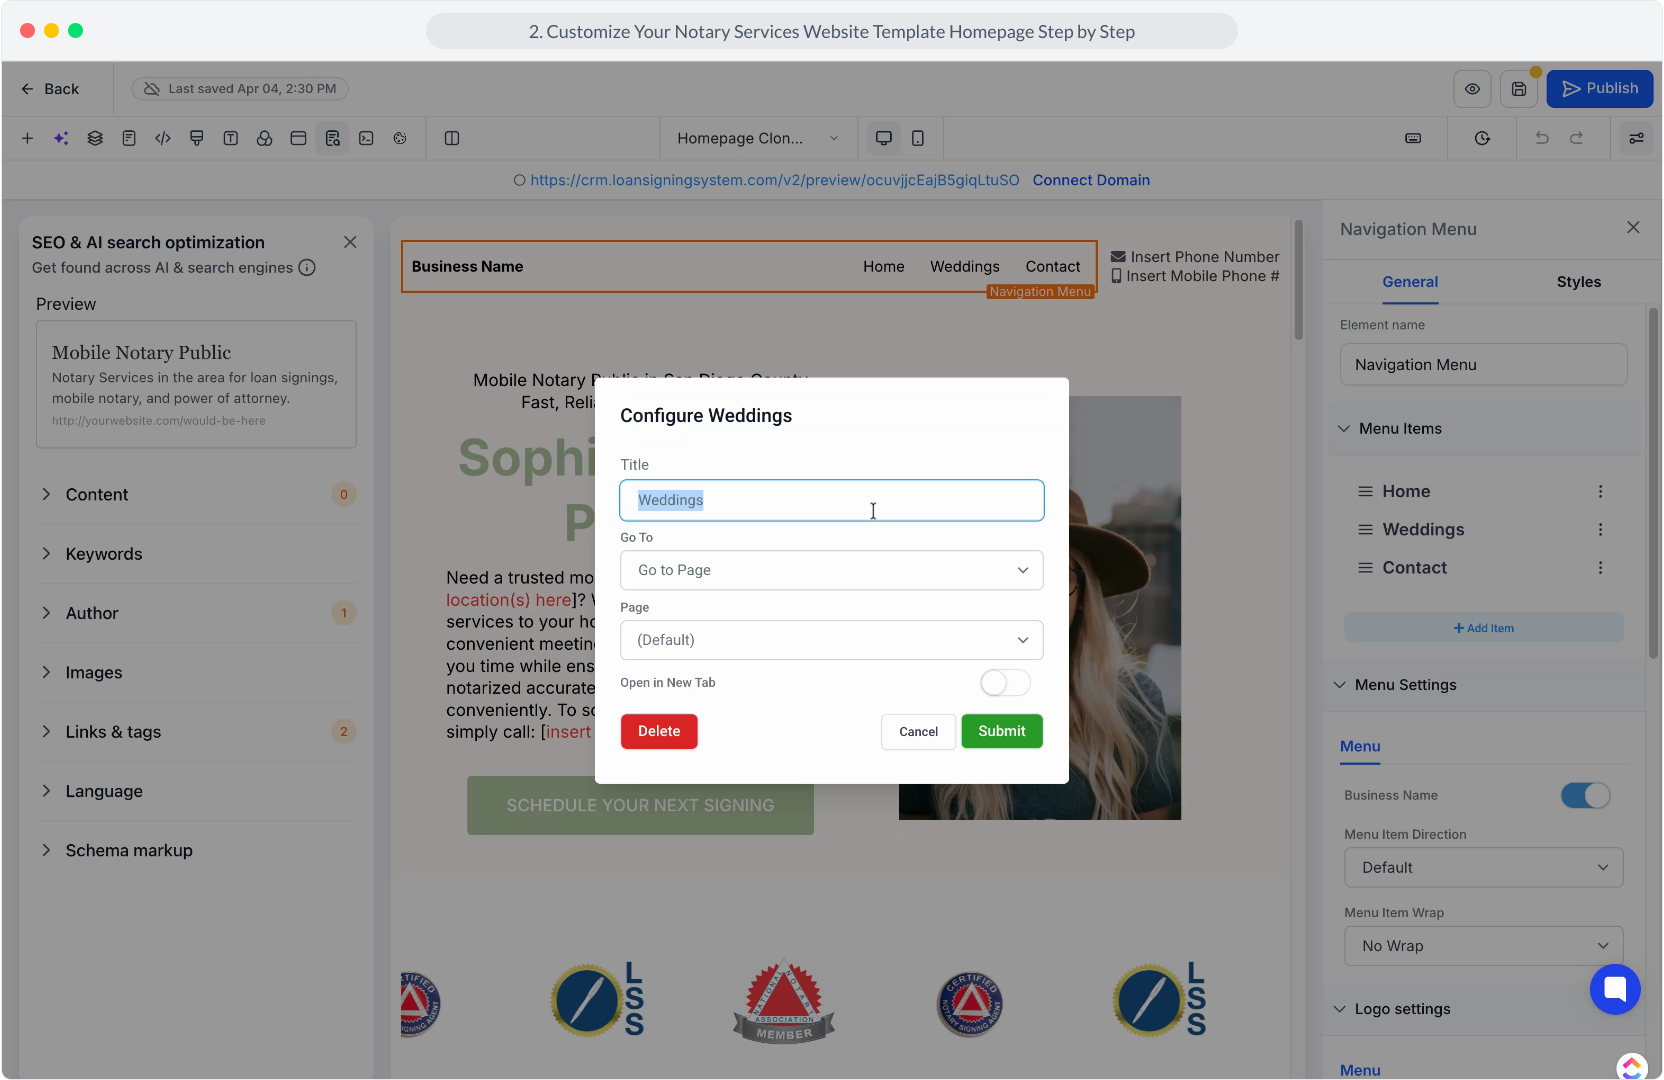
52. You can change the text of the menu item by clicking on the "Title" option here
53. Video Step
(Play Now)
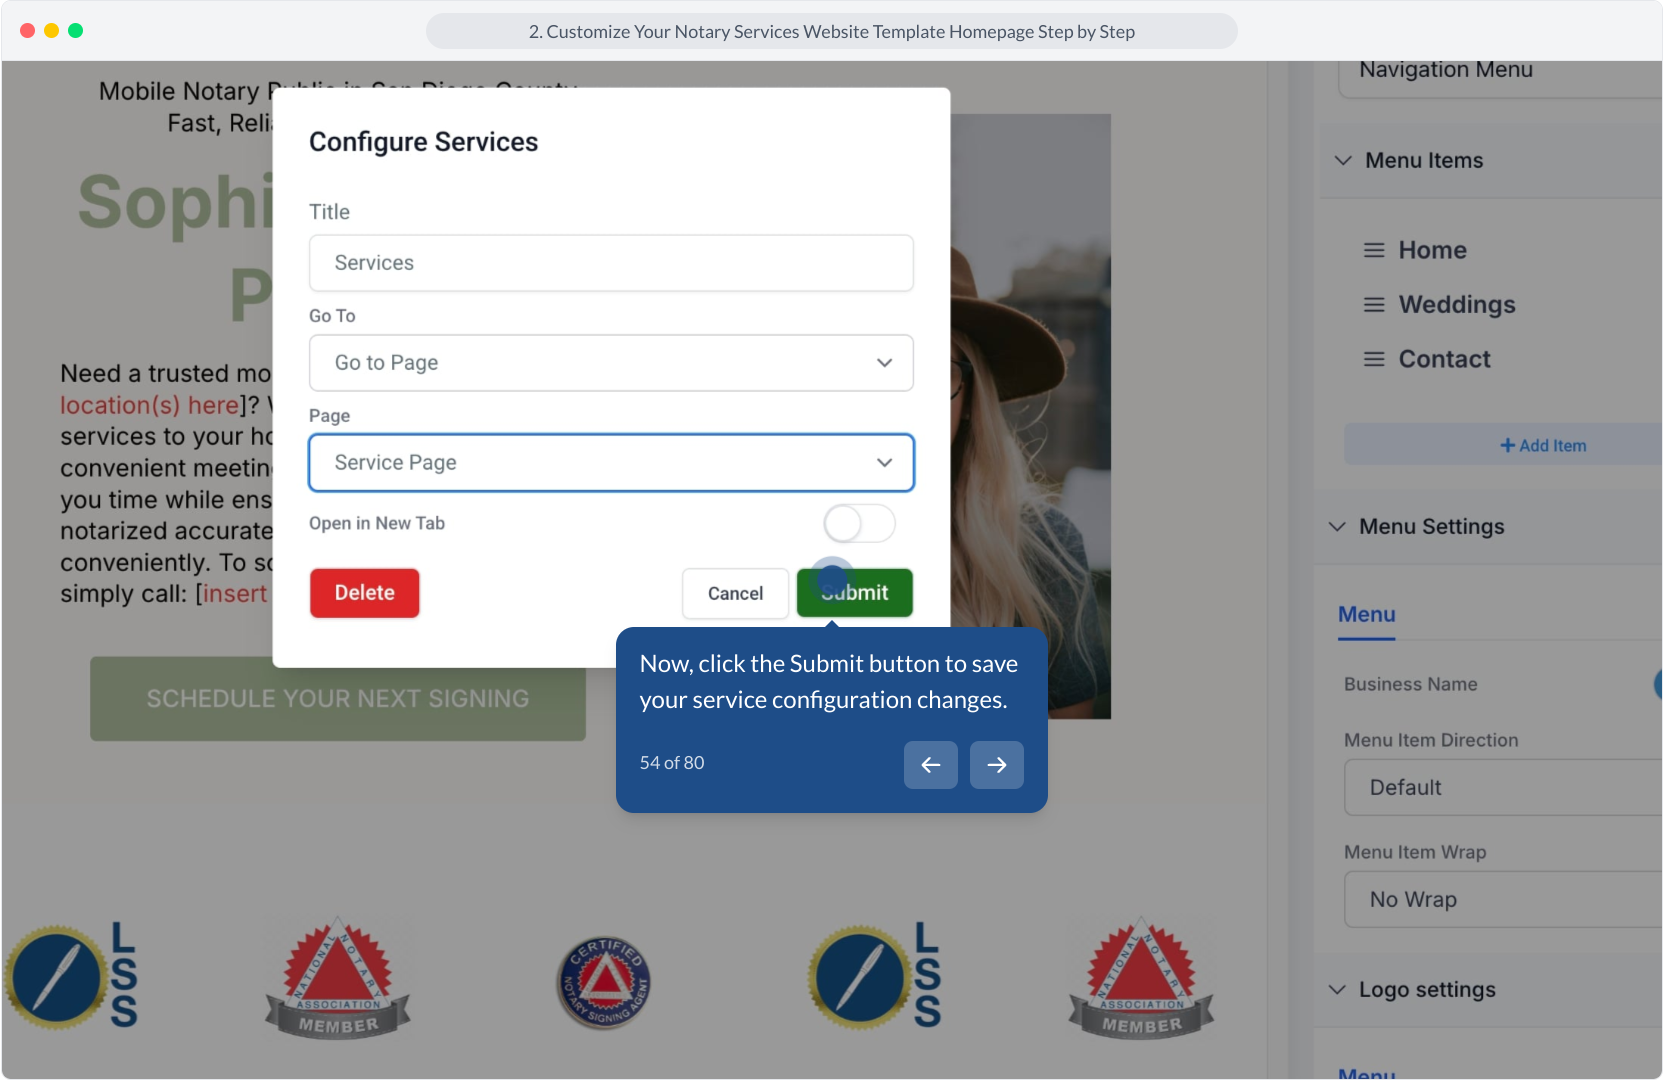
54. Now, click the Submit button to save your service configuration changes.
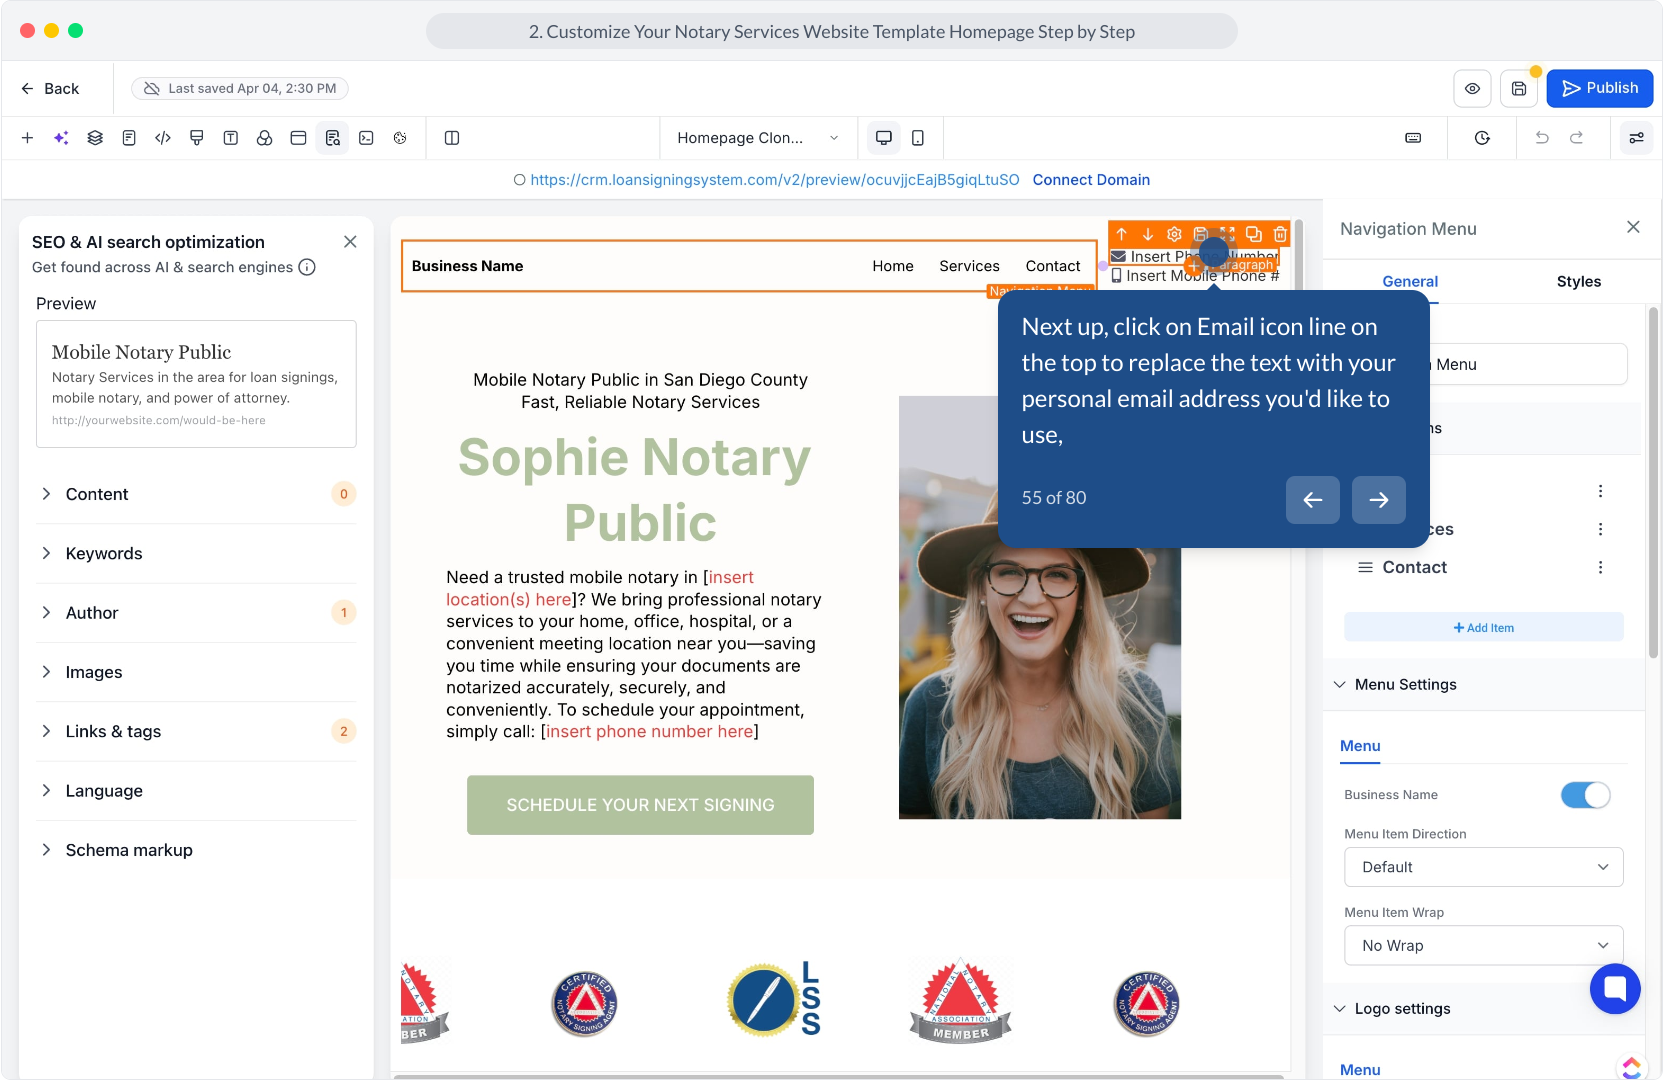
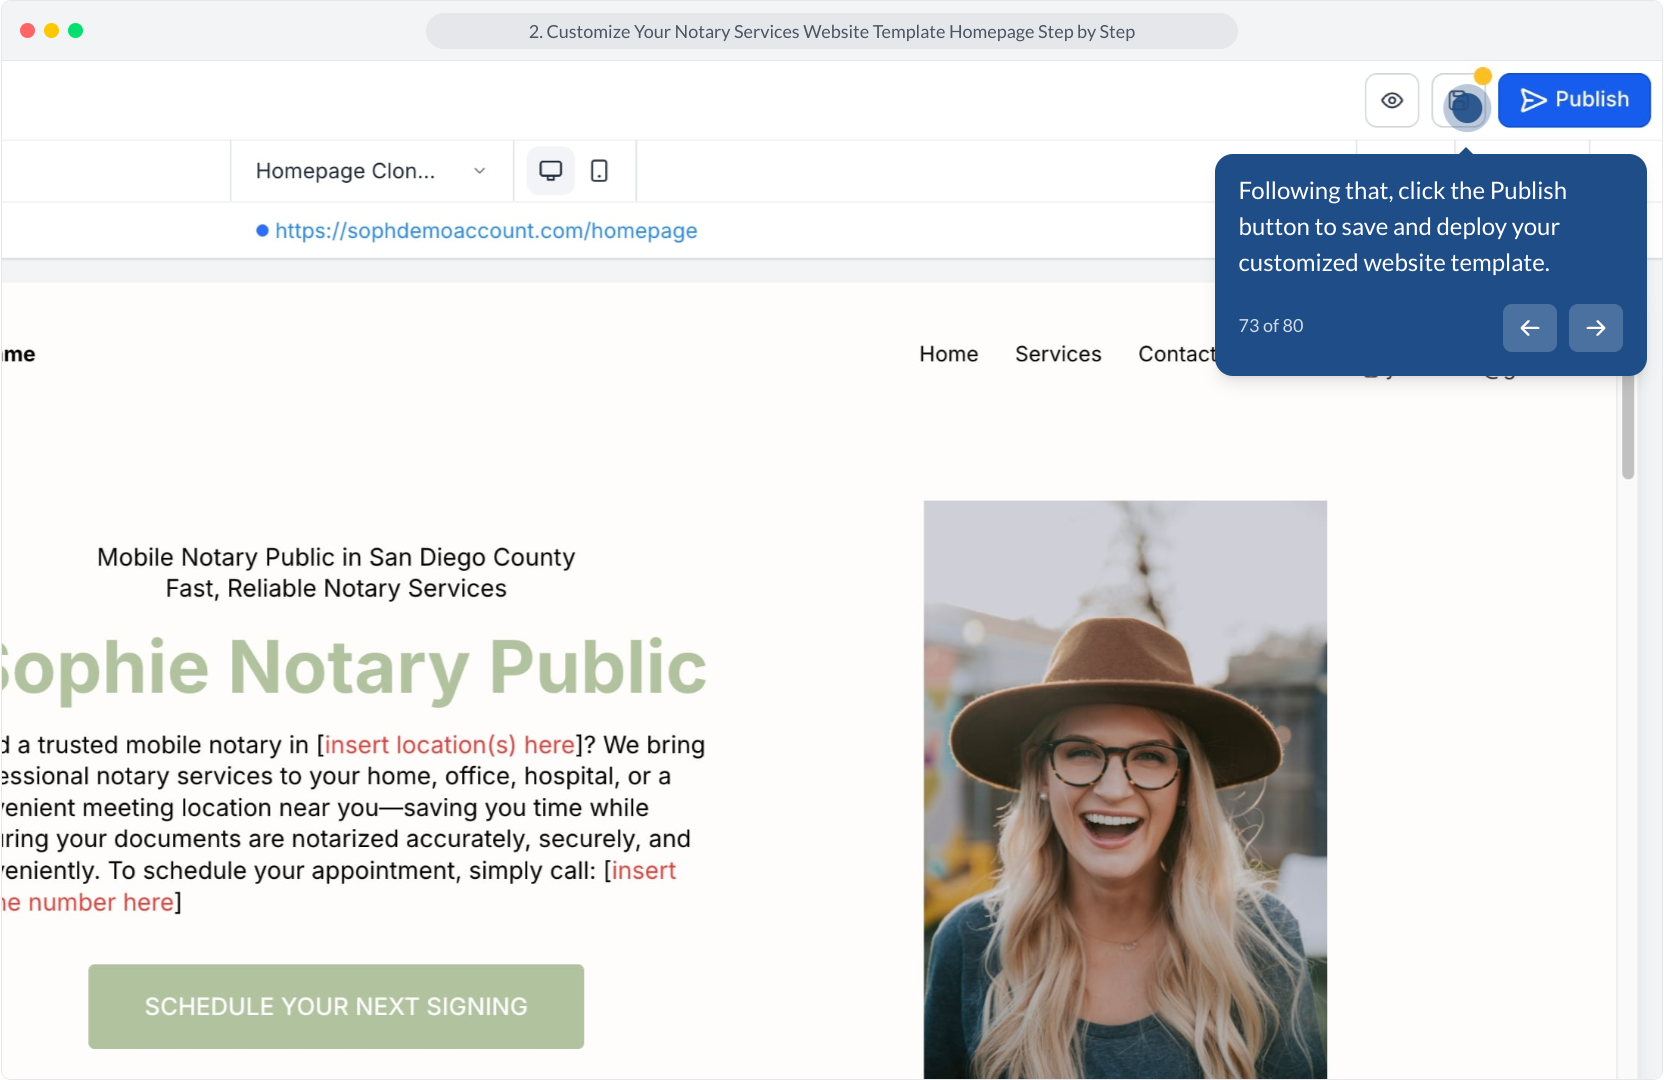
55. Next up, click on Email icon line on the top to replace the text with your personal email address you'd like to use,
56. Video Step
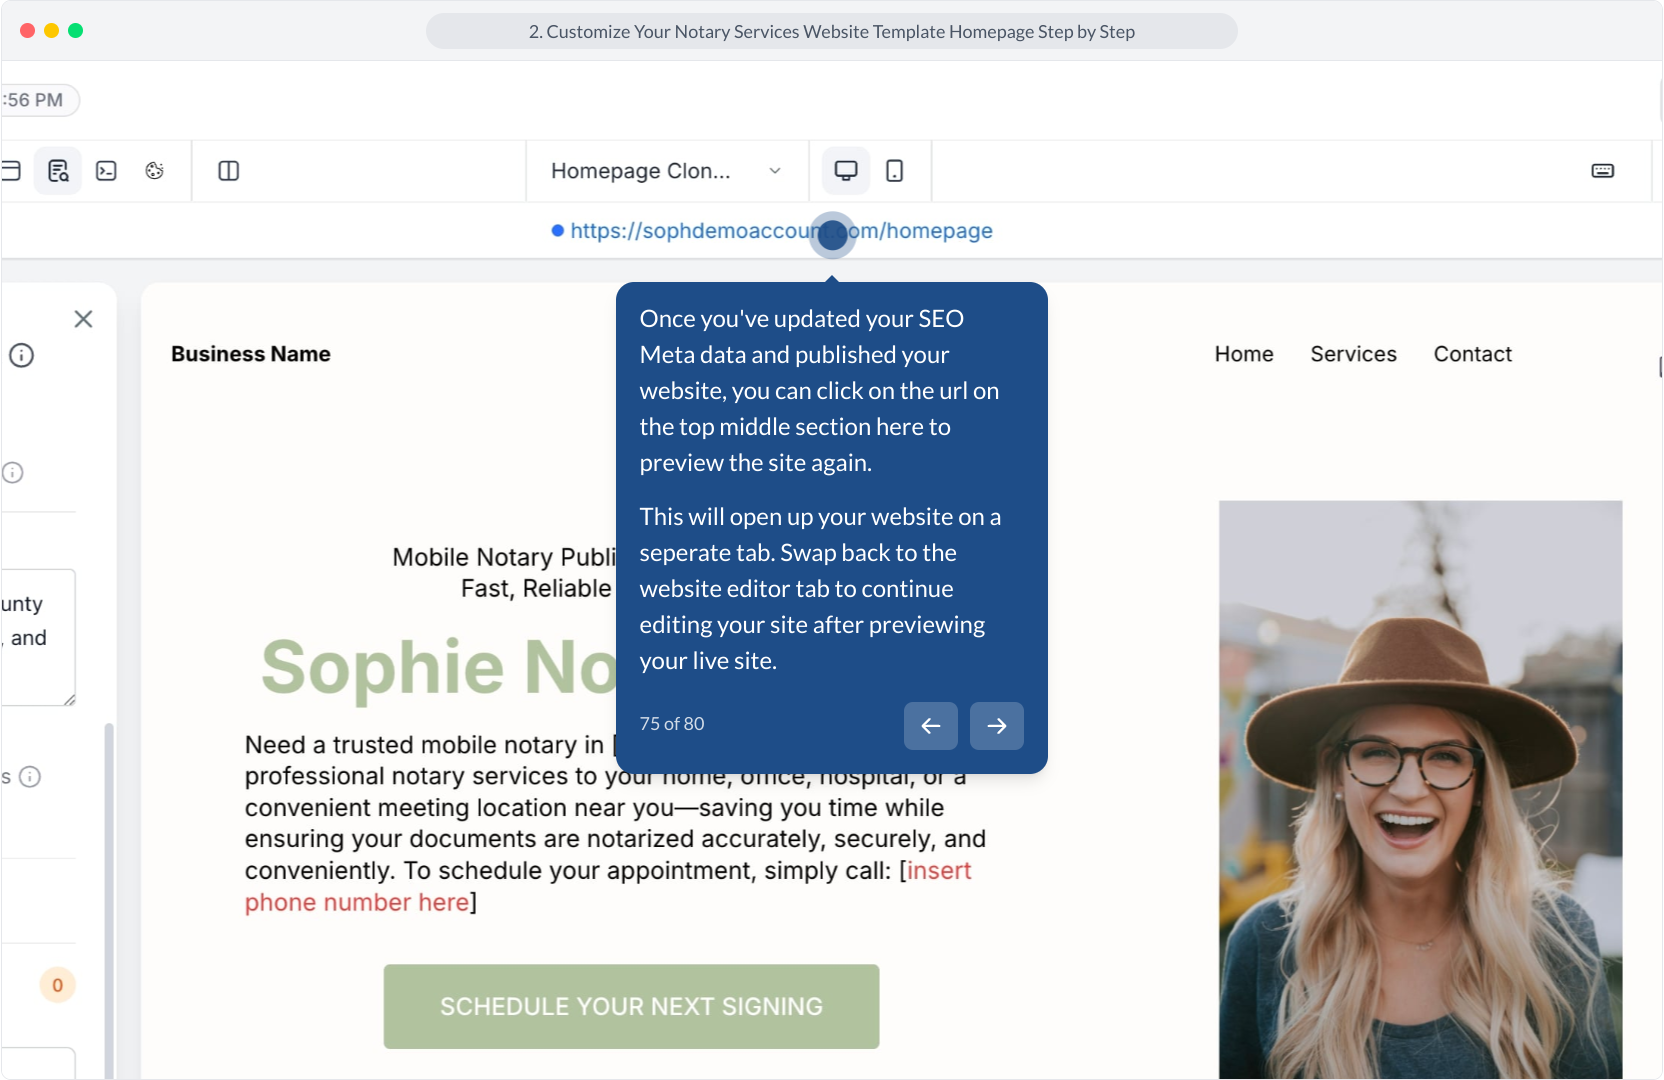
(Play Now)
57. Next, click the Insert Mobile Phone field to add your contact number.
58. Video Step
(Play Now)

59. Video Step
(Play Now)
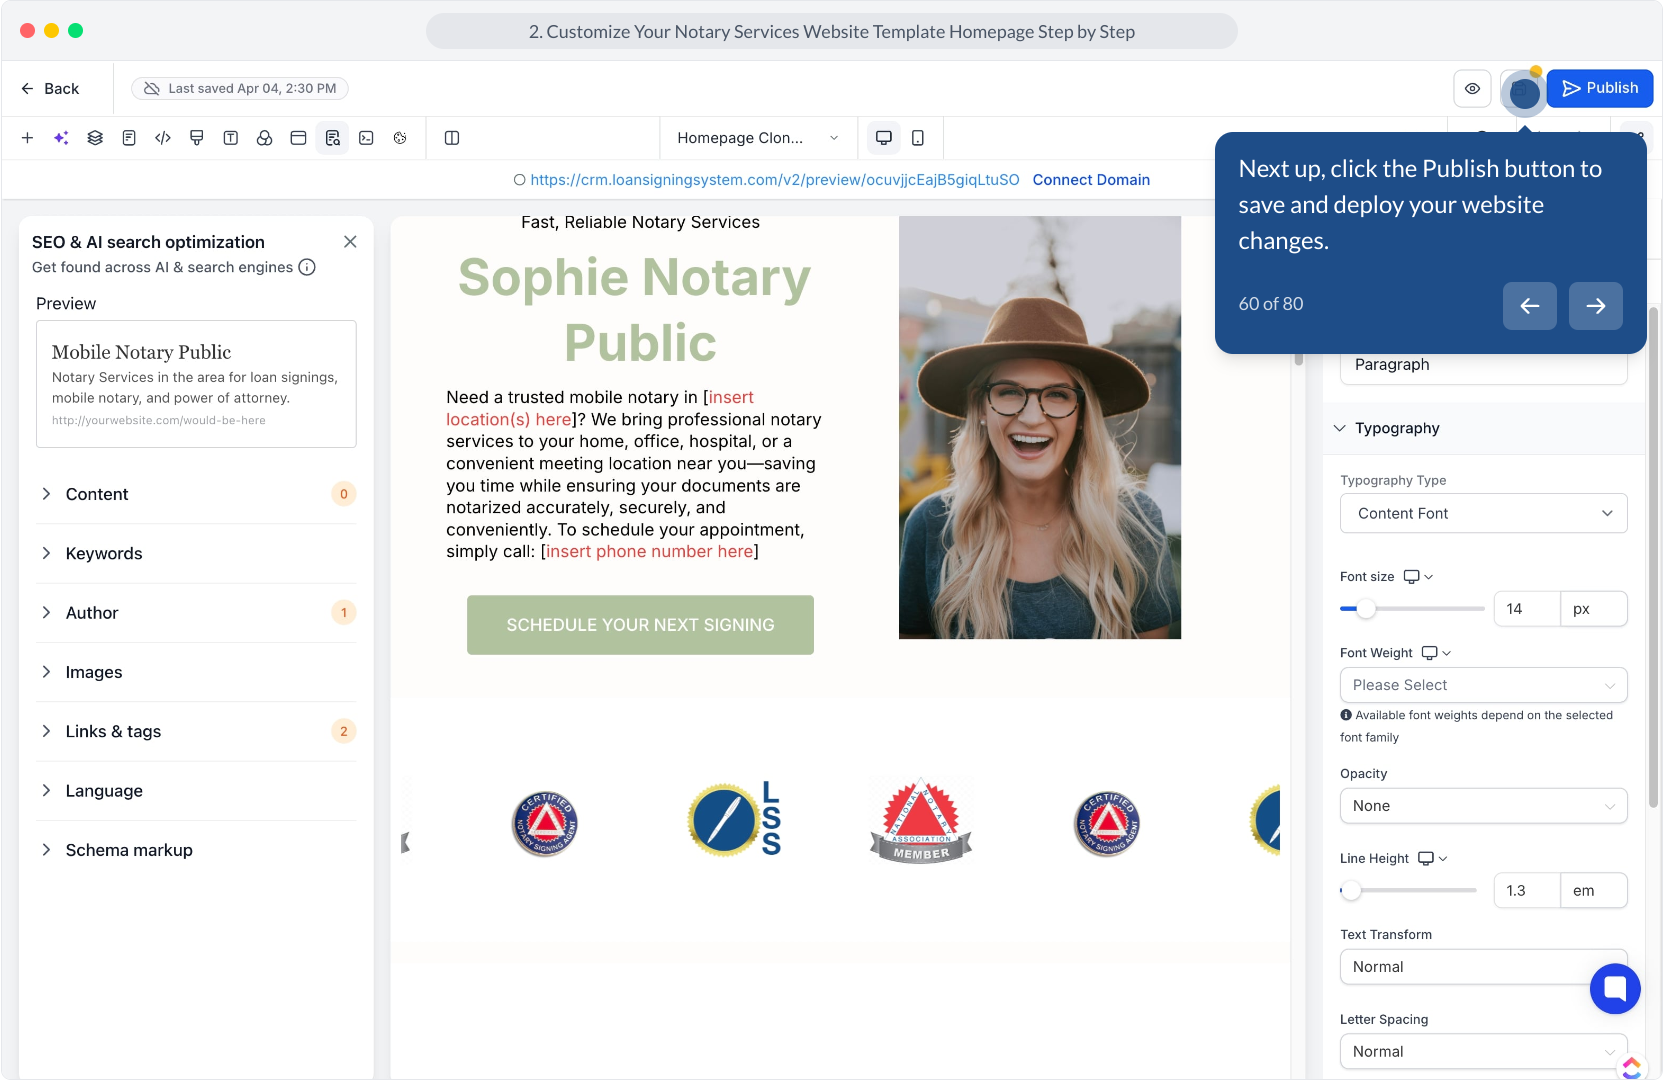
60. Next up, click the Publish button to save and deploy your website changes.
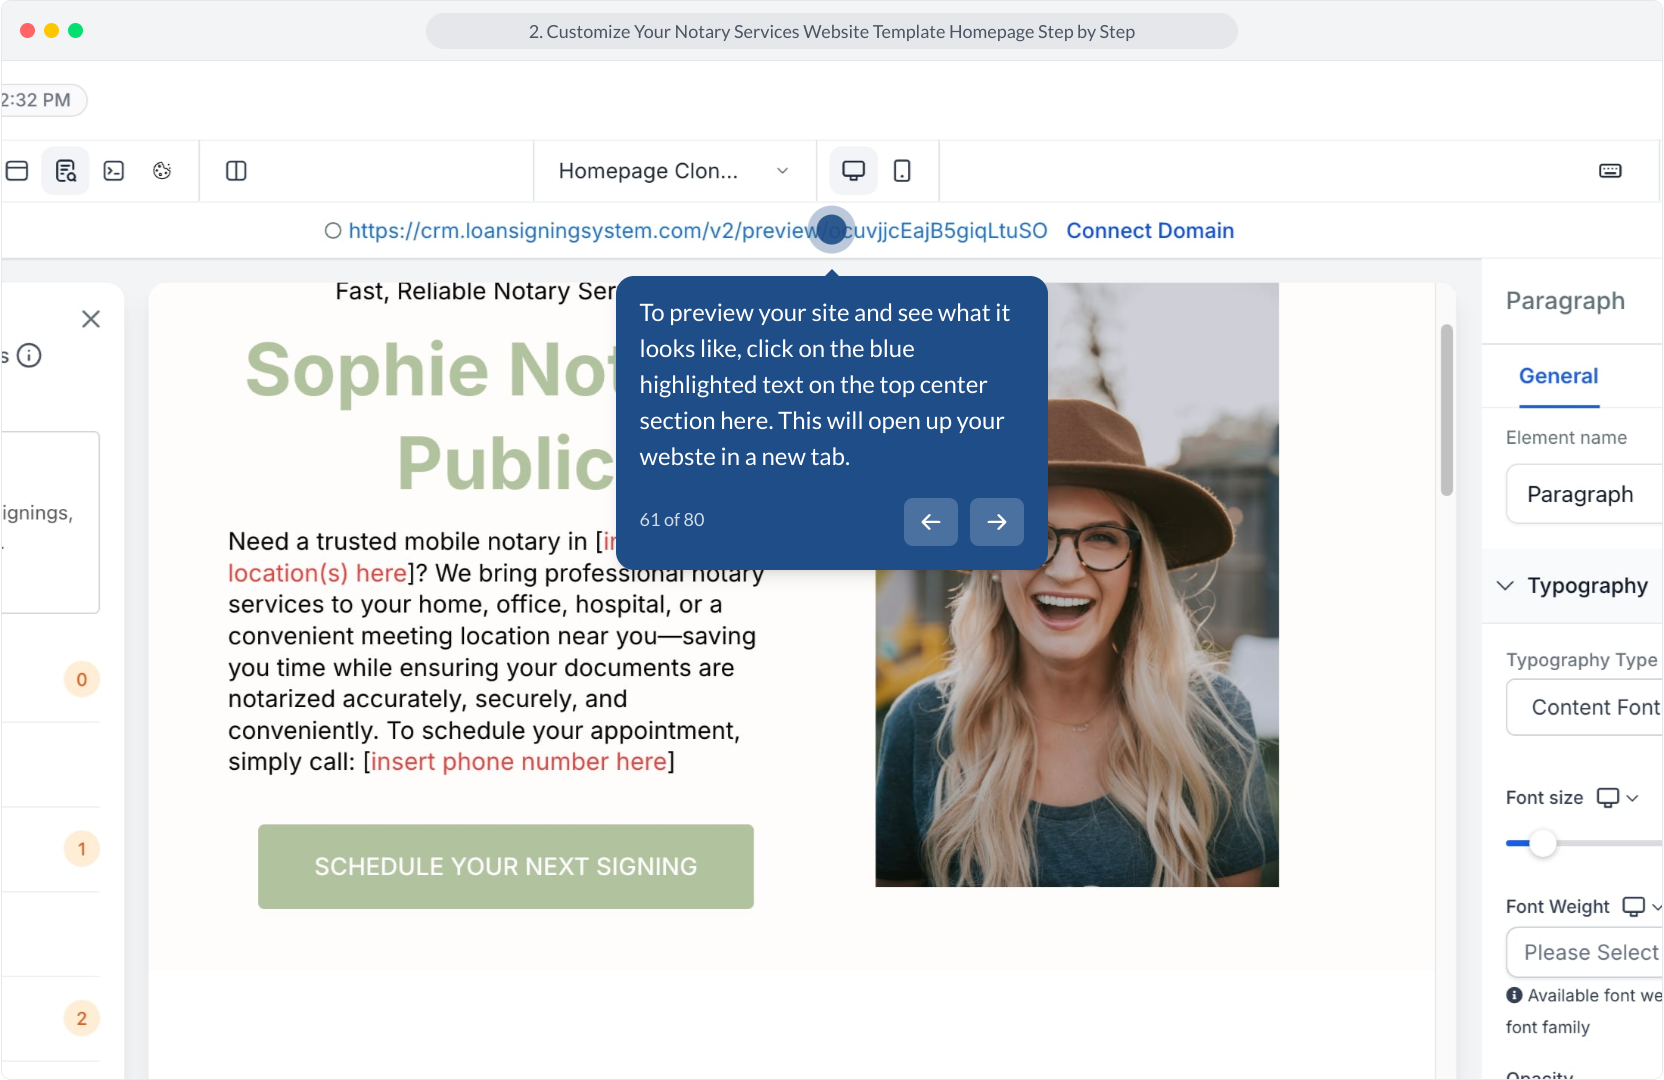
61. To preview your site and see what it looks like, click on the blue highlighted text on the top center section here. This will open up your webste in a new tab.
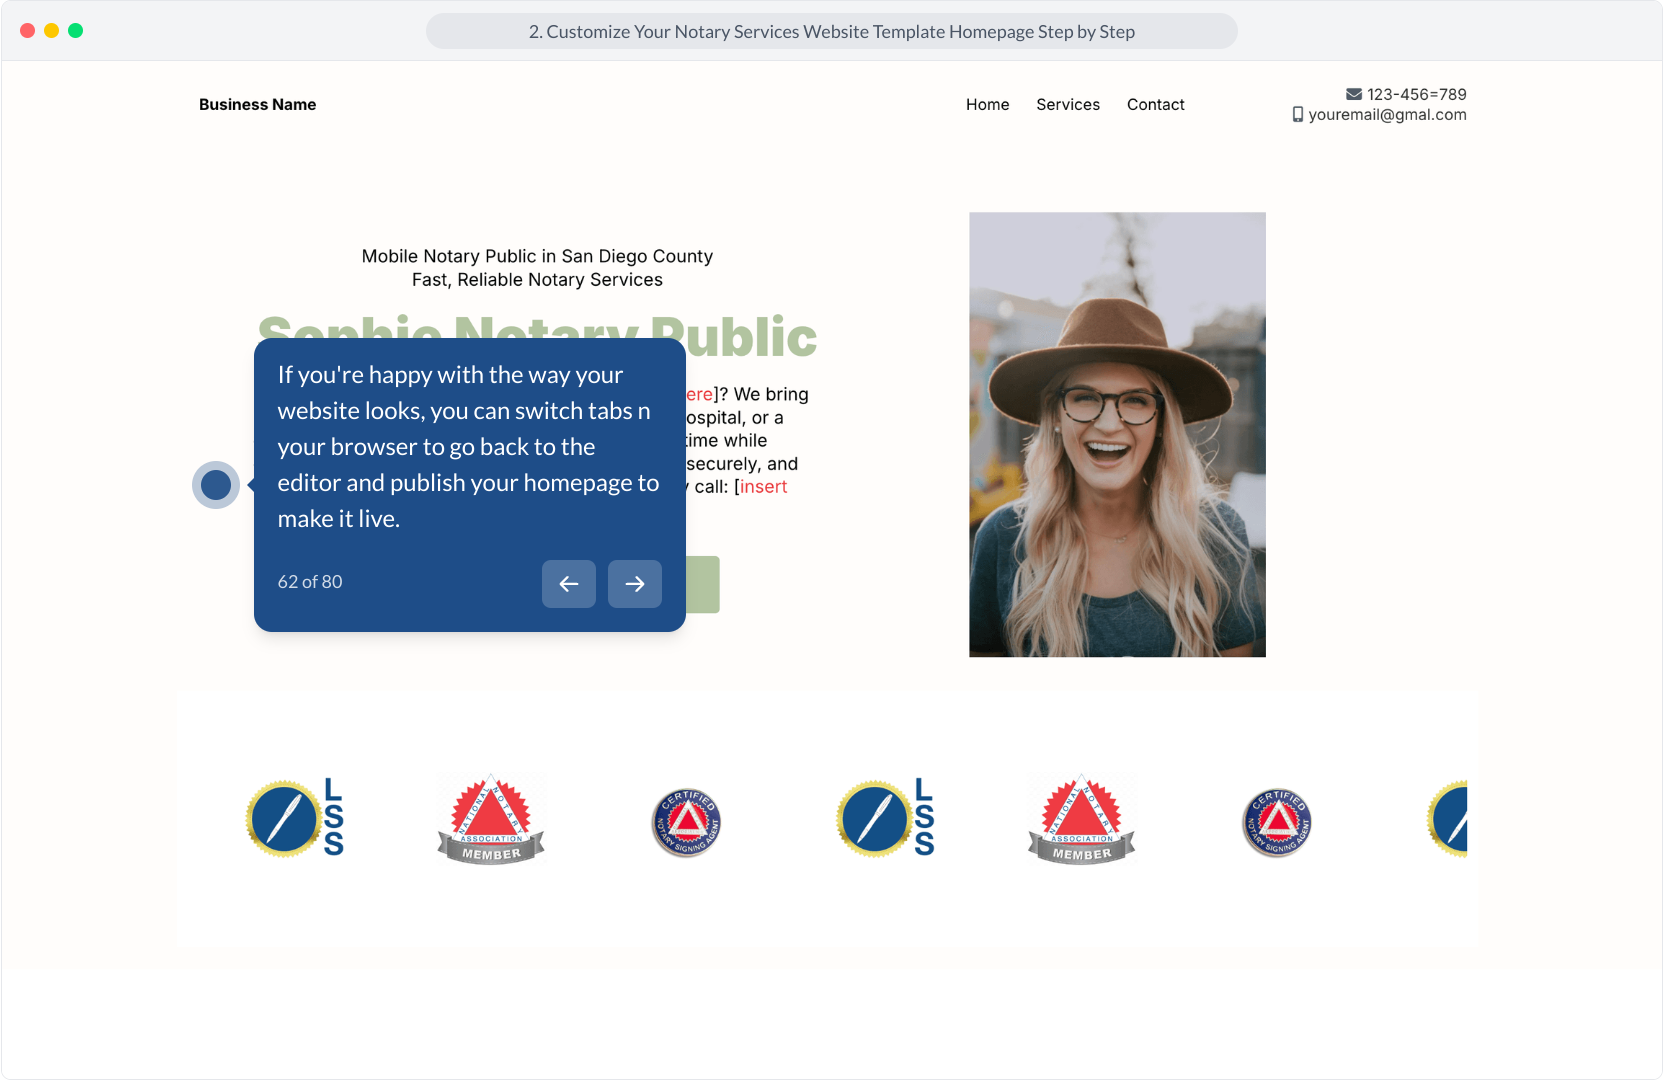
62. If you're happy with the way your website looks, you can switch tabs n your browser to go back to the editor and publish your homepage to make it live.
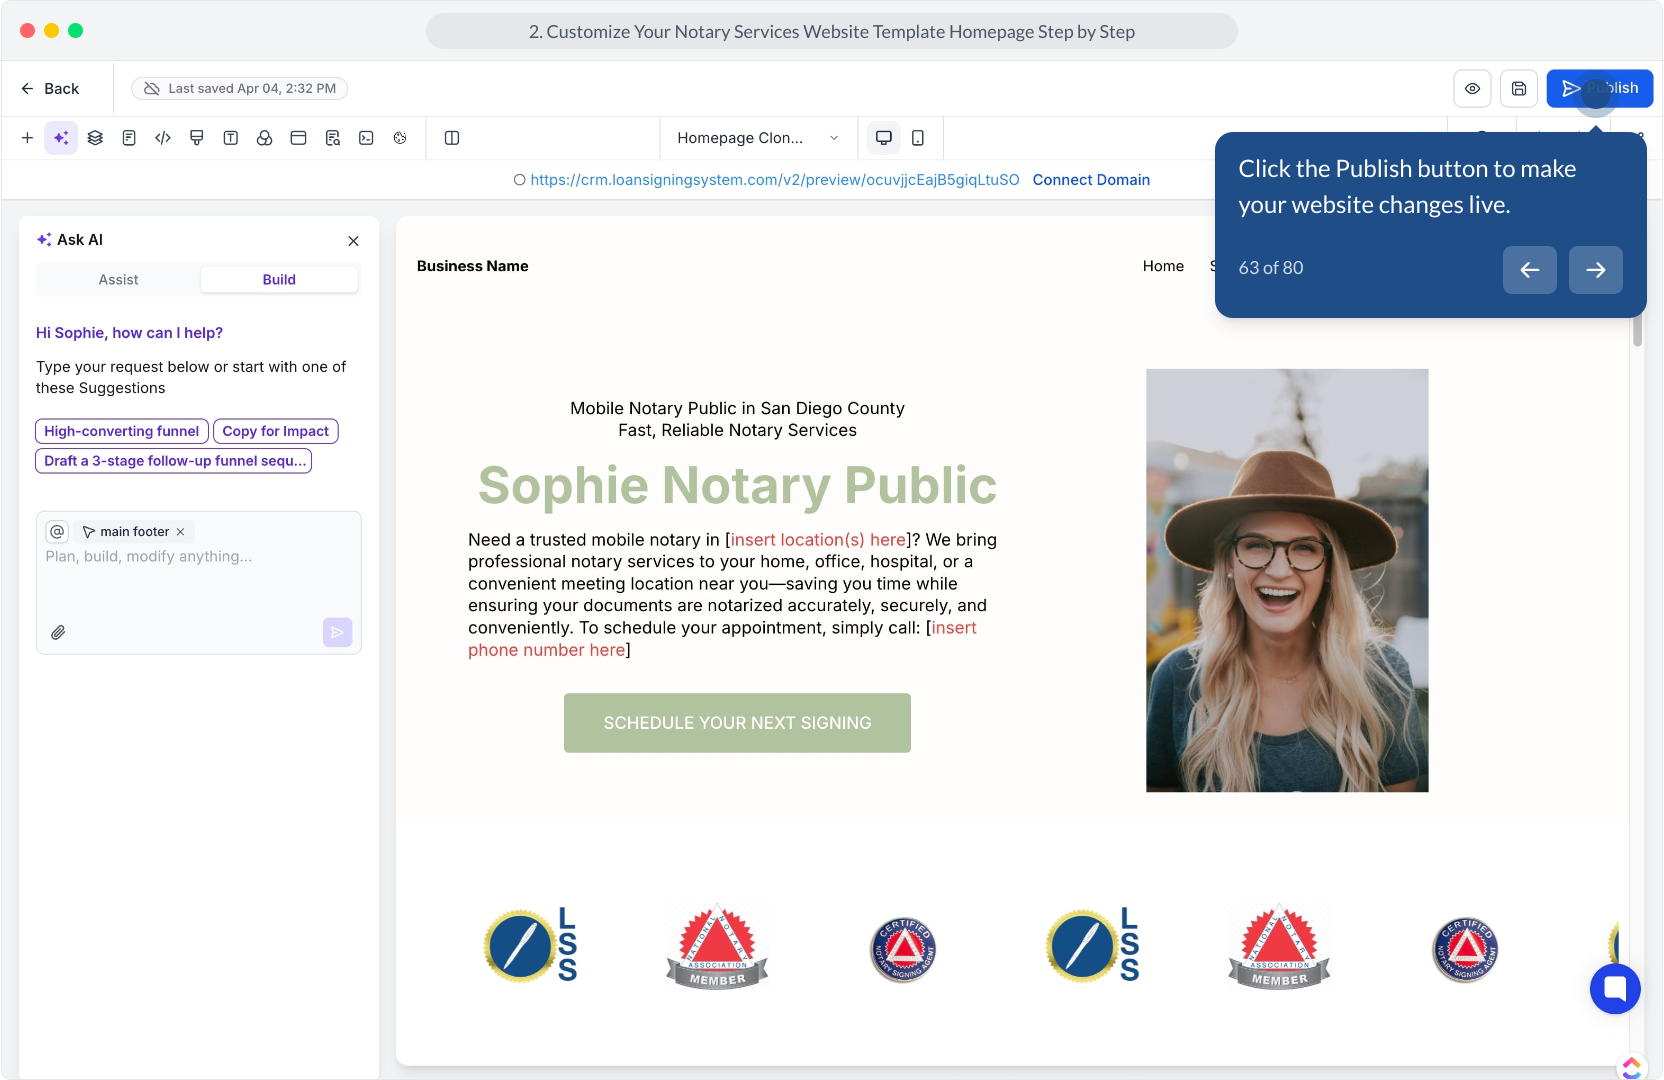
63. Click the Publish button to make your website changes live.
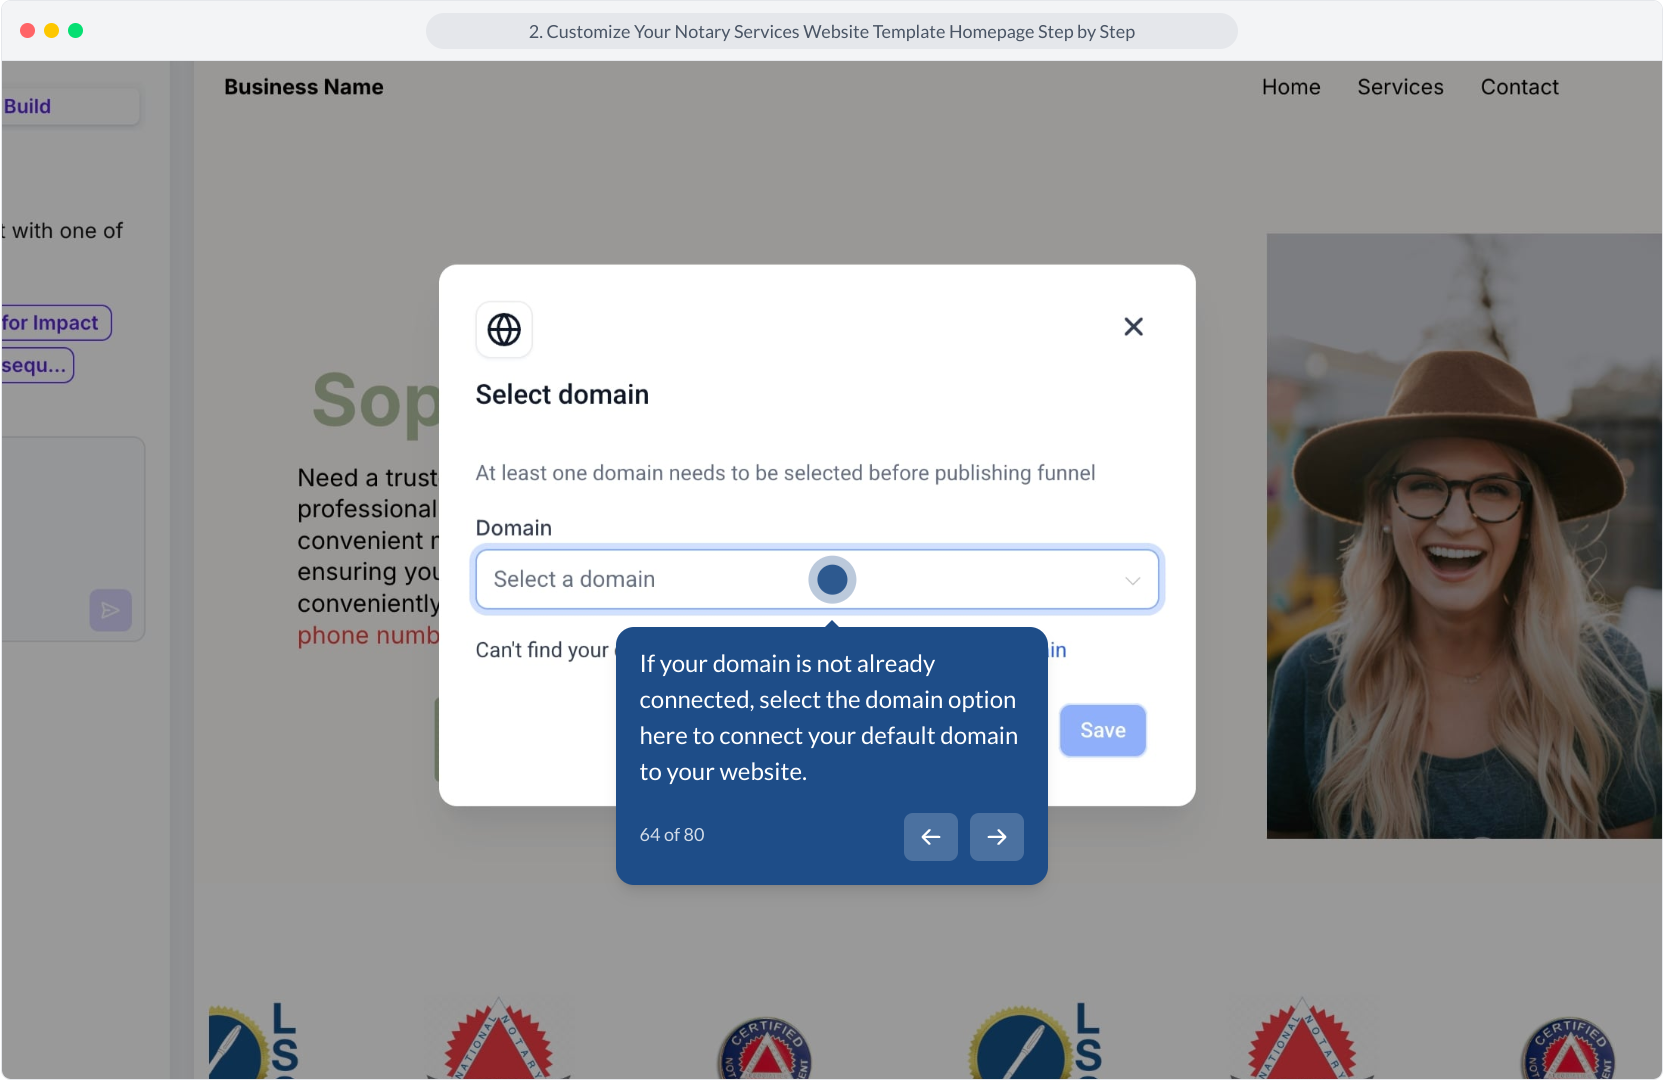
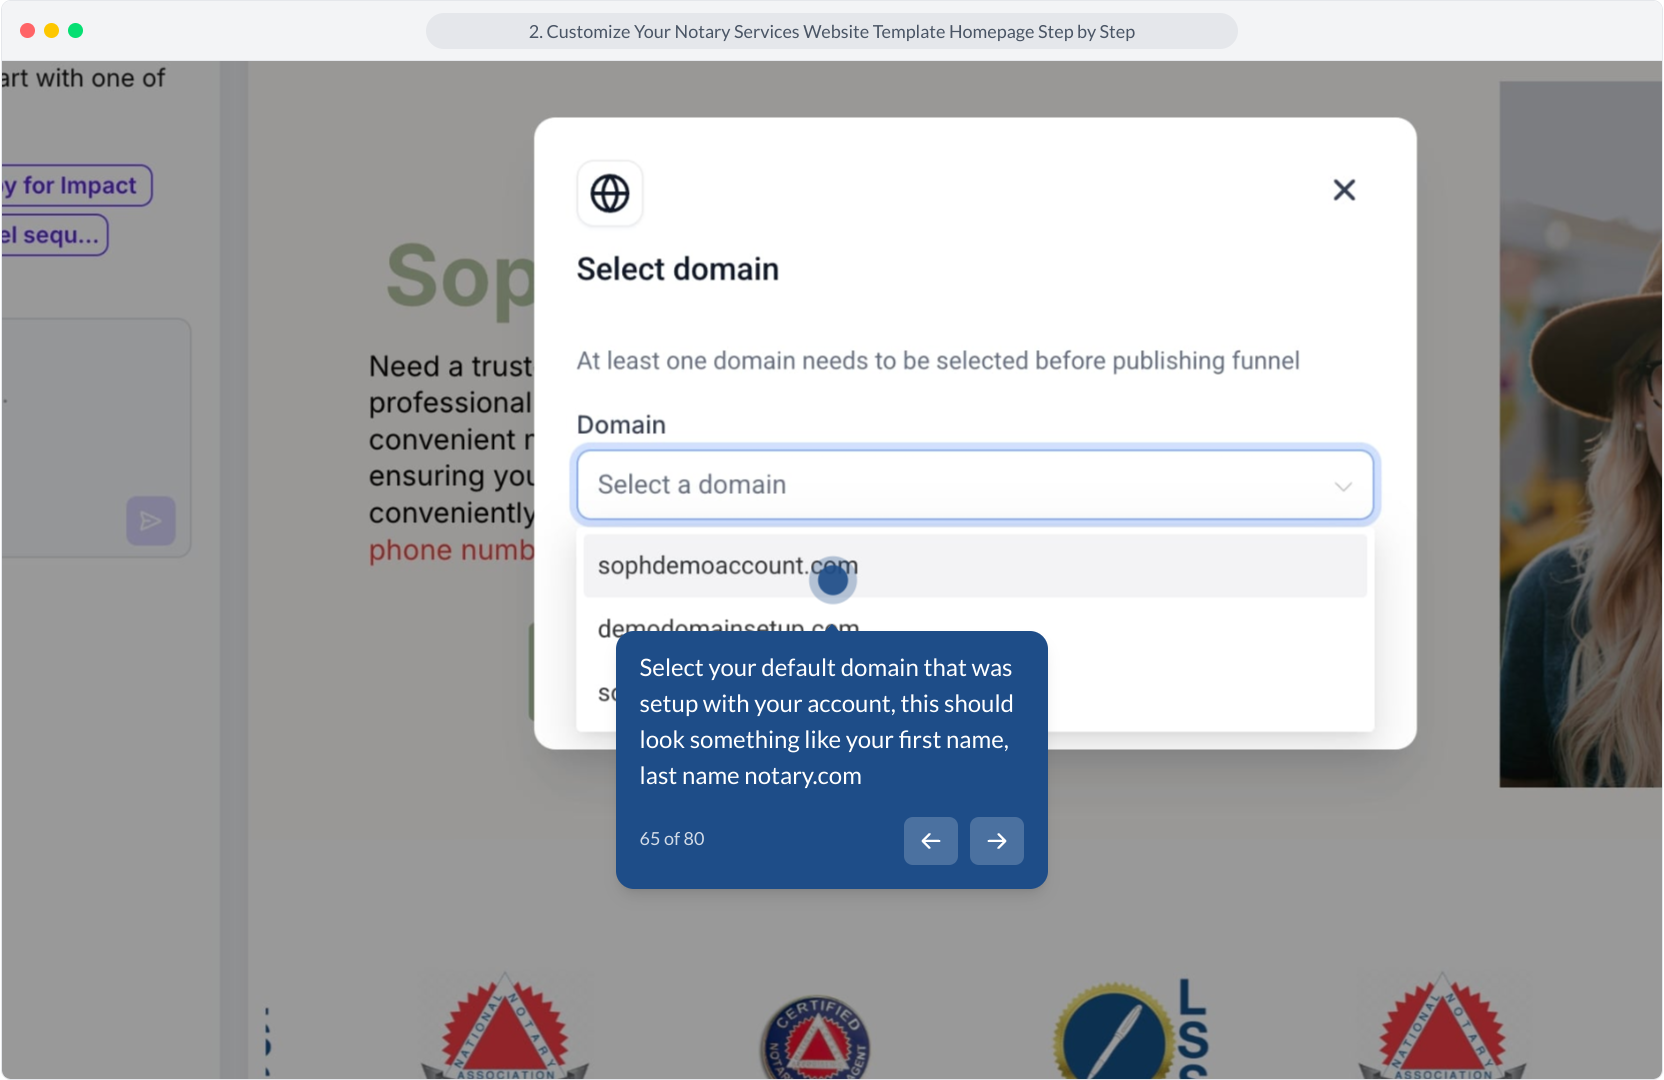
64. If your domain is not already connected, select the domain option here to connect your default domain to your website.
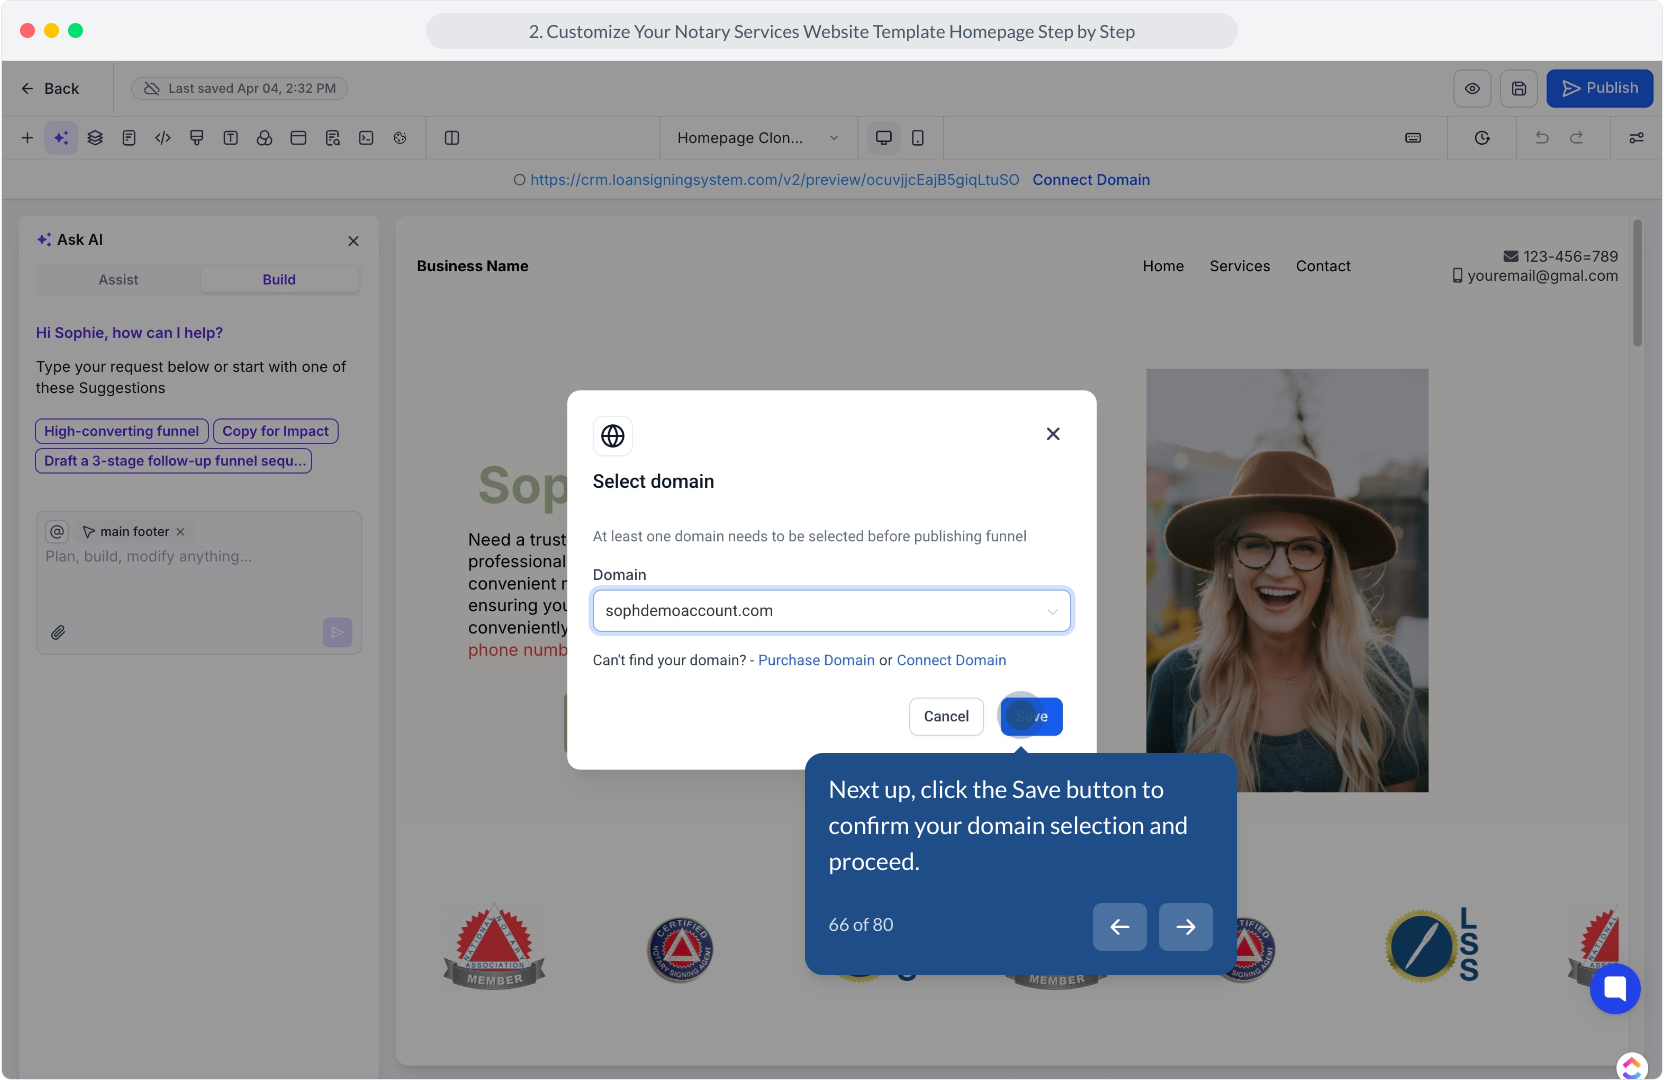
65. Select your default domain that was setup with your account, this should look something like your first name, last name notary.com
66. Next up, click the Save button to confirm your domain selection and proceed.
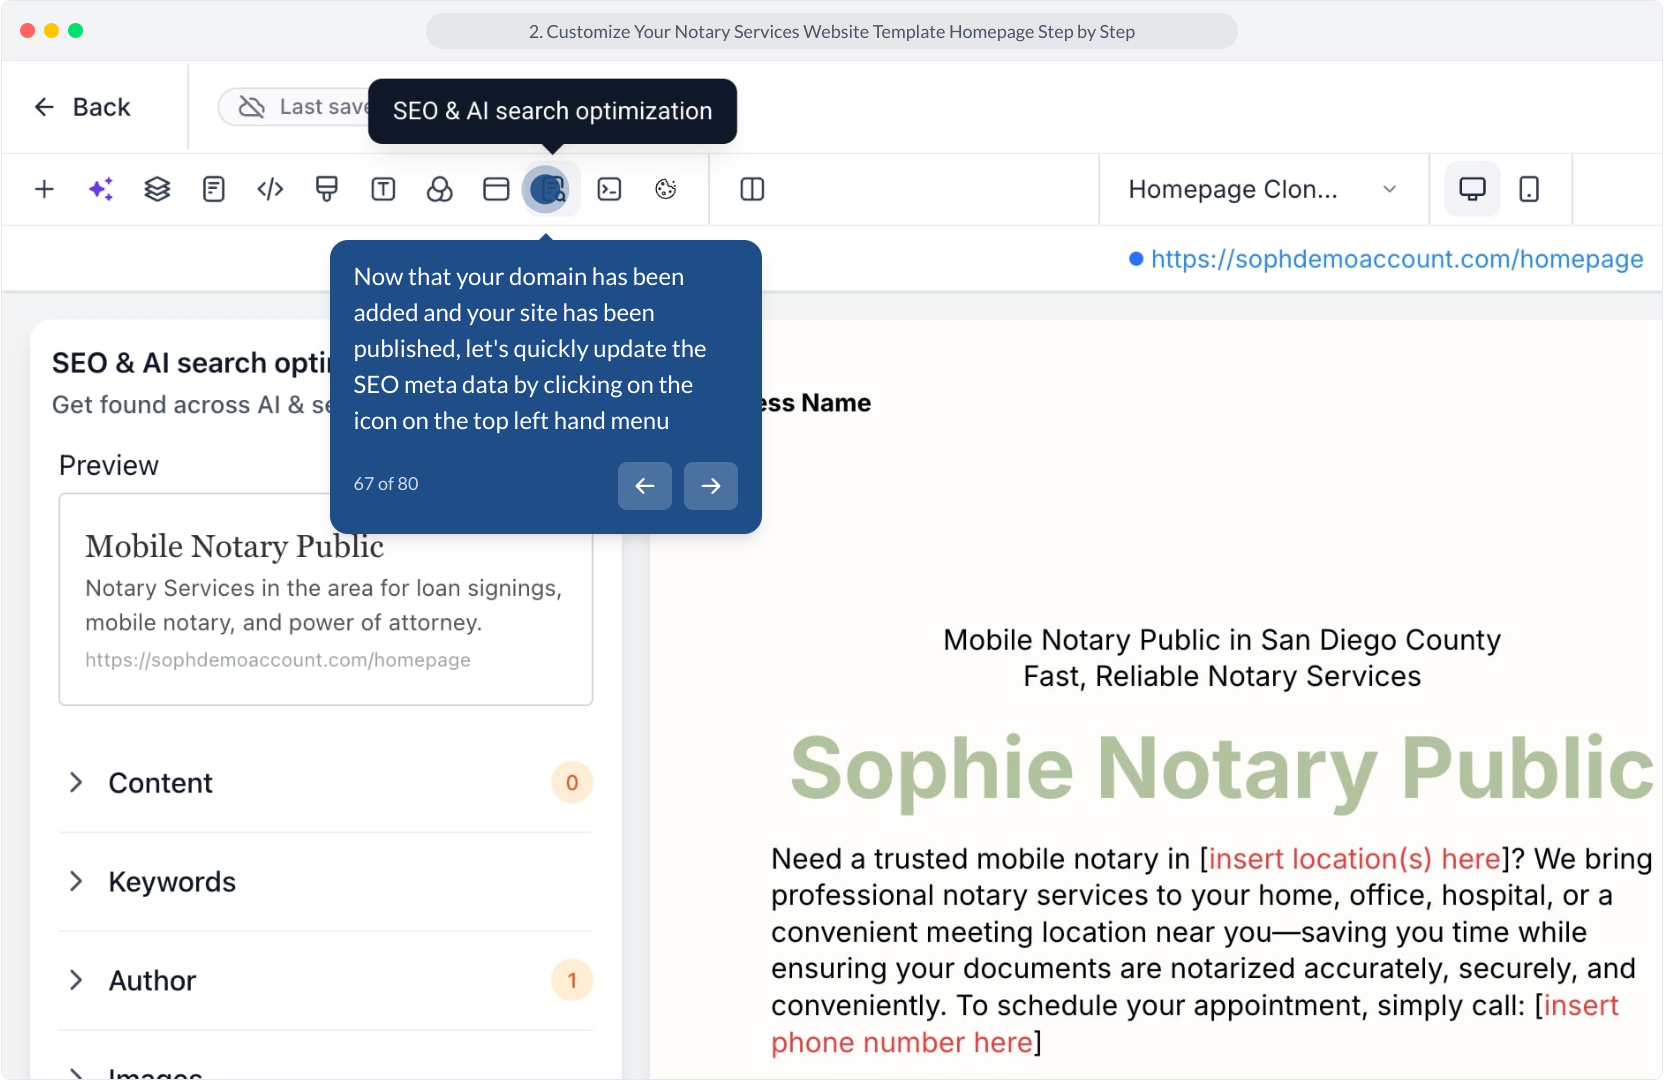
67. Now that your domain has been added and your site has been published, let's quickly update the SEO meta data by clicking on the icon on the top left hand menu
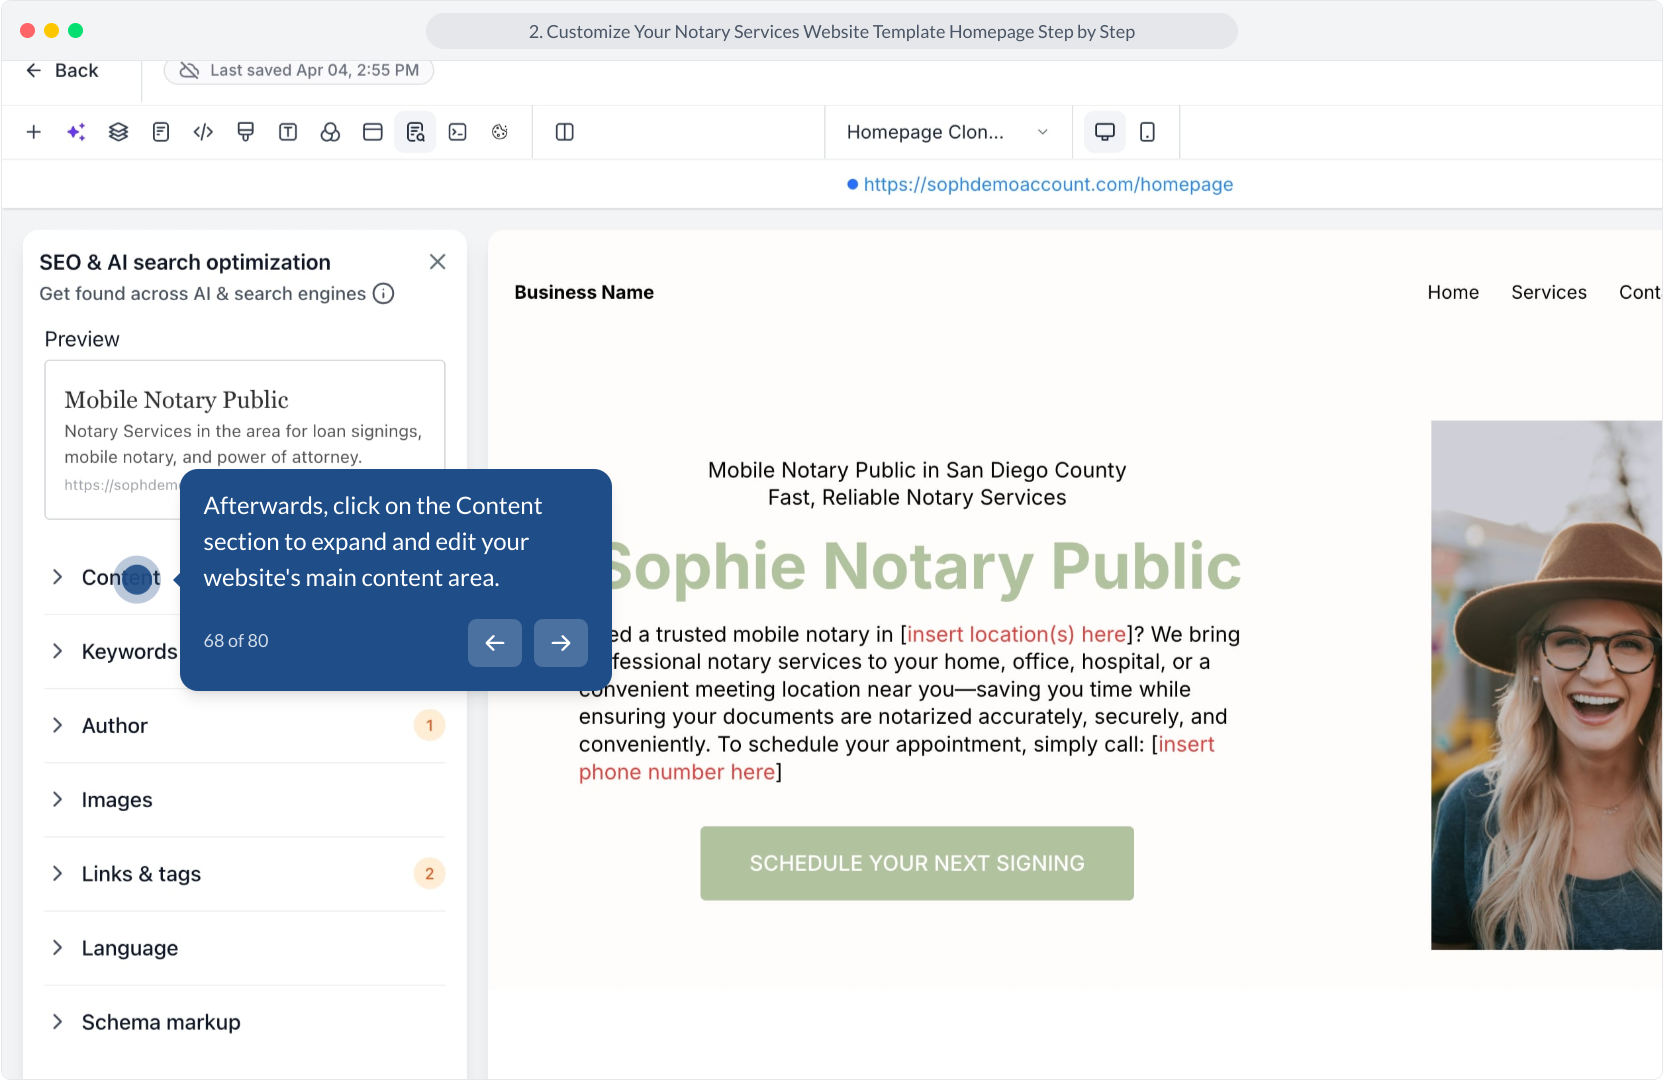
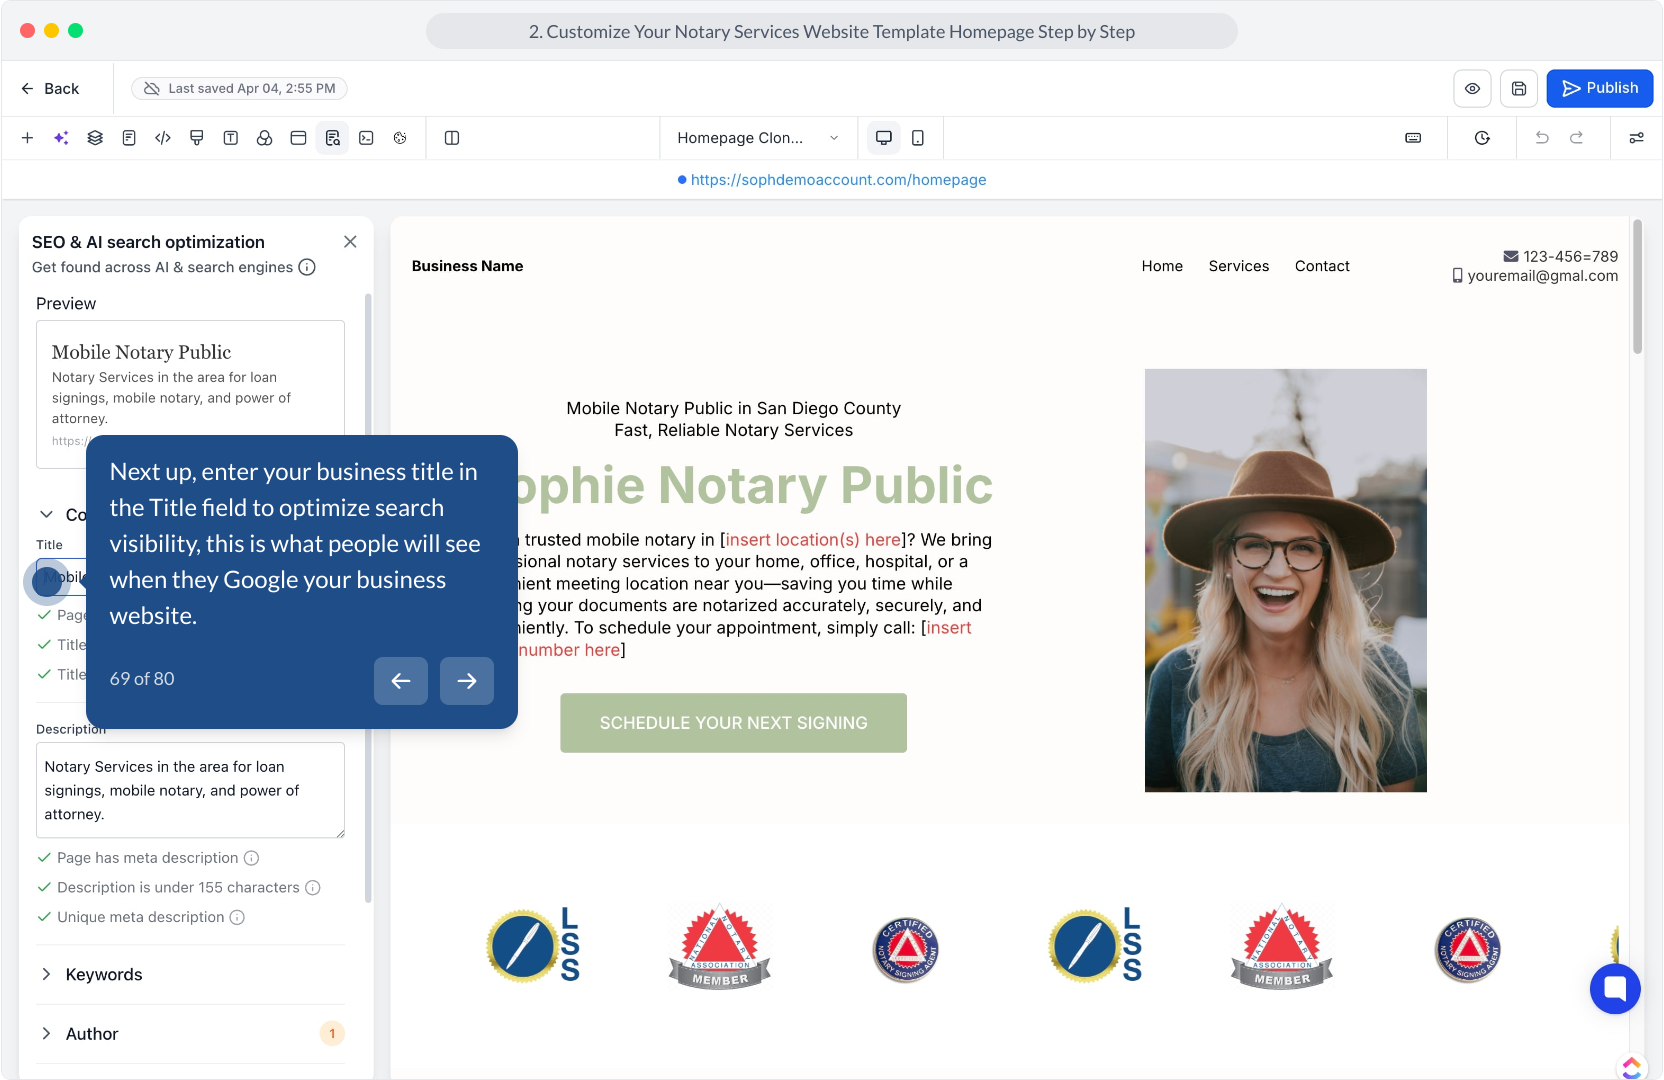
68. Afterwards, click on the Content section to expand and edit your website's main content area.
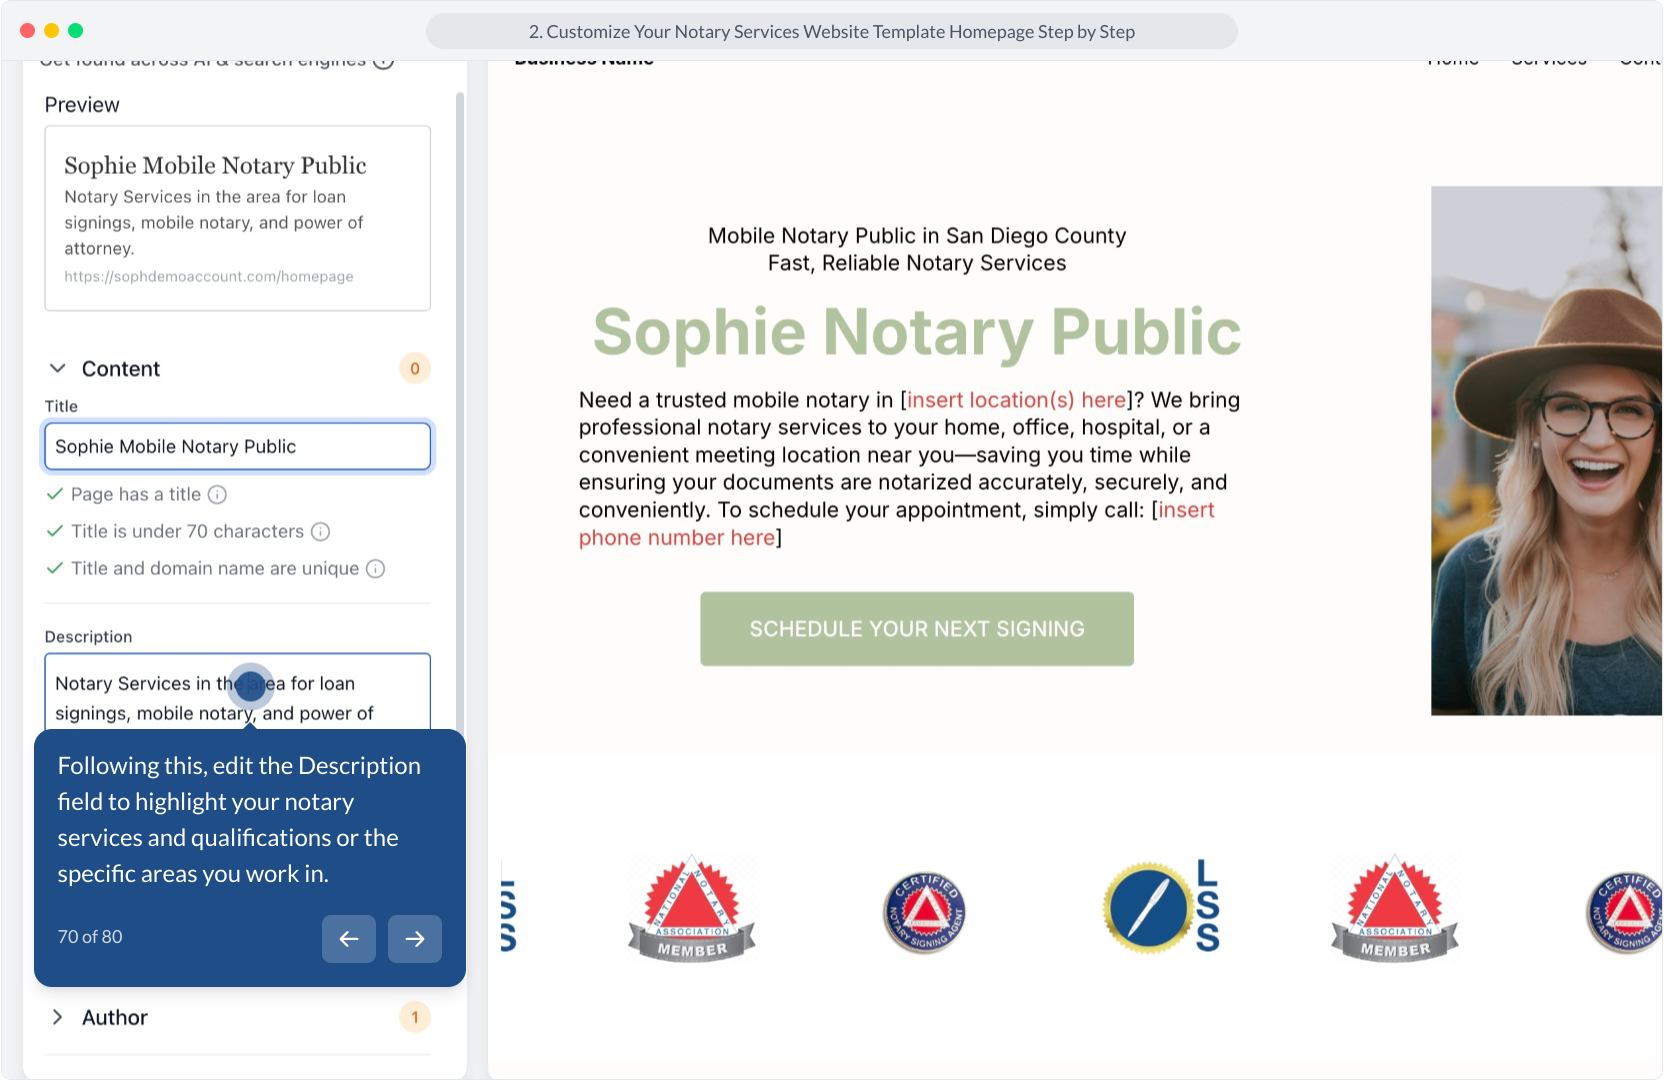
69. Next up, enter your business title in the Title field to optimize search visibility, this is what people will see when they Google your business website.
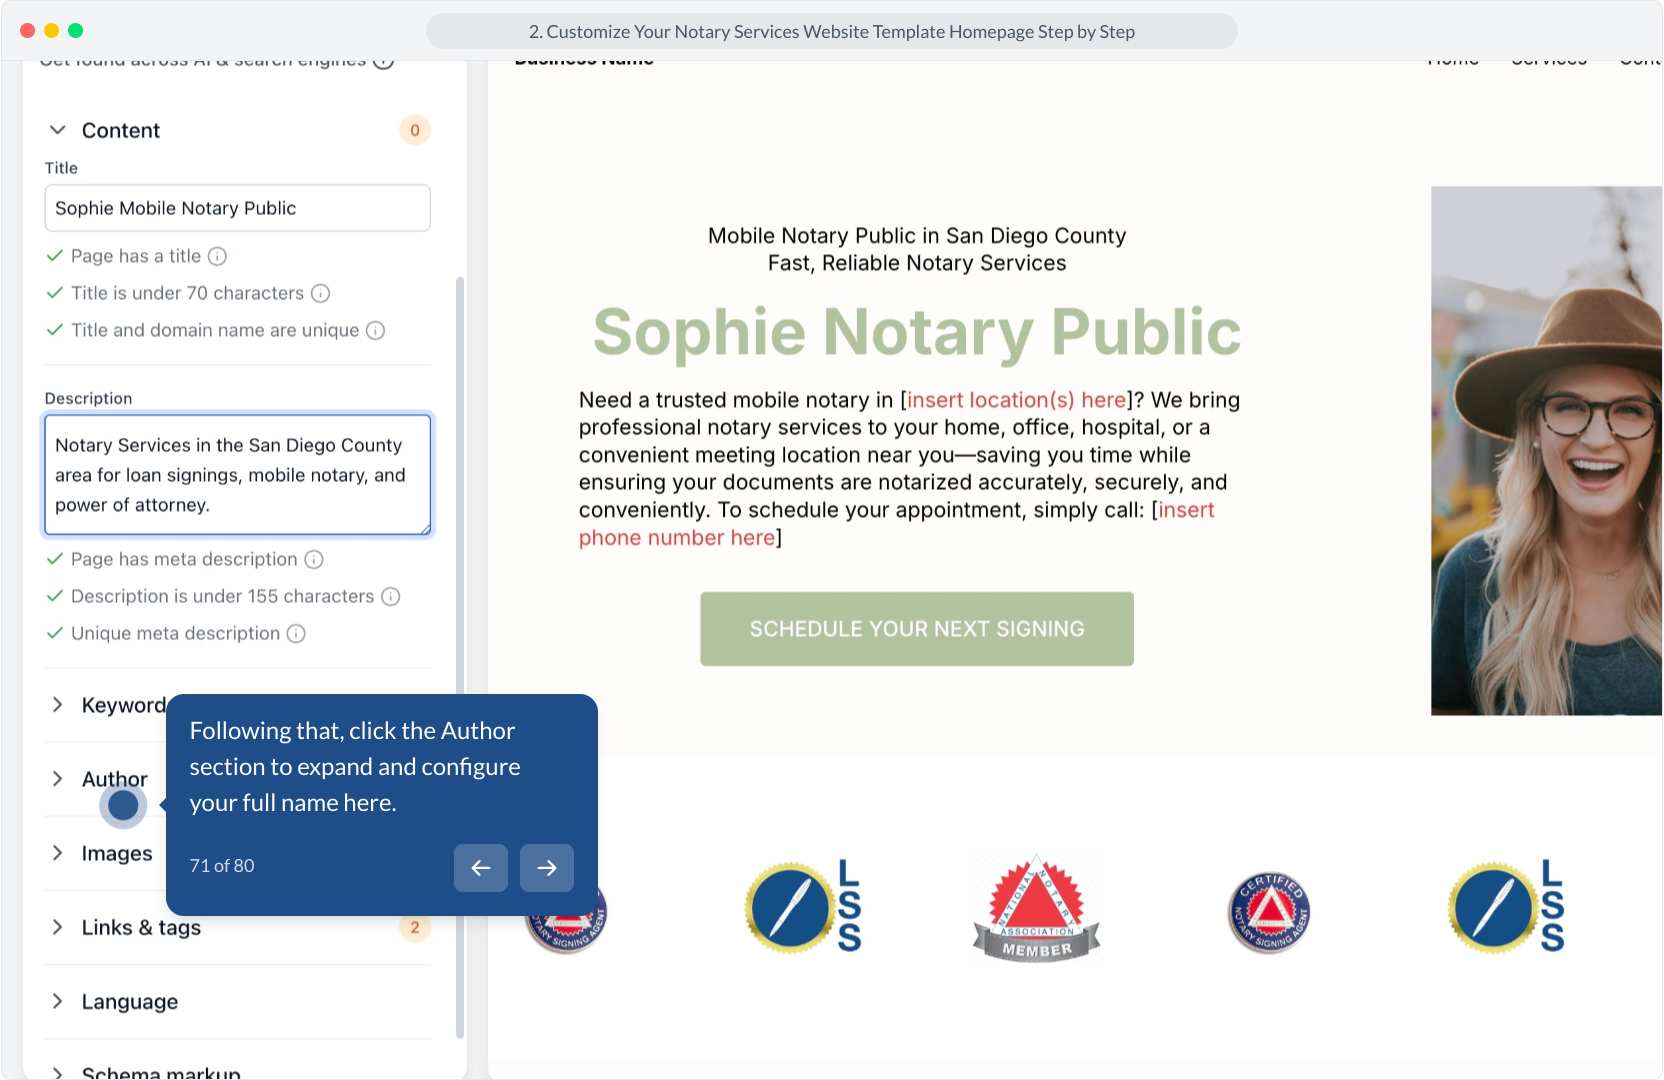
70. Following this, edit the Description field to highlight your notary services and qualifications or the specific areas you work in.
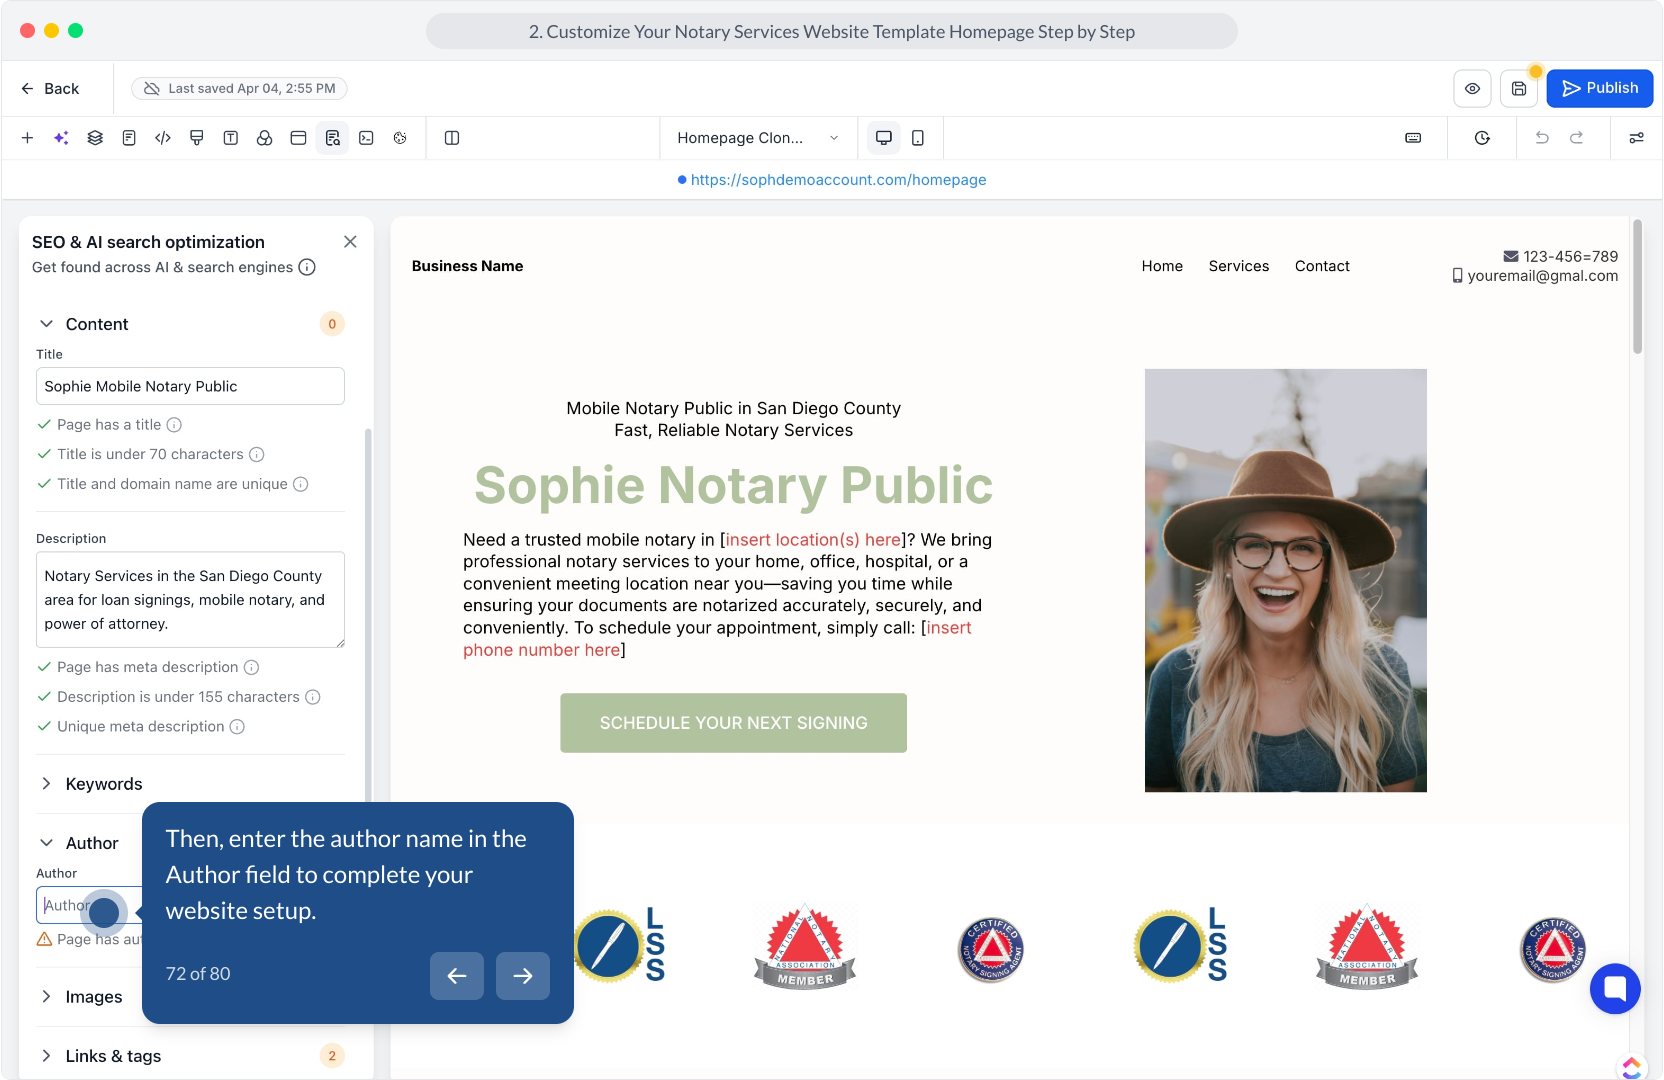
71. Following that, click the Author section to expand and configure your full name here.
72. Then, enter the author name in the Author field to complete your website setup.
73. Following that, click the Publish button to save and deploy your customized website template.
74. Then, click the Publish button to save and deploy your website changes.

75. Once you've updated your SEO Meta data and published your website, you can click on the url on the top middle section here to preview the site again.
This will open up your website on a seperate tab. Swap back to the website editor tab to continue editing your site after previewing your live site.
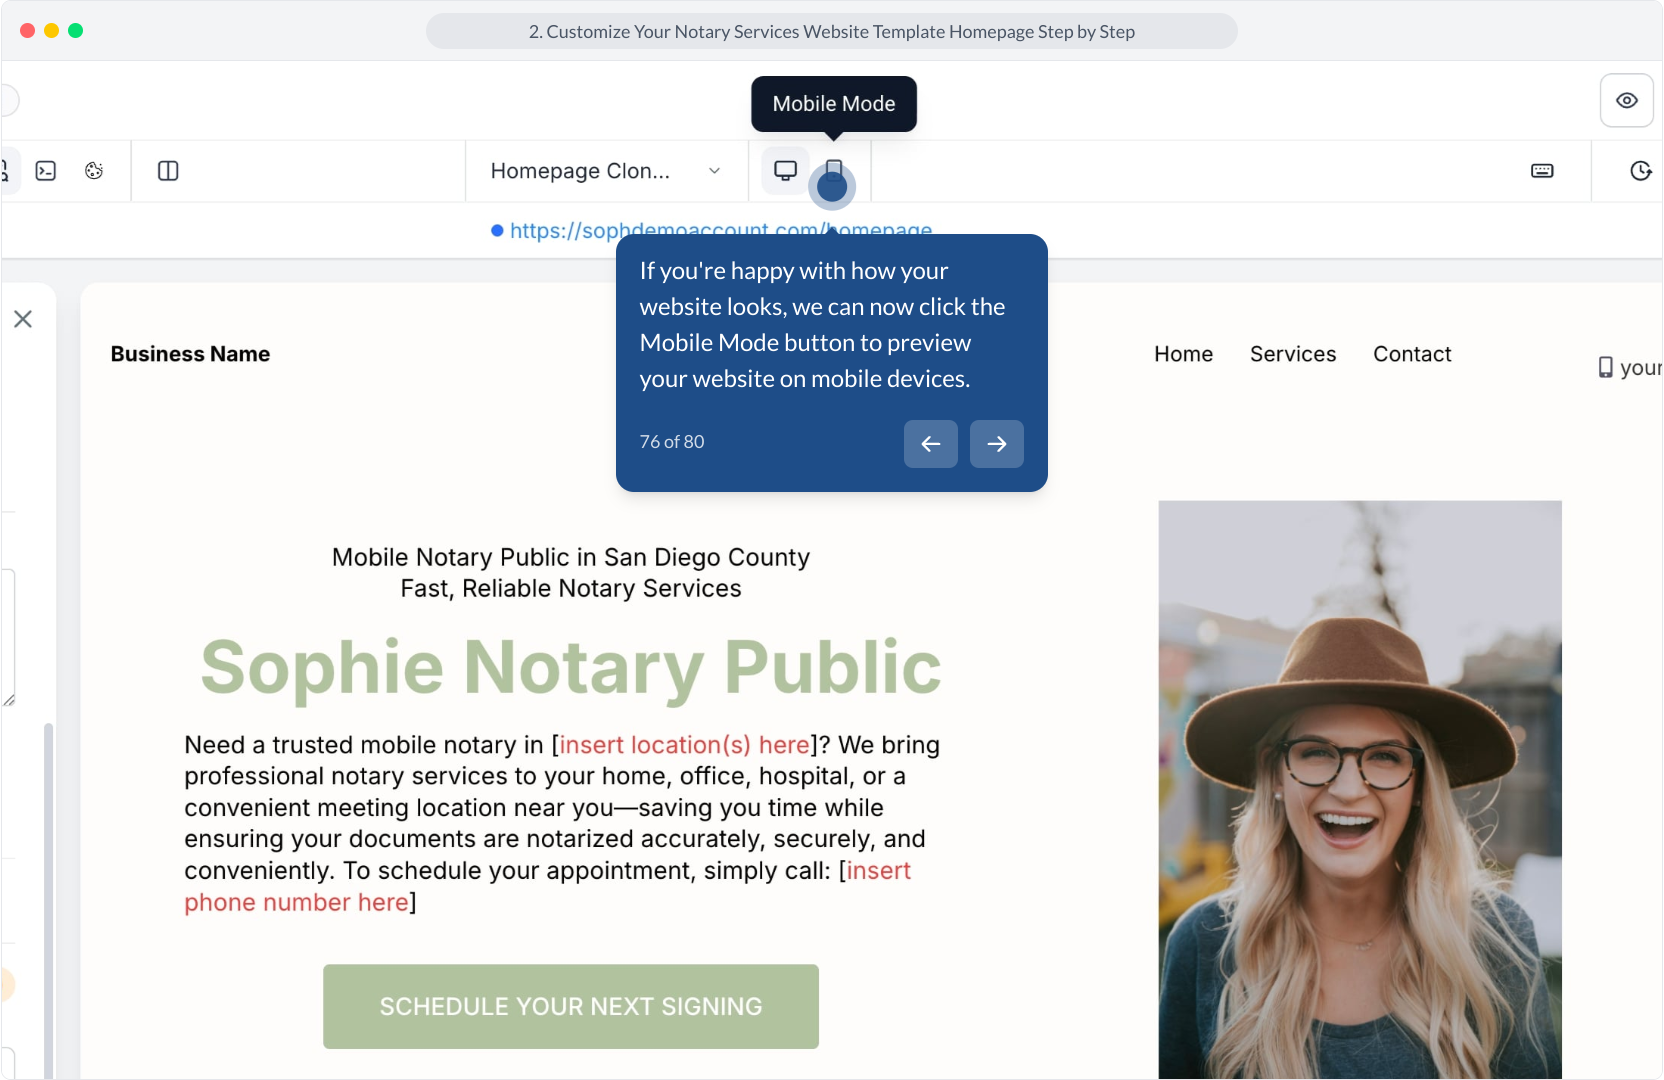
76. If you're happy with how your website looks, we can now click the Mobile Mode button to preview your website on mobile devices.
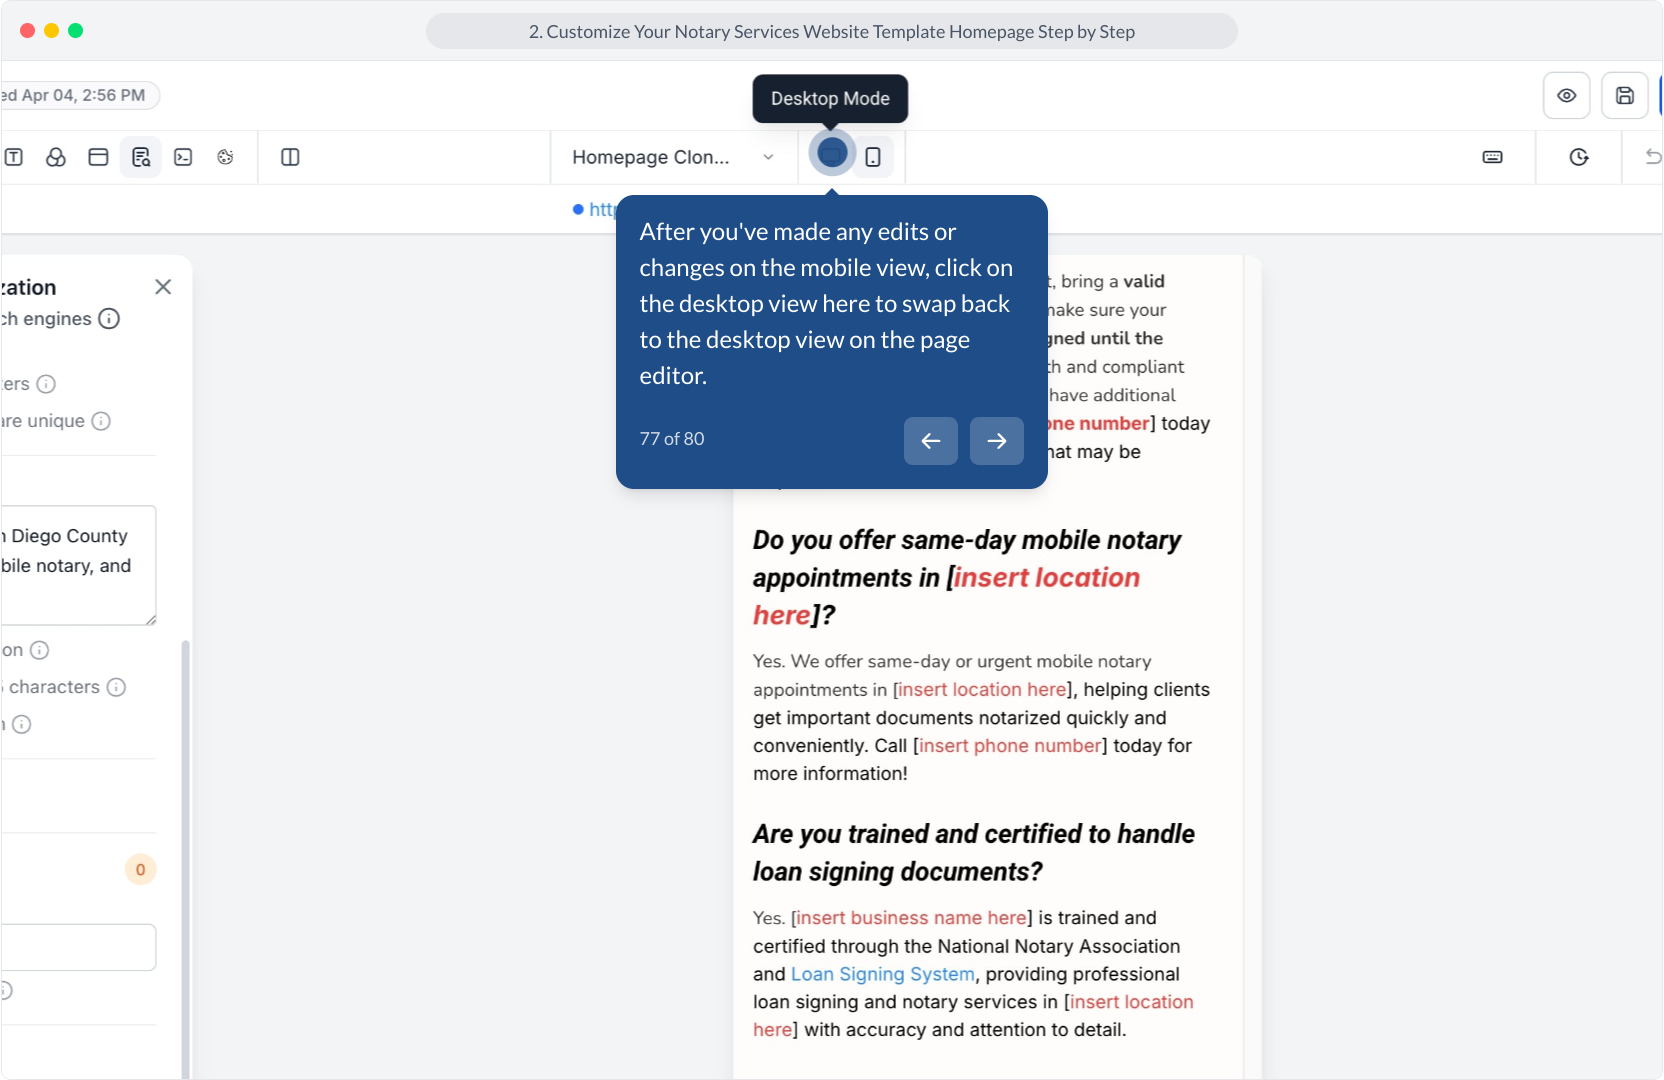
77. After you've made any edits or changes on the mobile view, click on the desktop view here to swap back to the desktop view on the page editor.
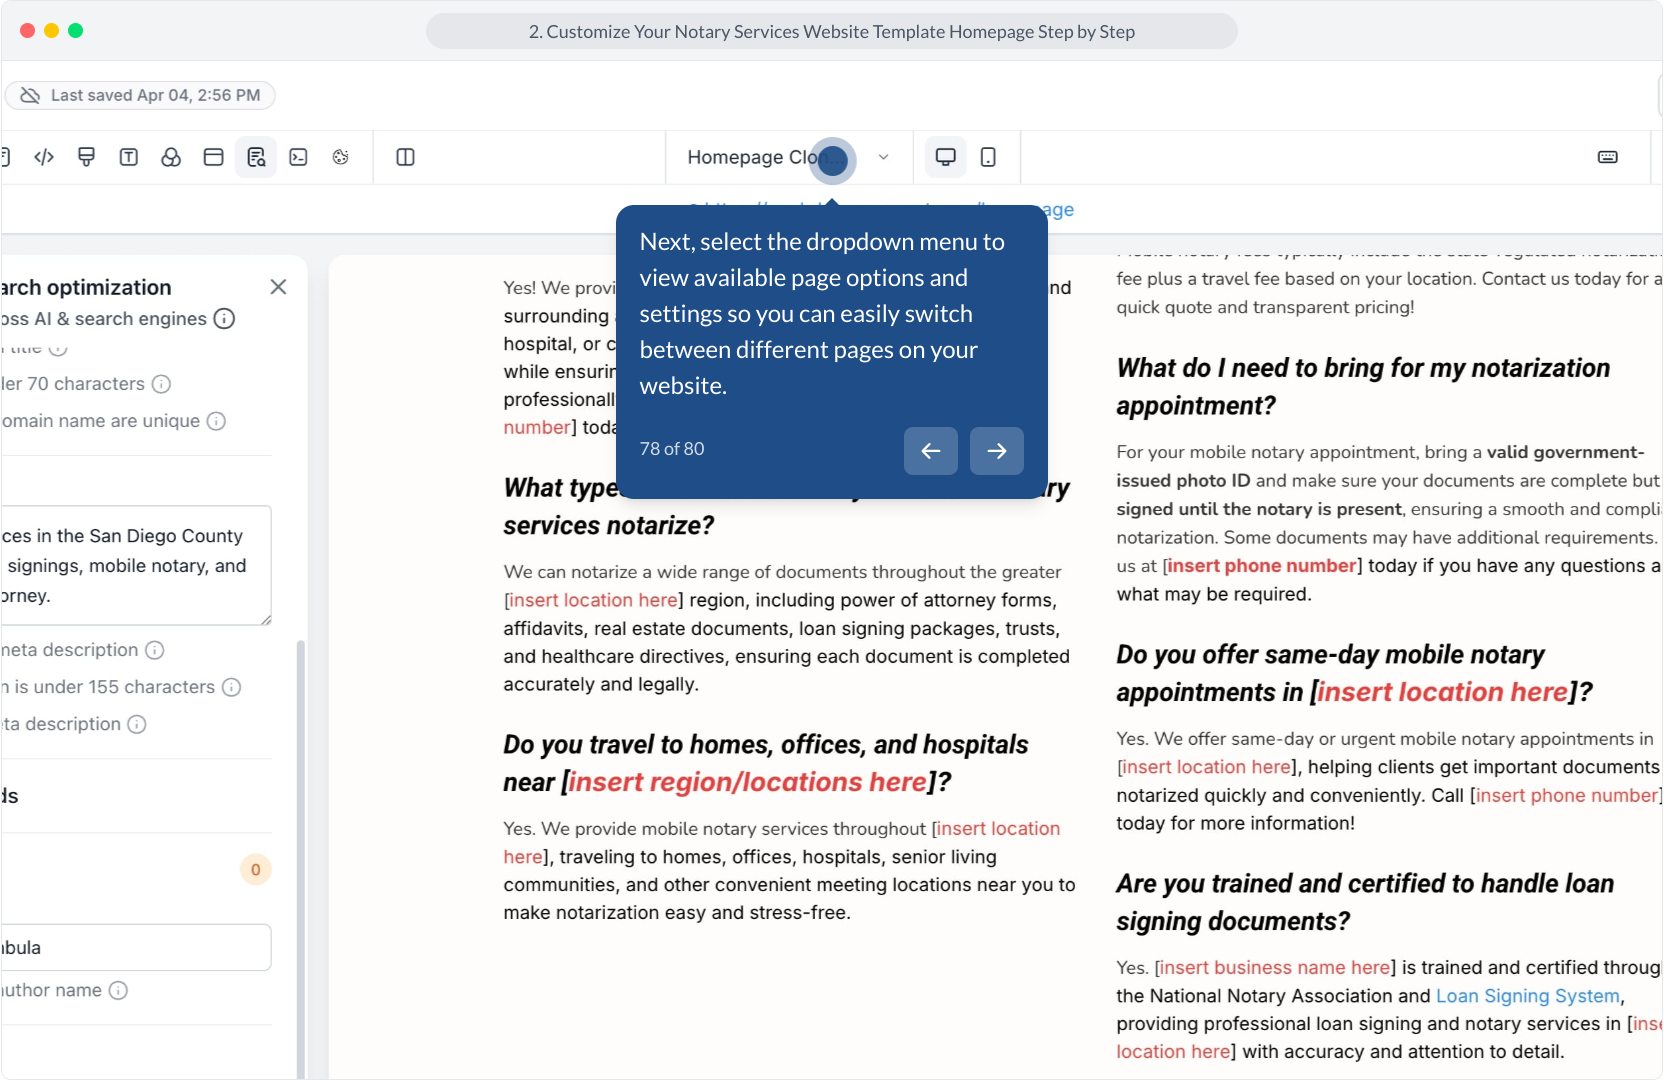
78. Next, select the dropdown menu to view available page options and settings so you can easily switch between different pages on your website.
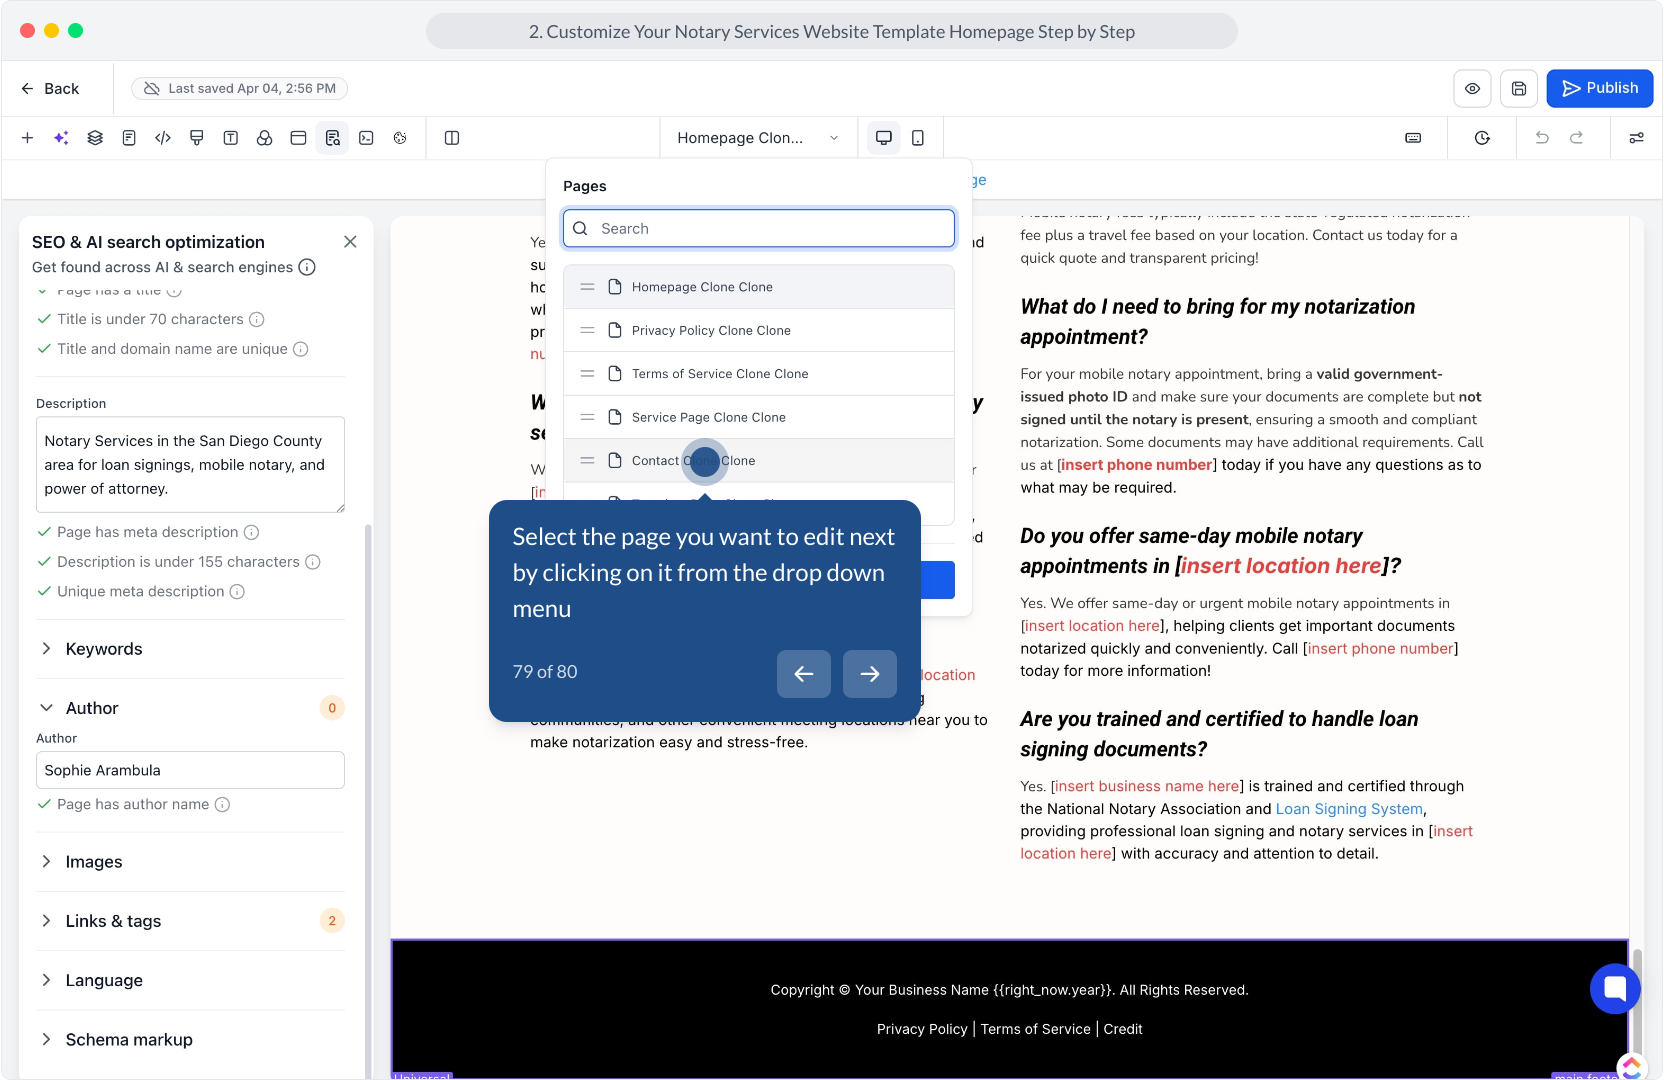
79. Select the page you want to edit next by clicking on it from the drop down menu
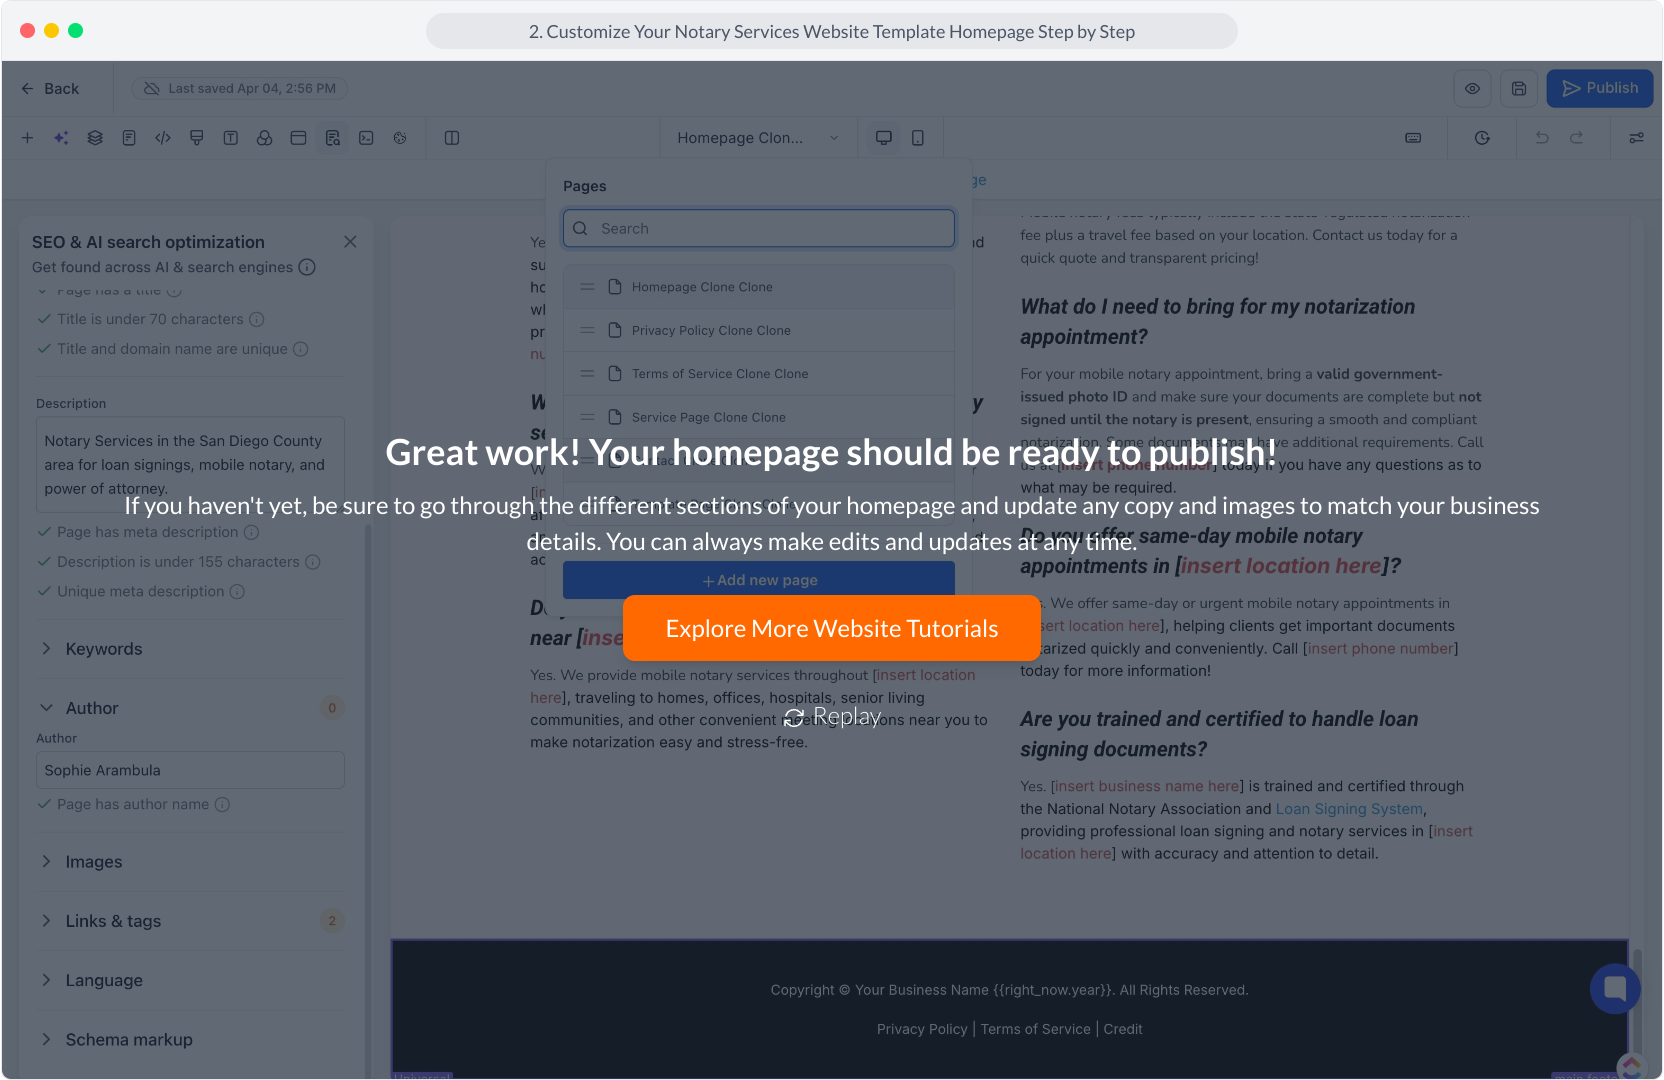
80. Great work! Your homepage should be ready to publish!