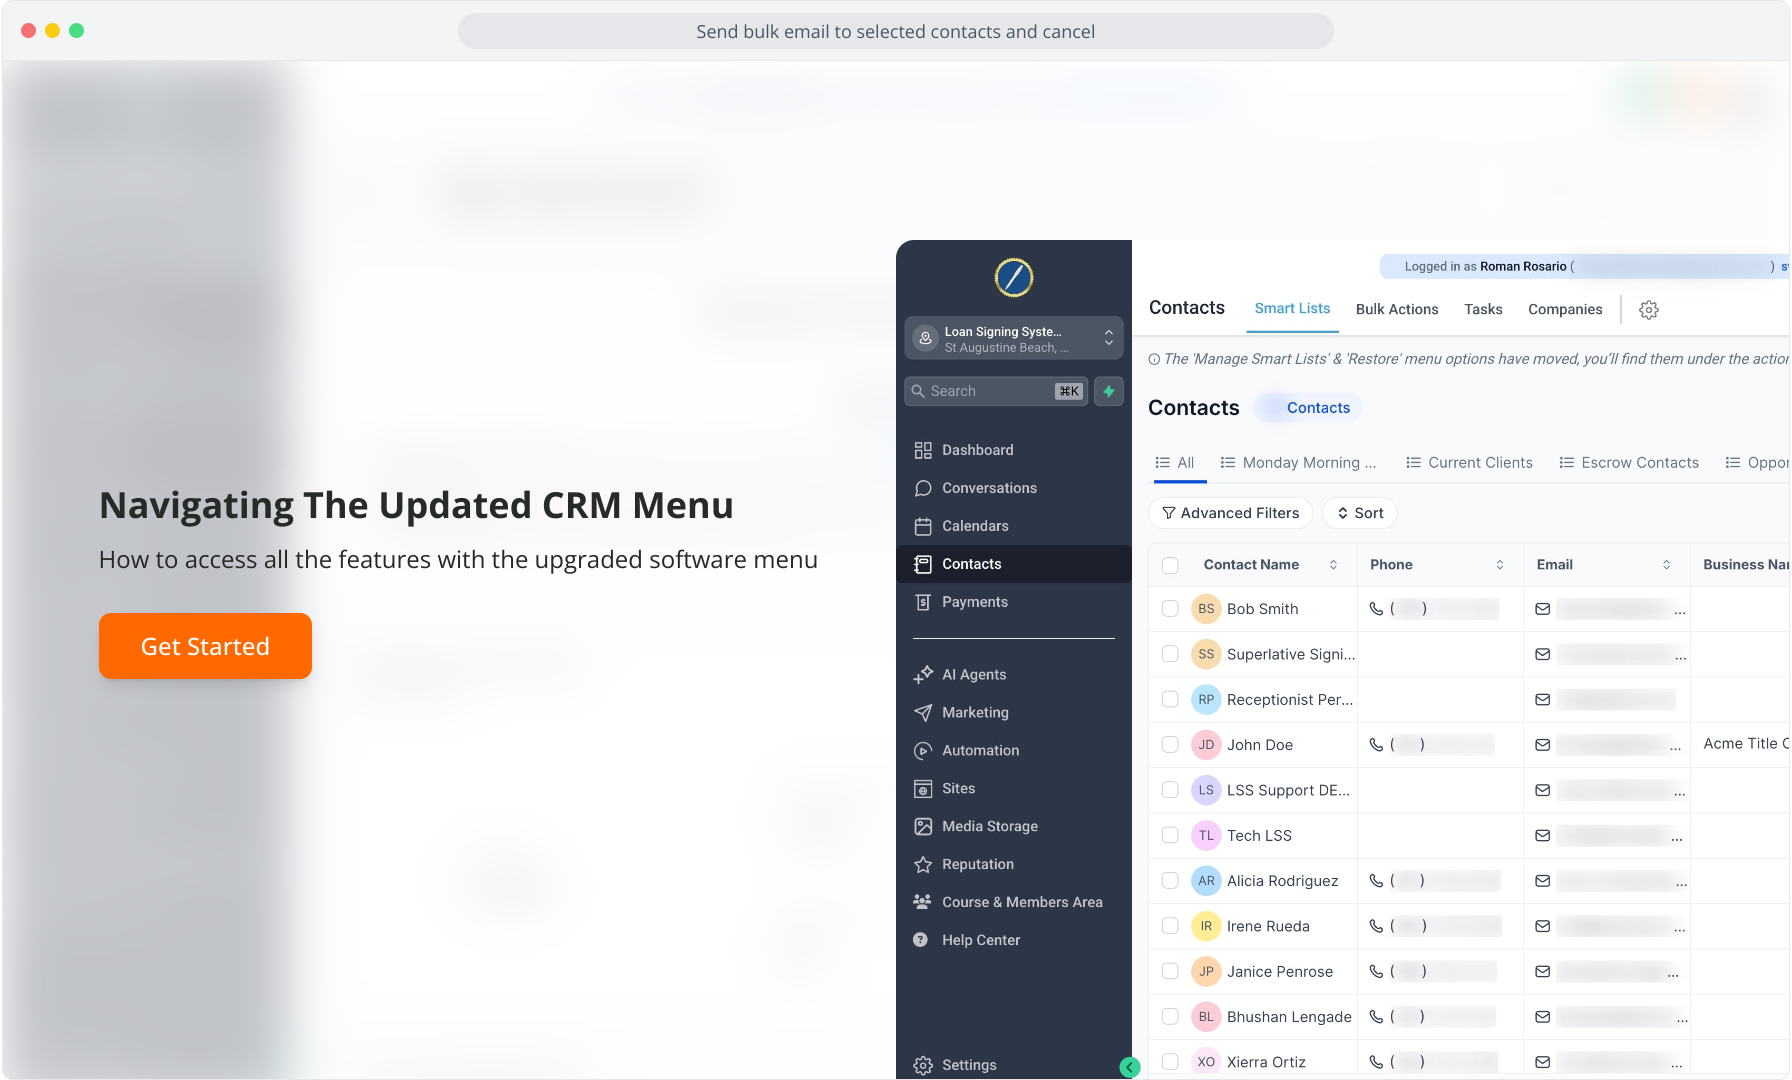
1. Navigating The Updated CRM Menu
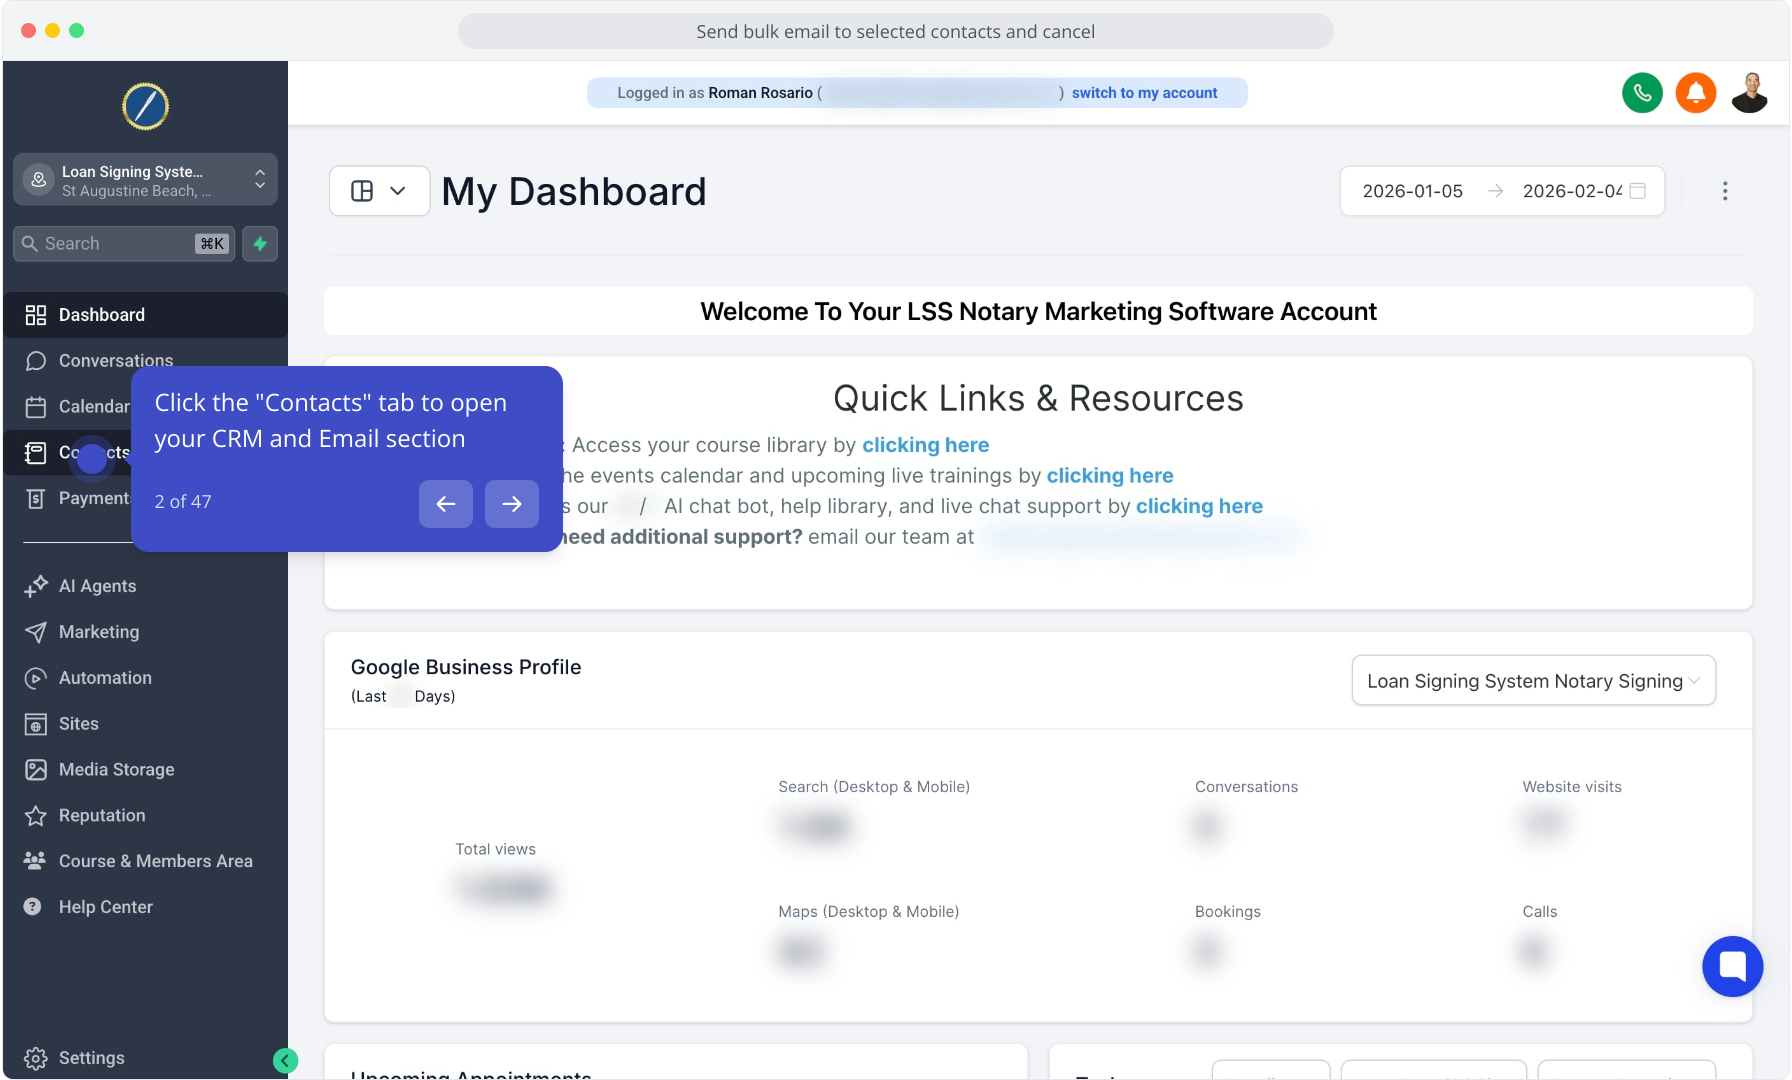
2. Click the "Contacts" tab to open your CRM and Email section
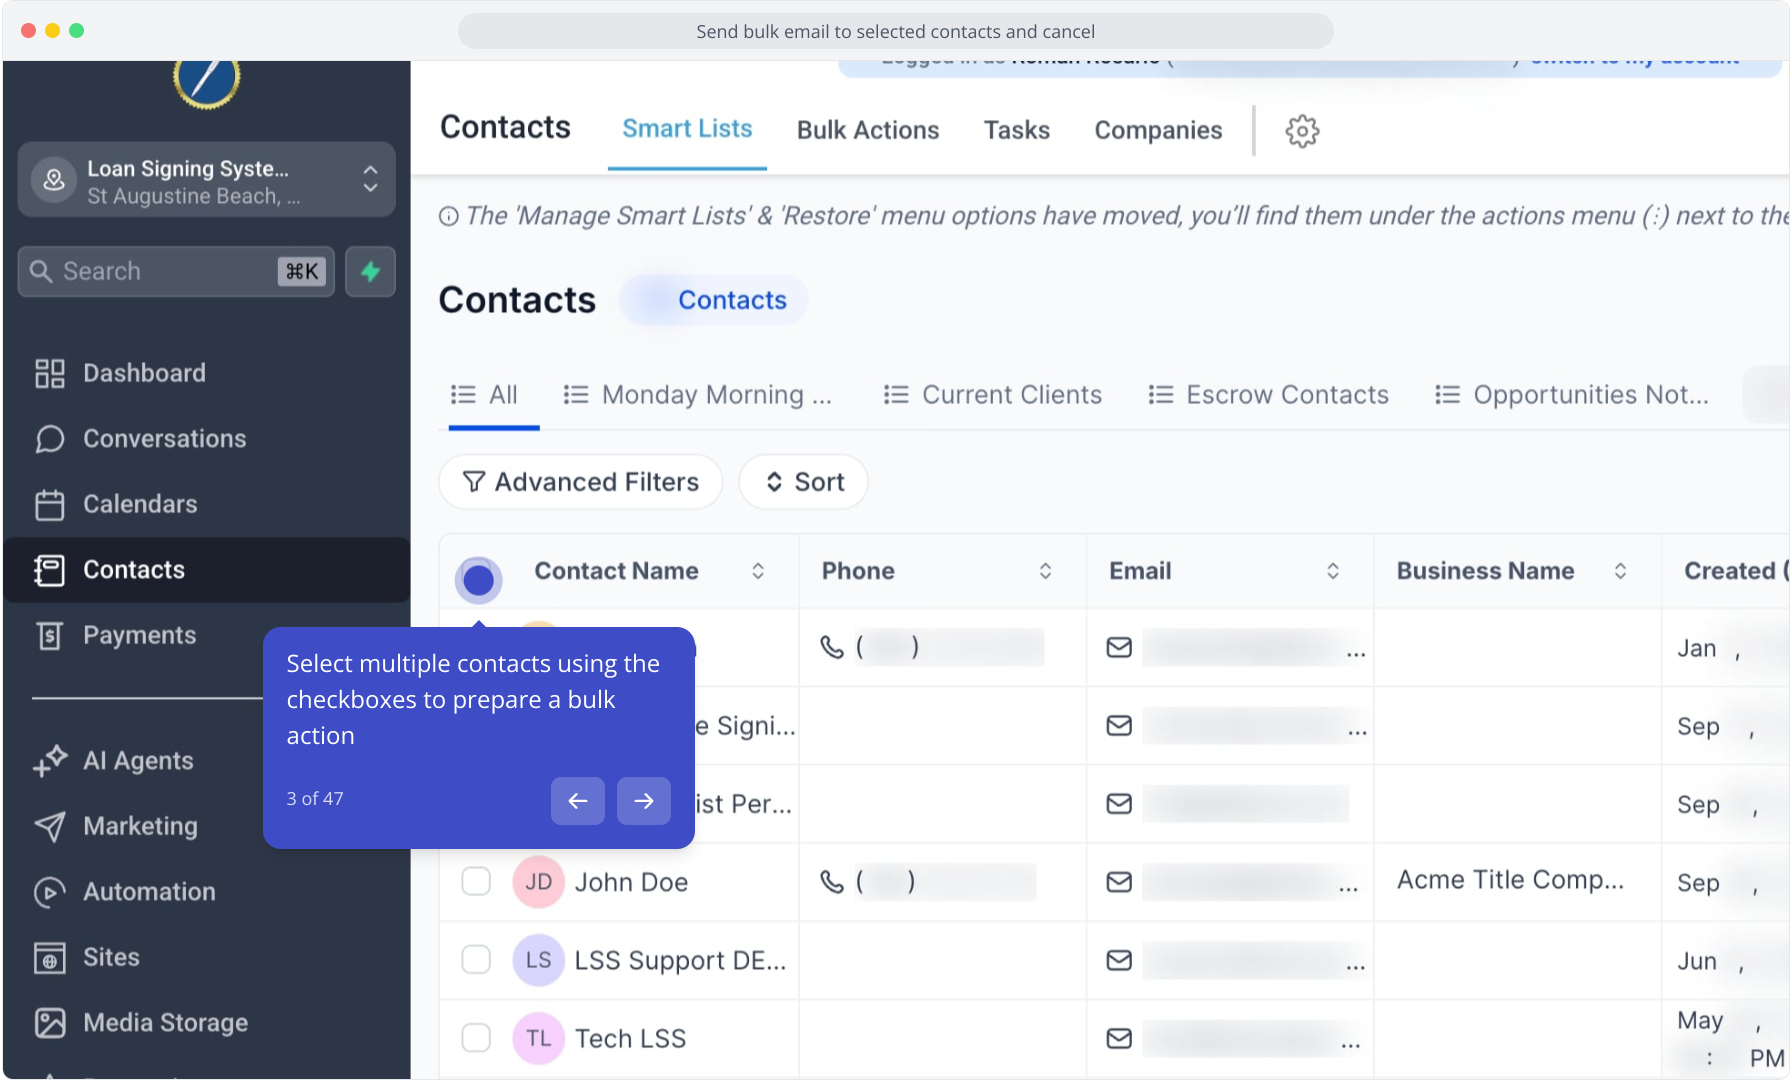
3. Select multiple contacts using the checkboxes to prepare a bulk action
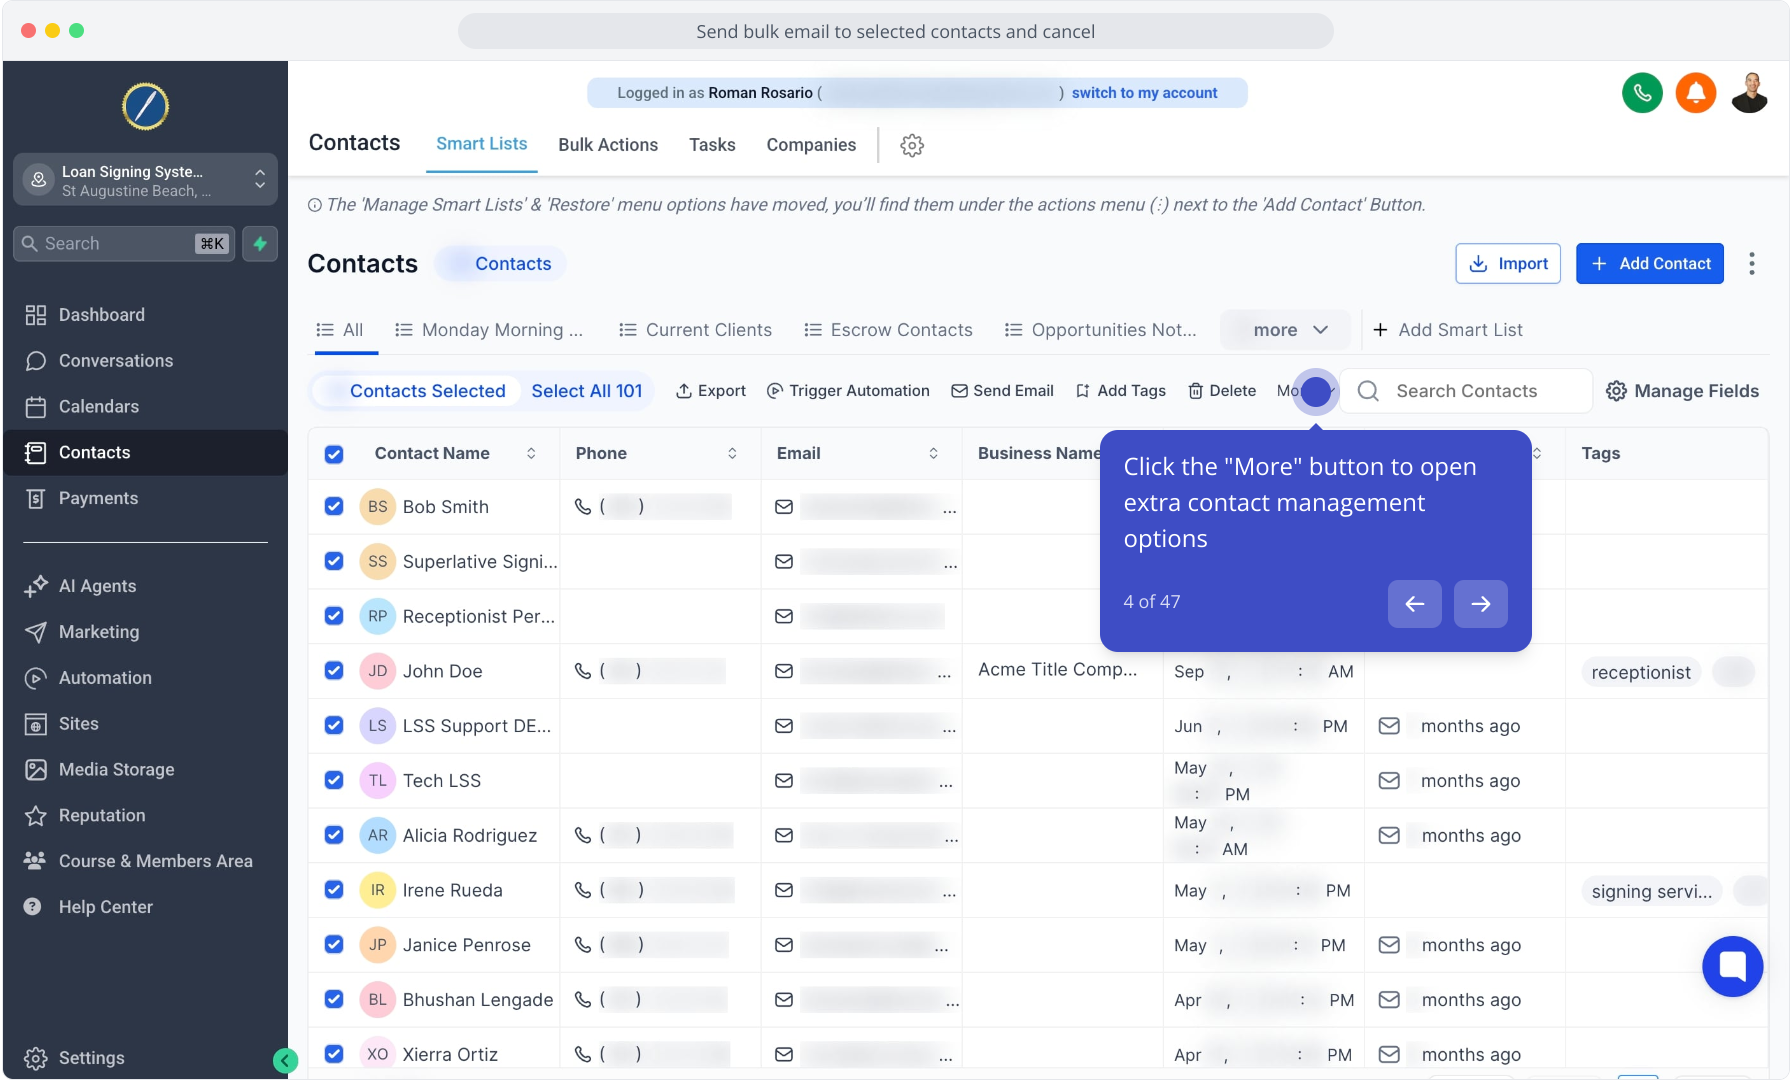
4. Click the "More" button to open extra contact management options
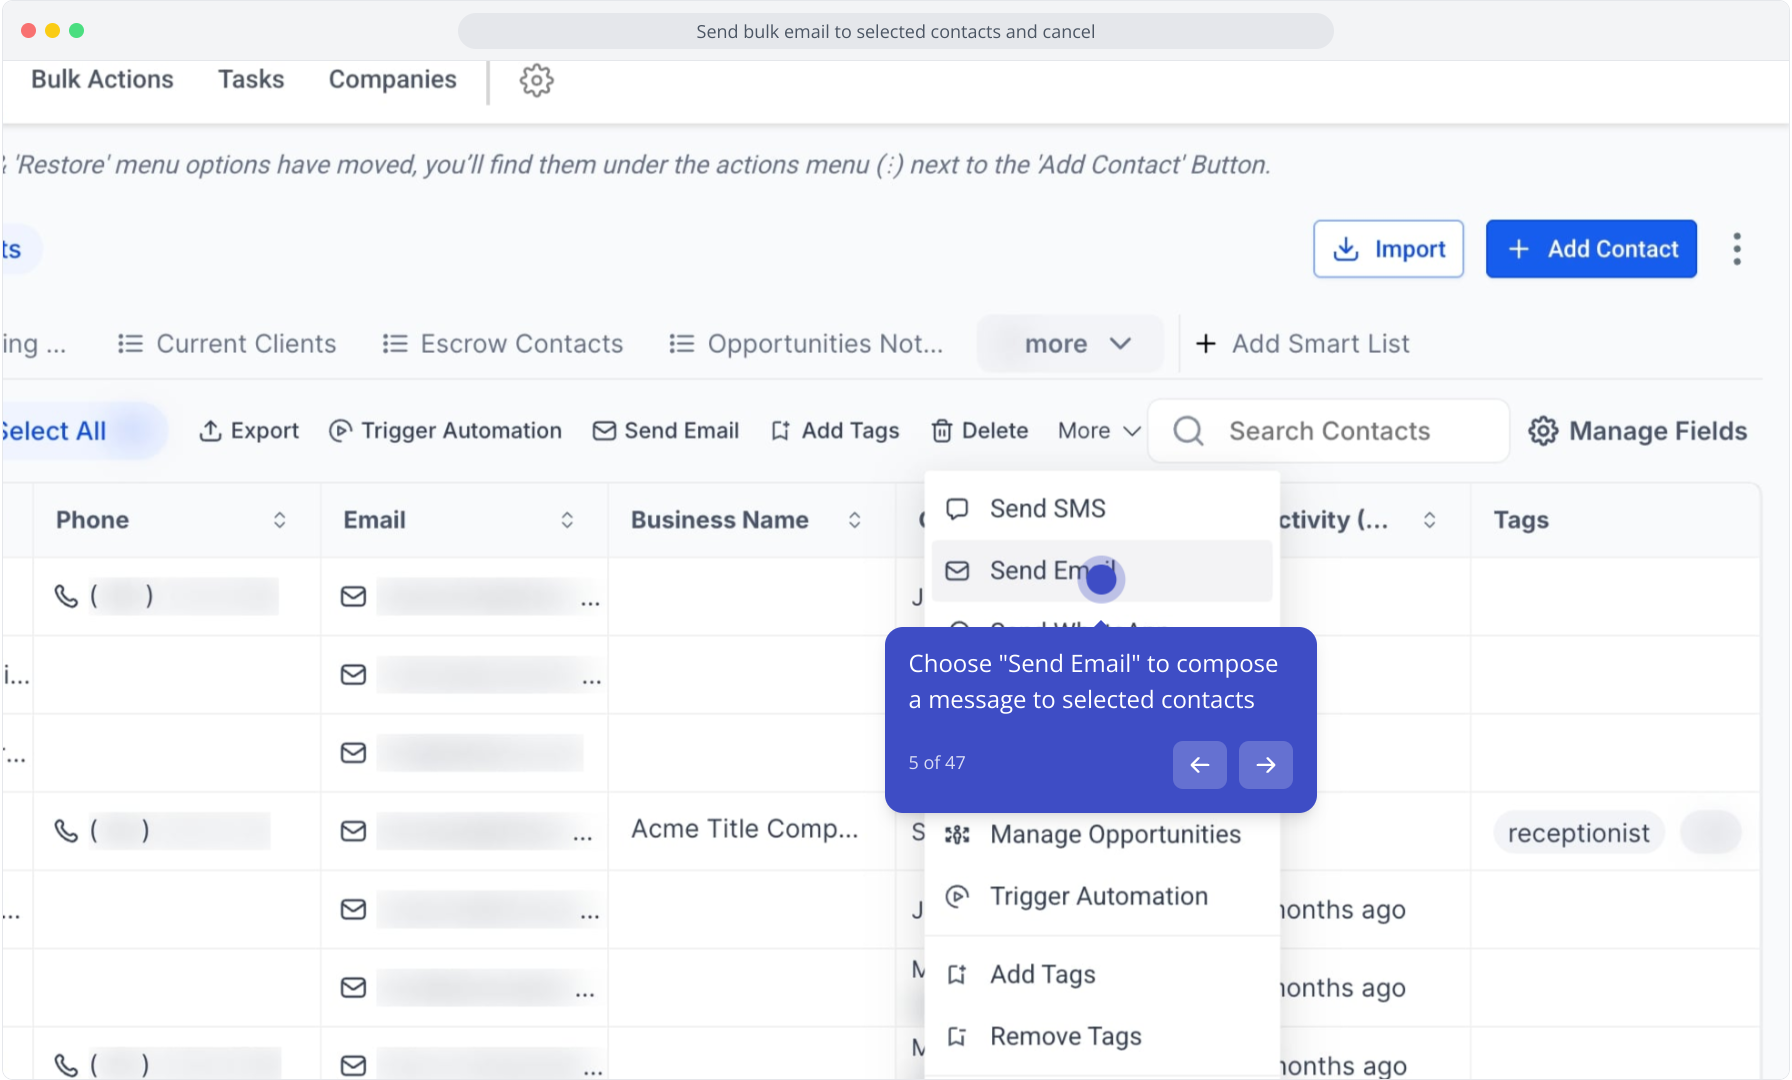
5. Choose "Send Email" to compose a message to selected contacts
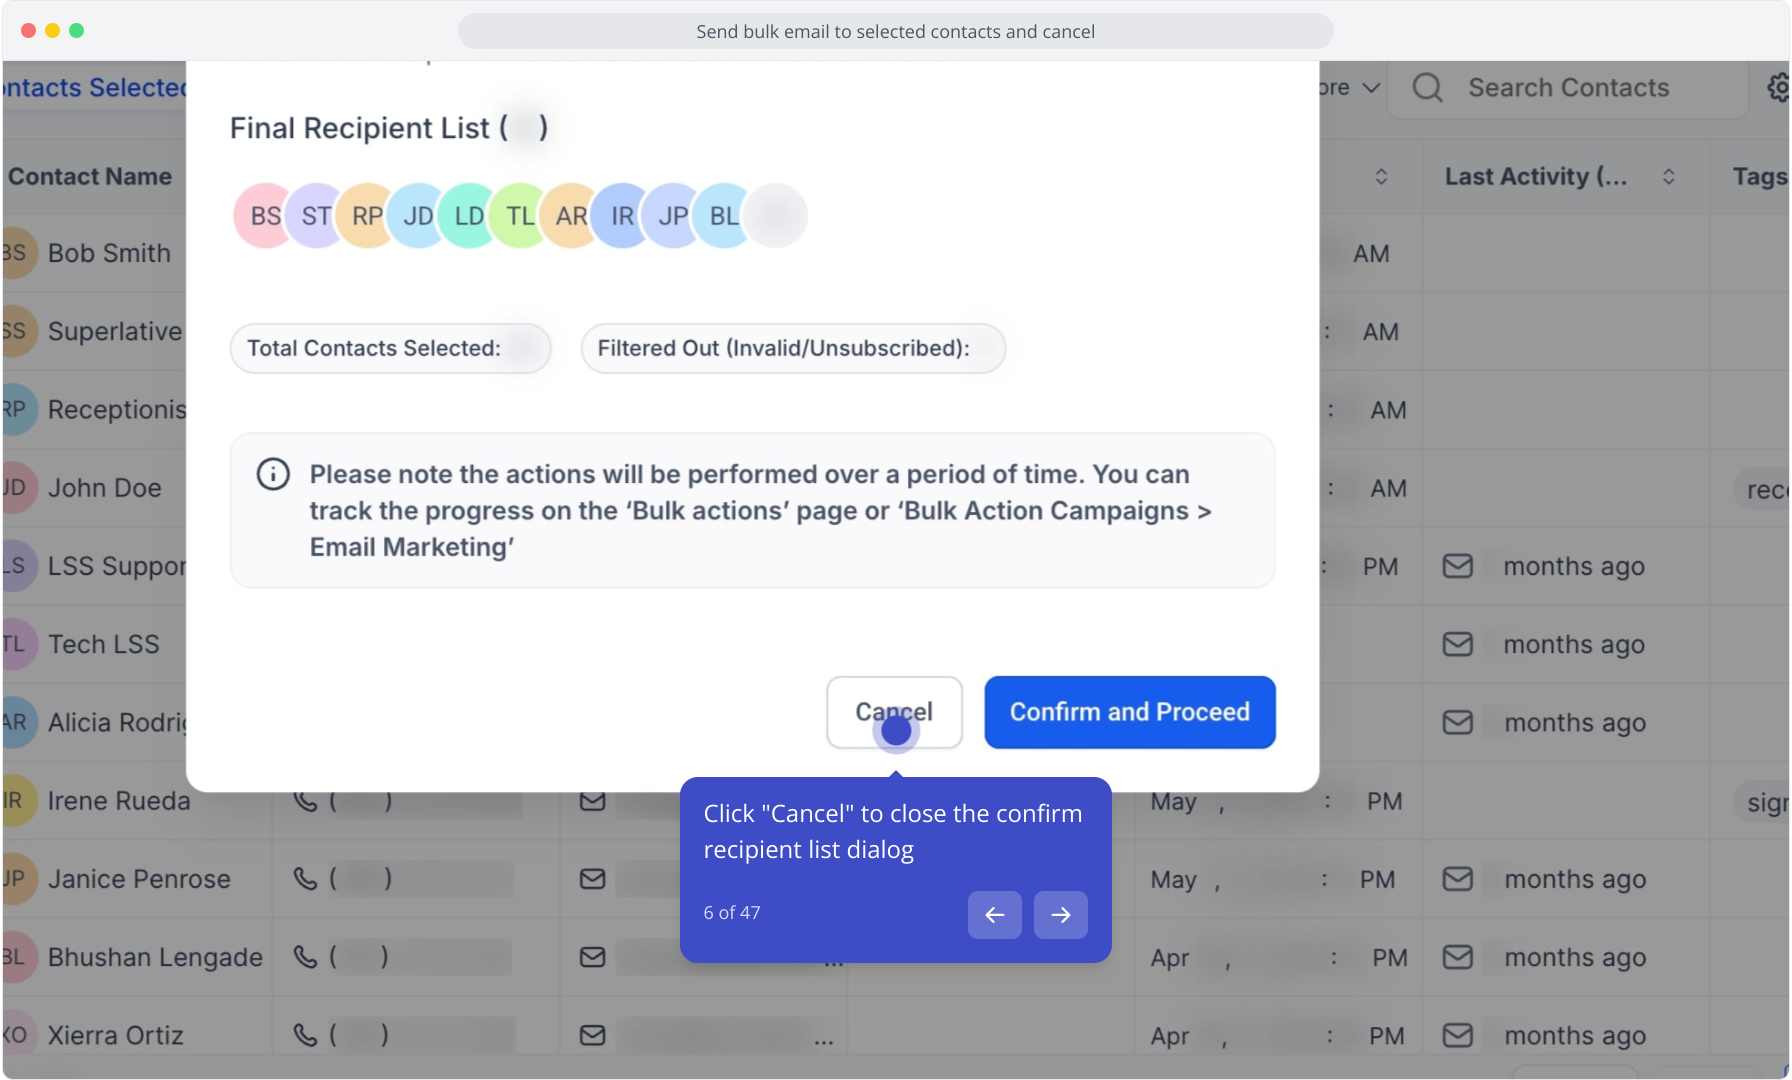
6. Click "Cancel" to close the confirm recipient list dialog
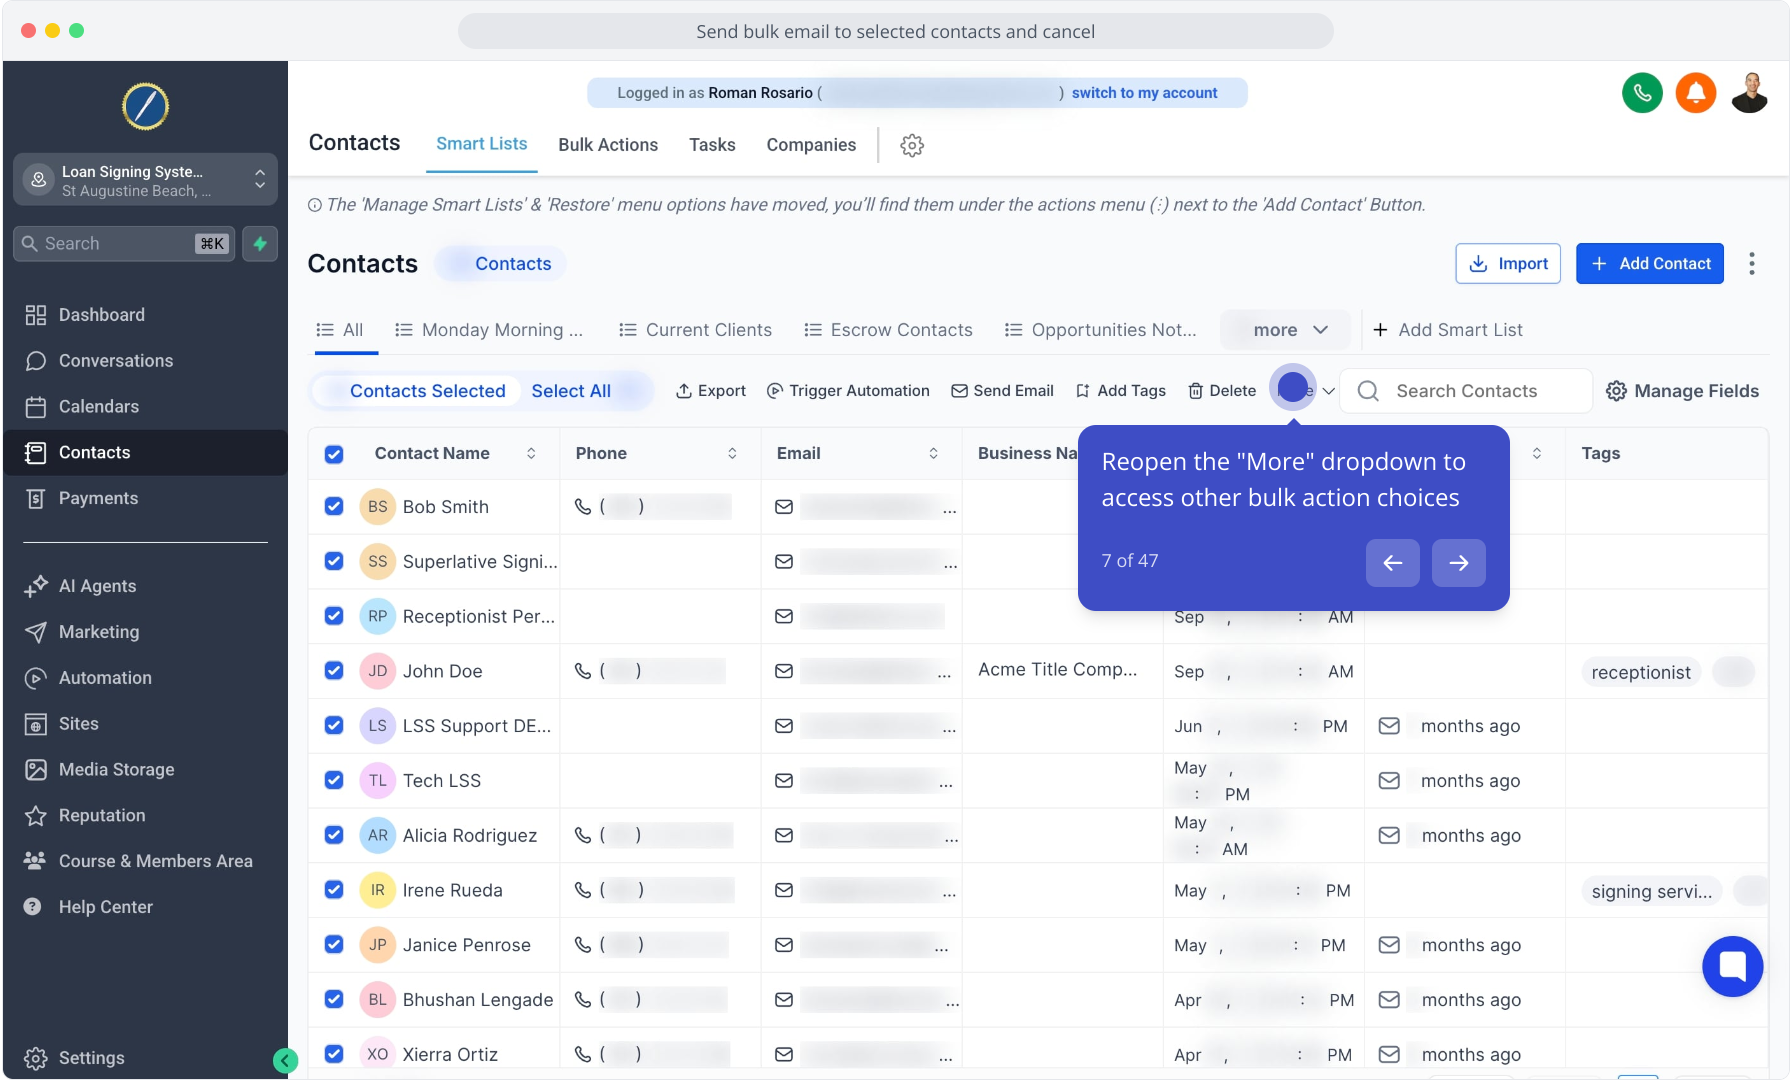
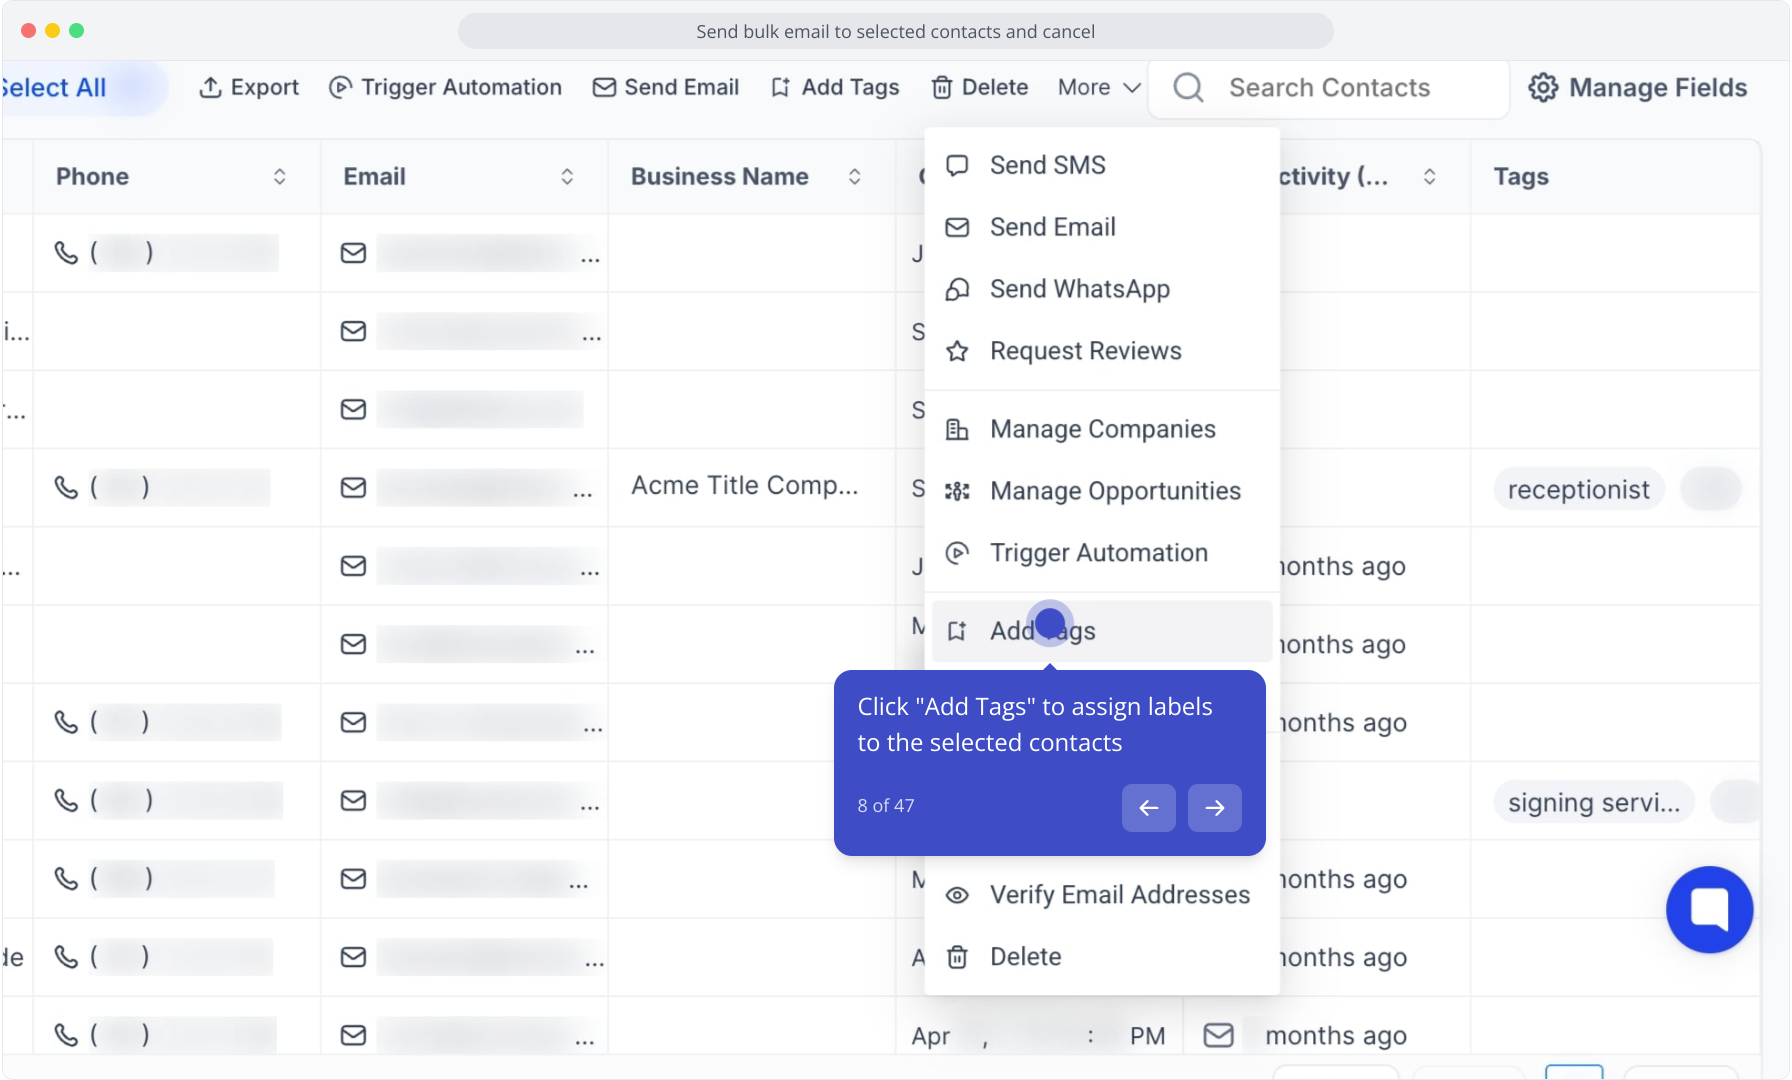
7. Reopen the "More" dropdown to access other bulk action choices
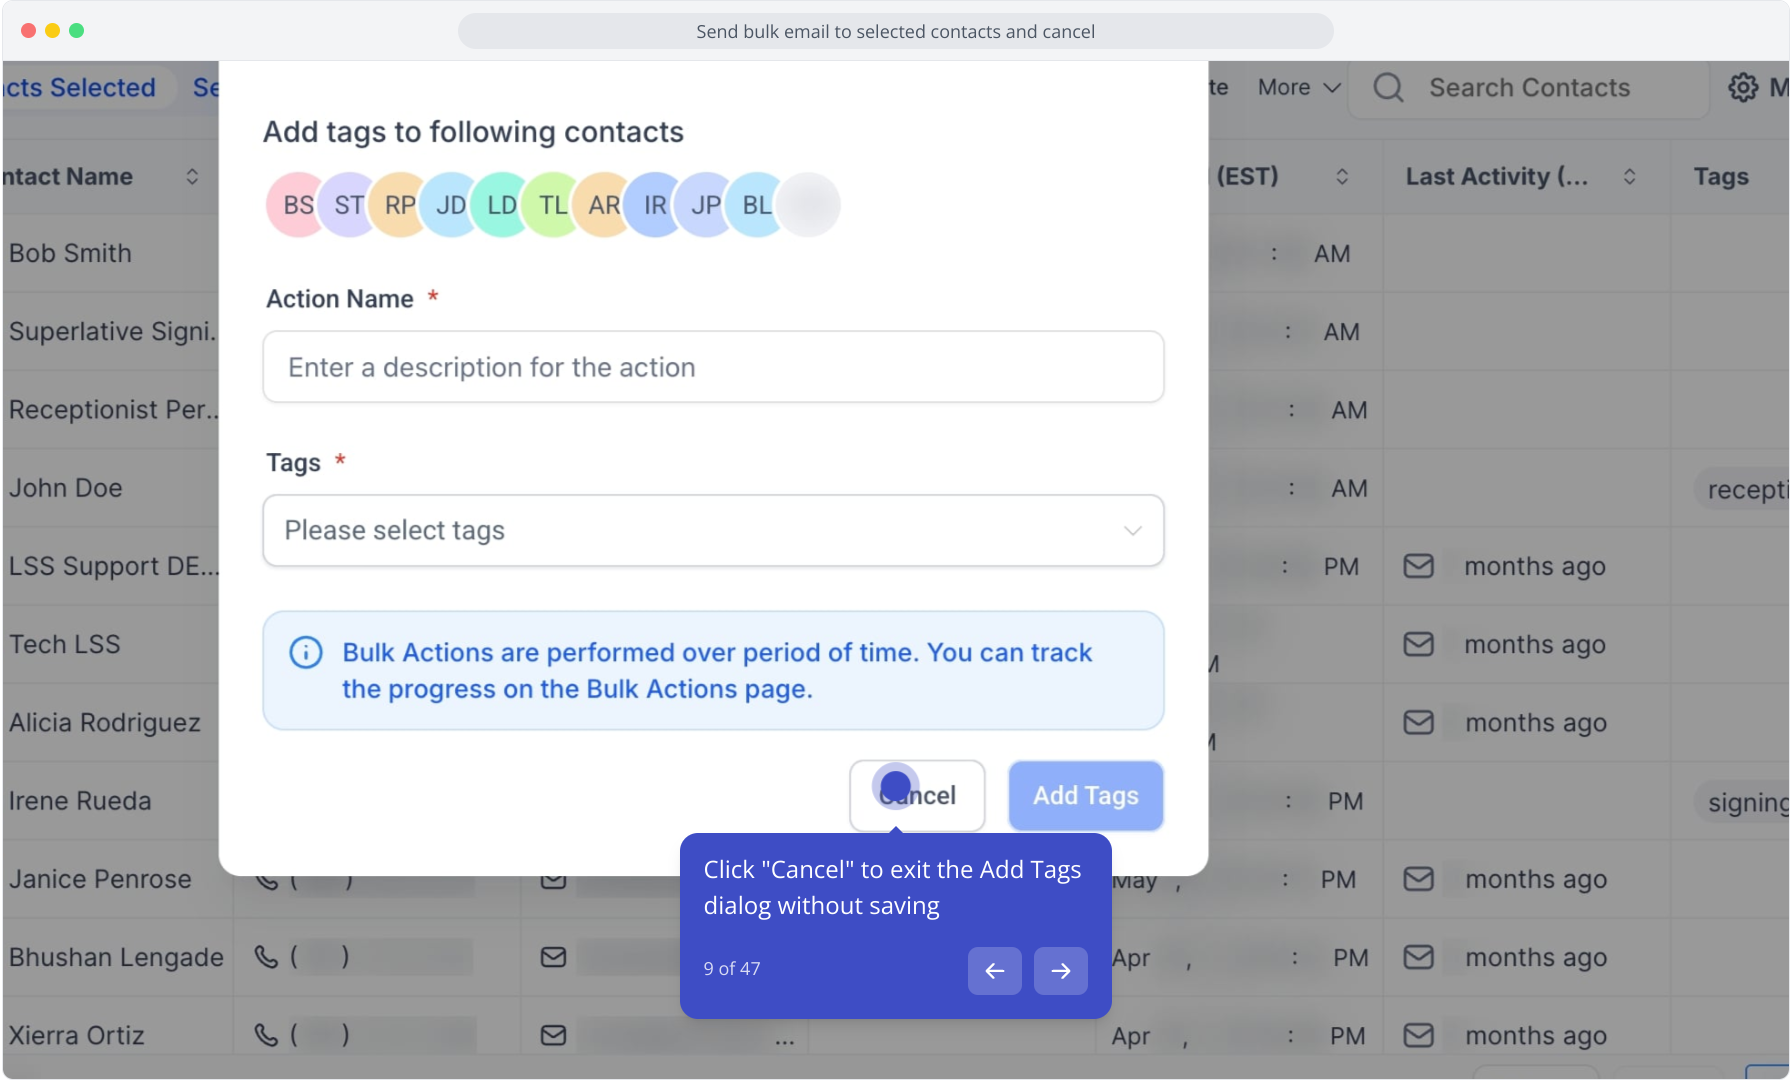
8. Click "Add Tags" to assign labels to the selected contacts
9. Click "Cancel" to exit the Add Tags dialog without saving
10. Click the top checkbox to select all contacts in this list view

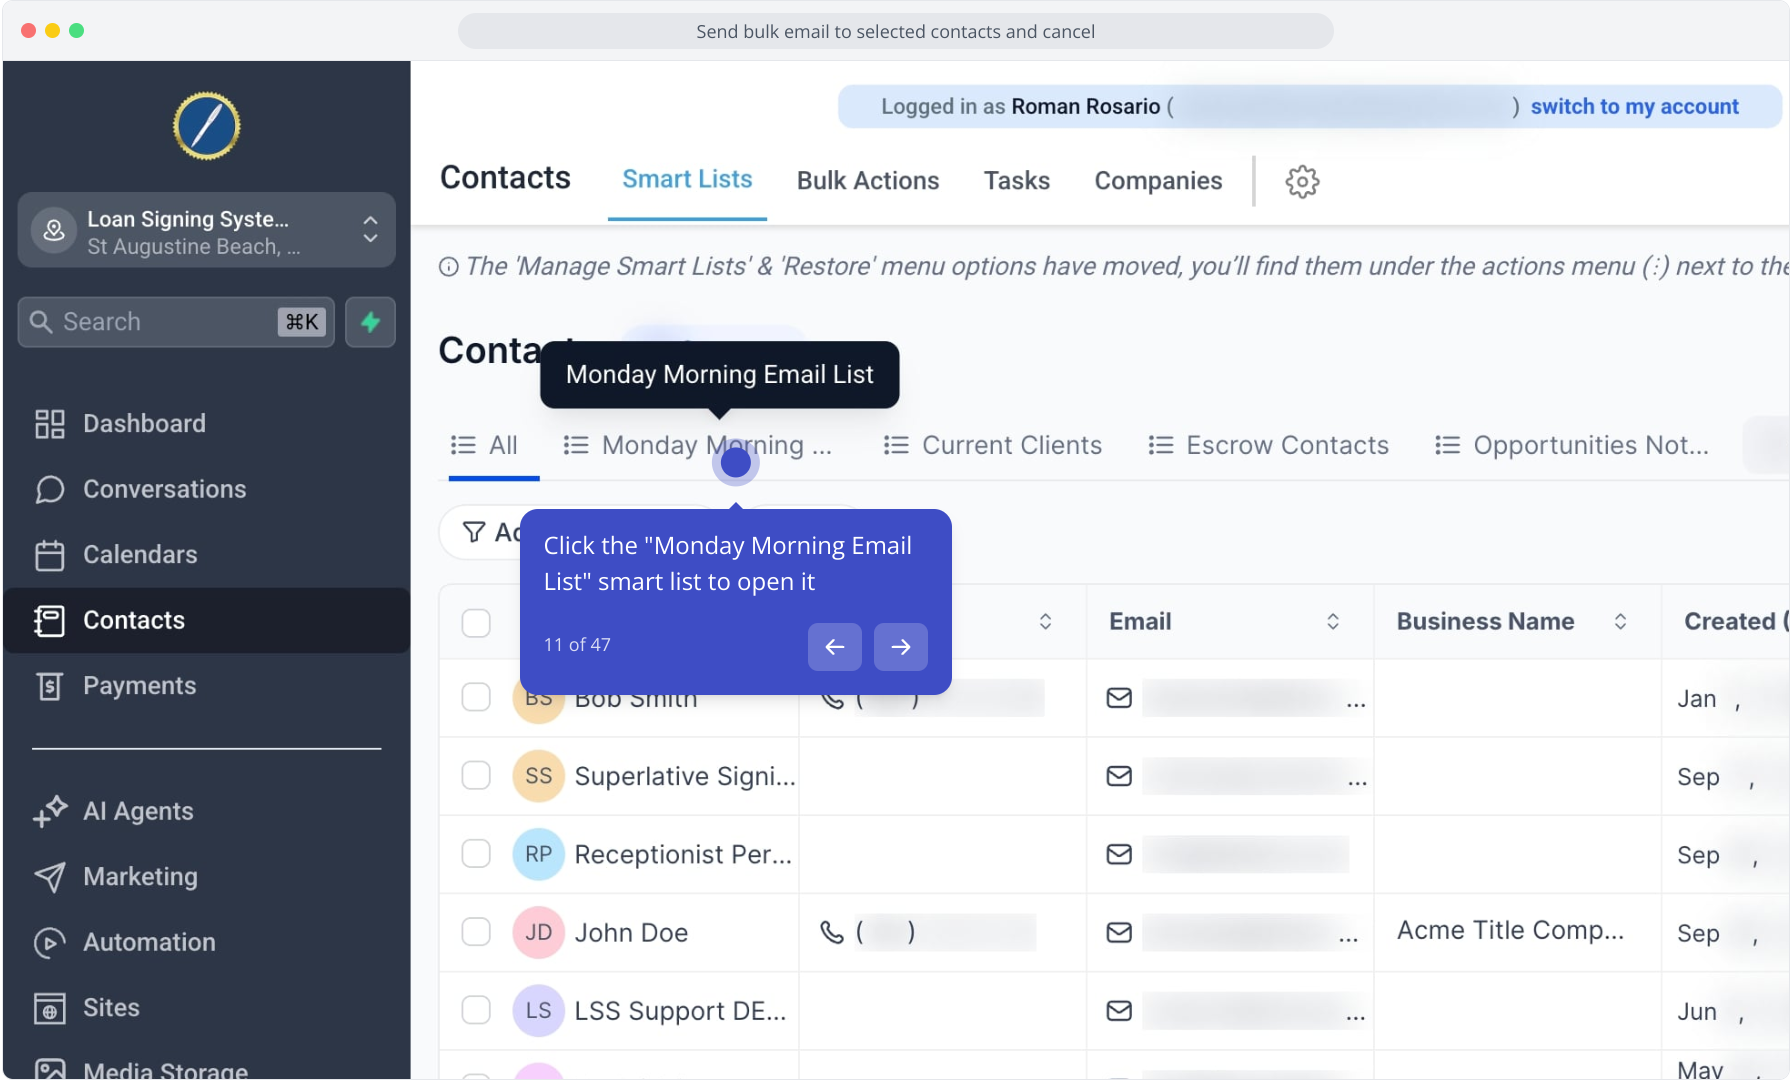
11. Click the "Monday Morning Email List" smart list to open it
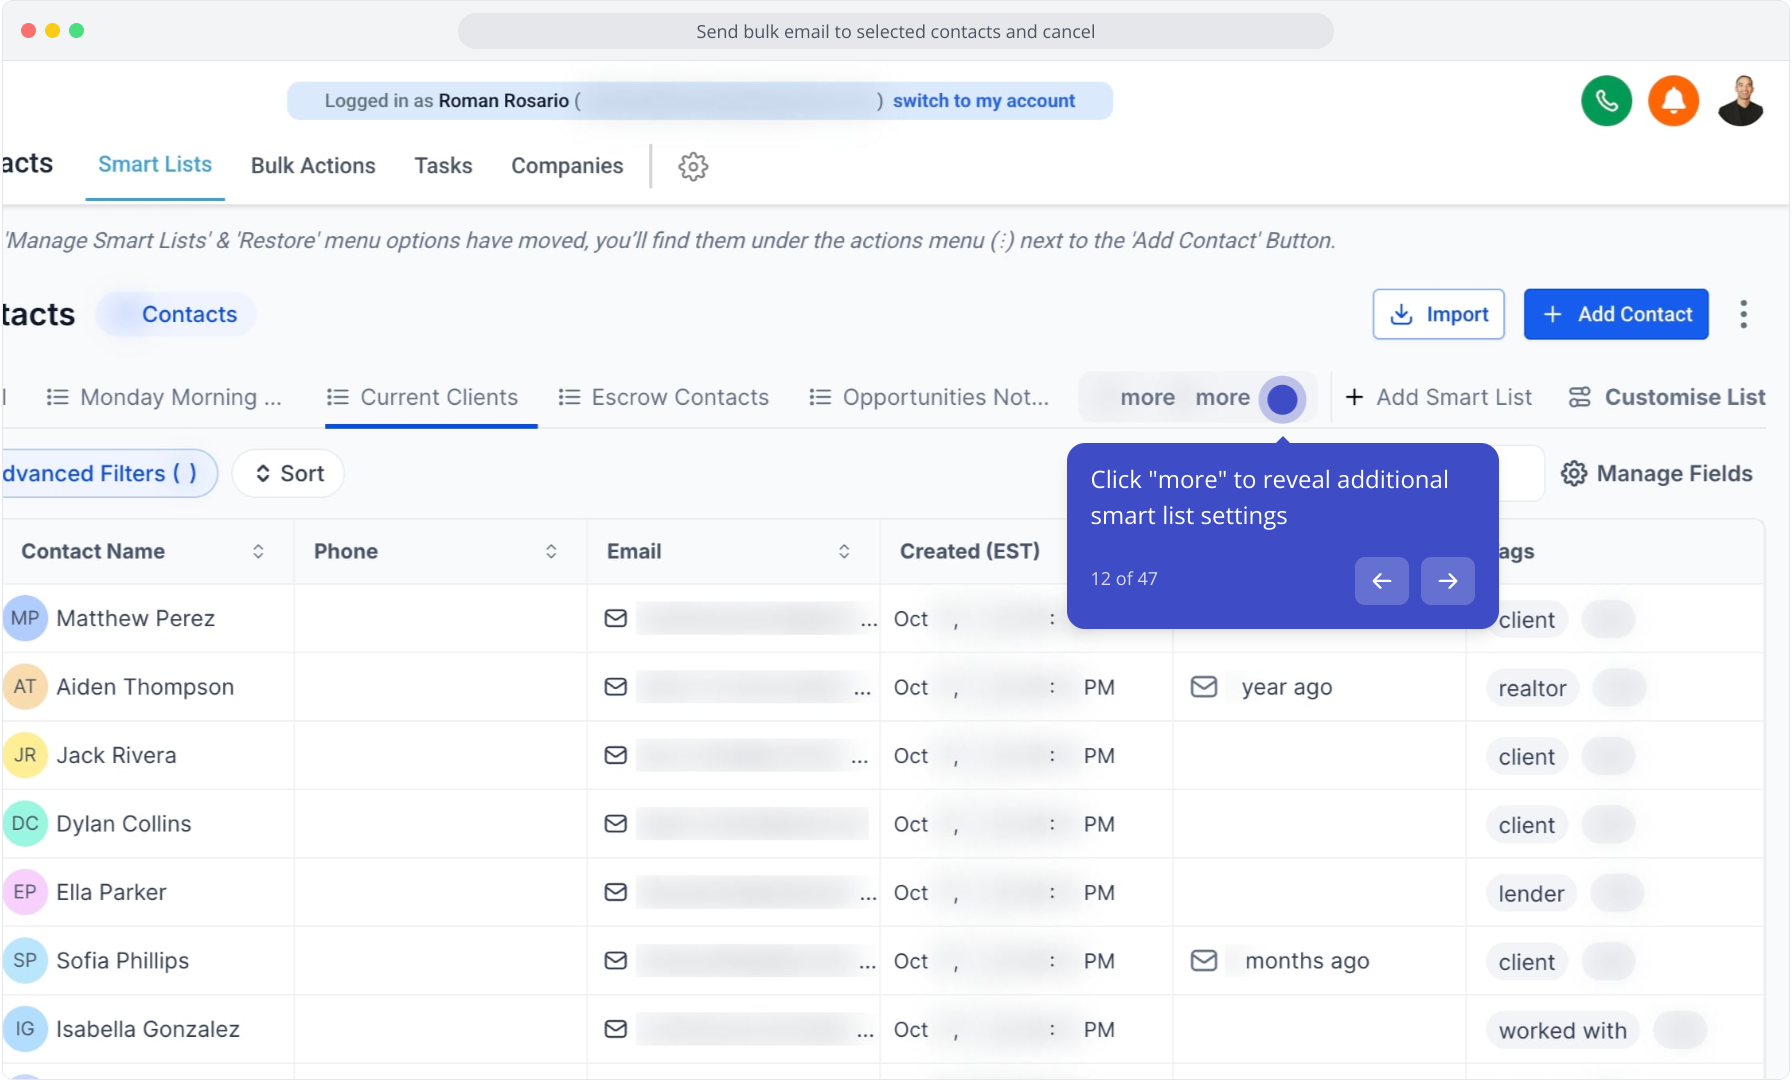
12. Click "more" to reveal additional smart list settings
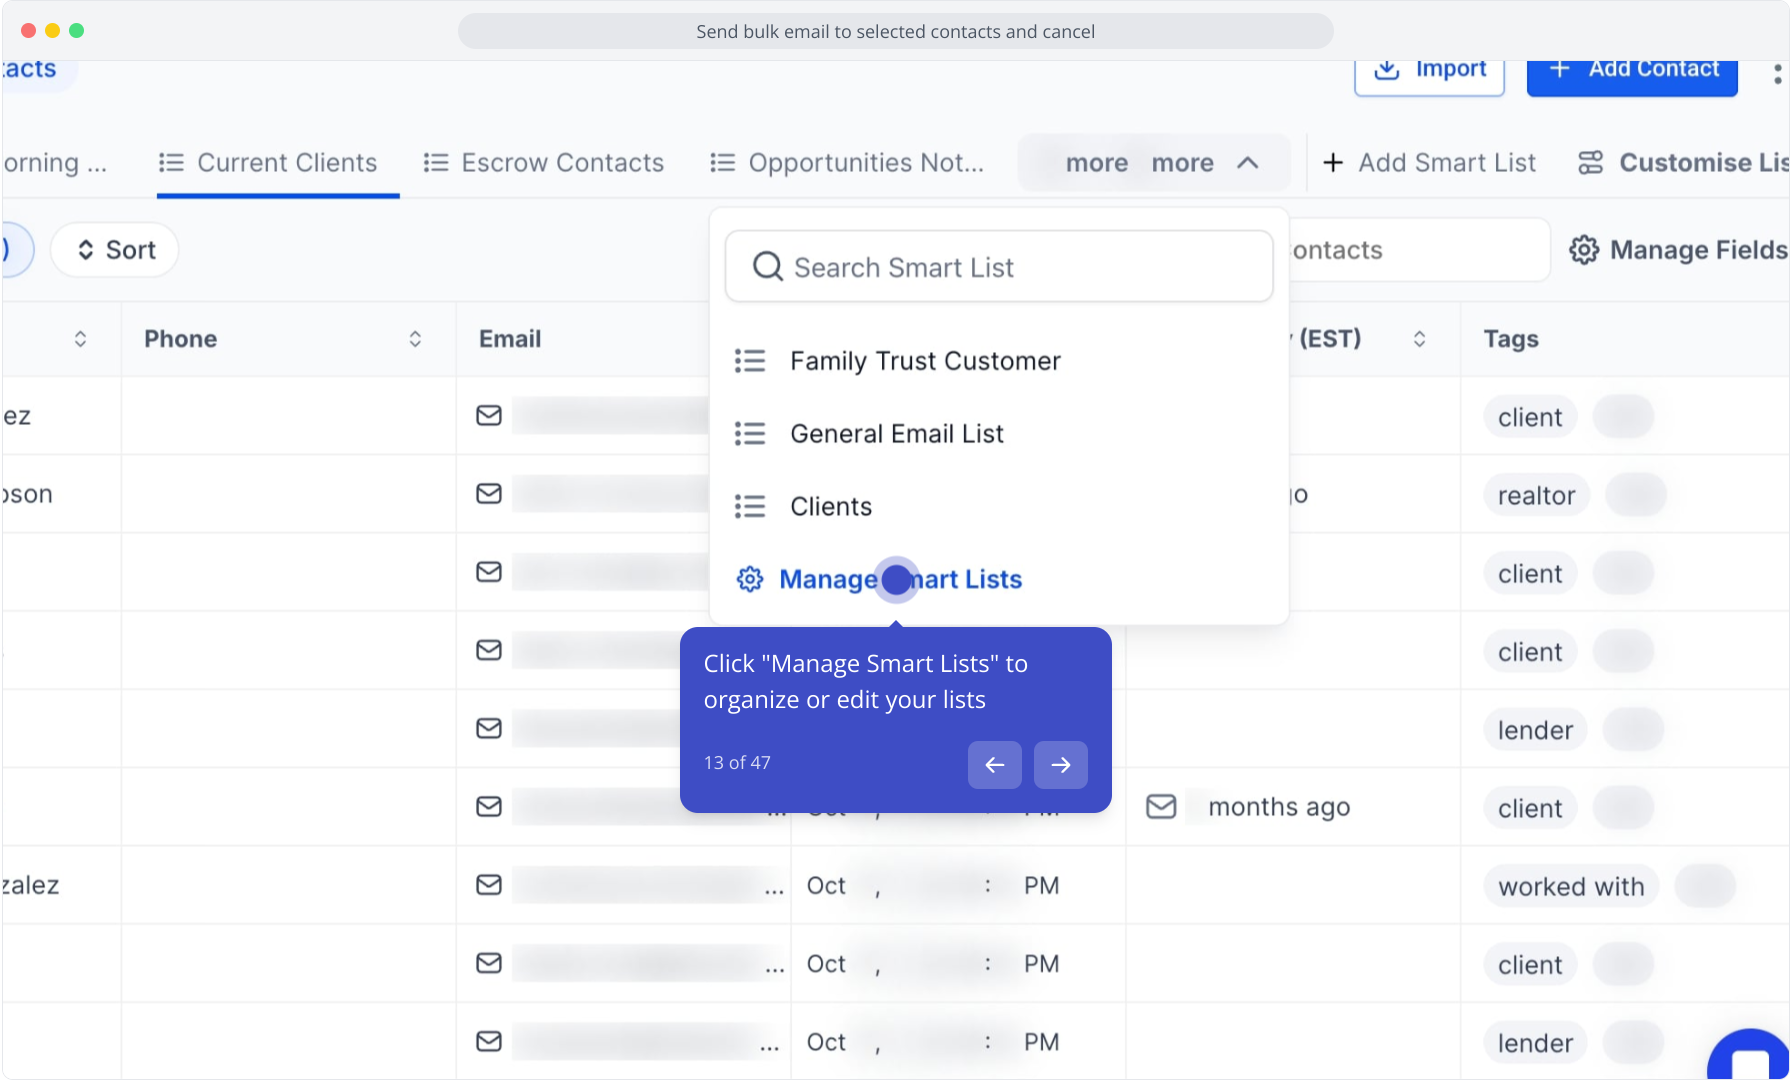
13. Click "Manage Smart Lists" to organize or edit your lists
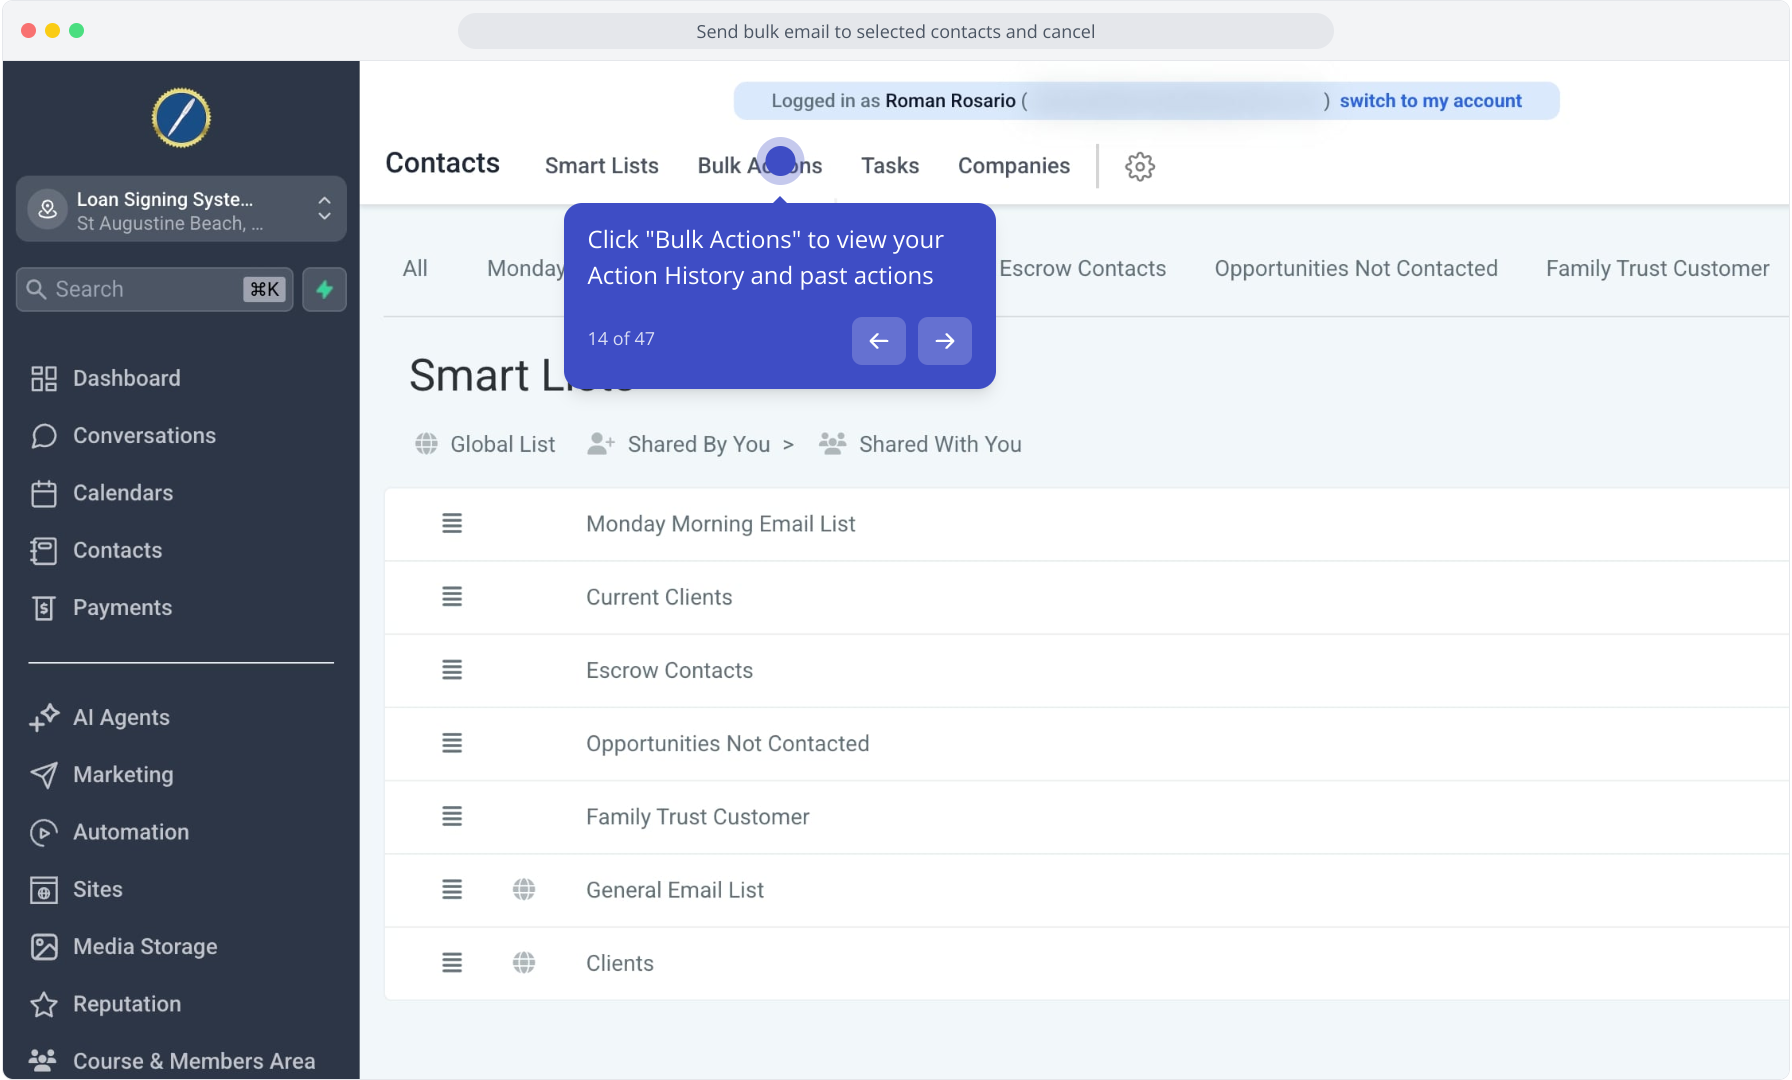
14. Click "Bulk Actions" to view your Action History and past actions
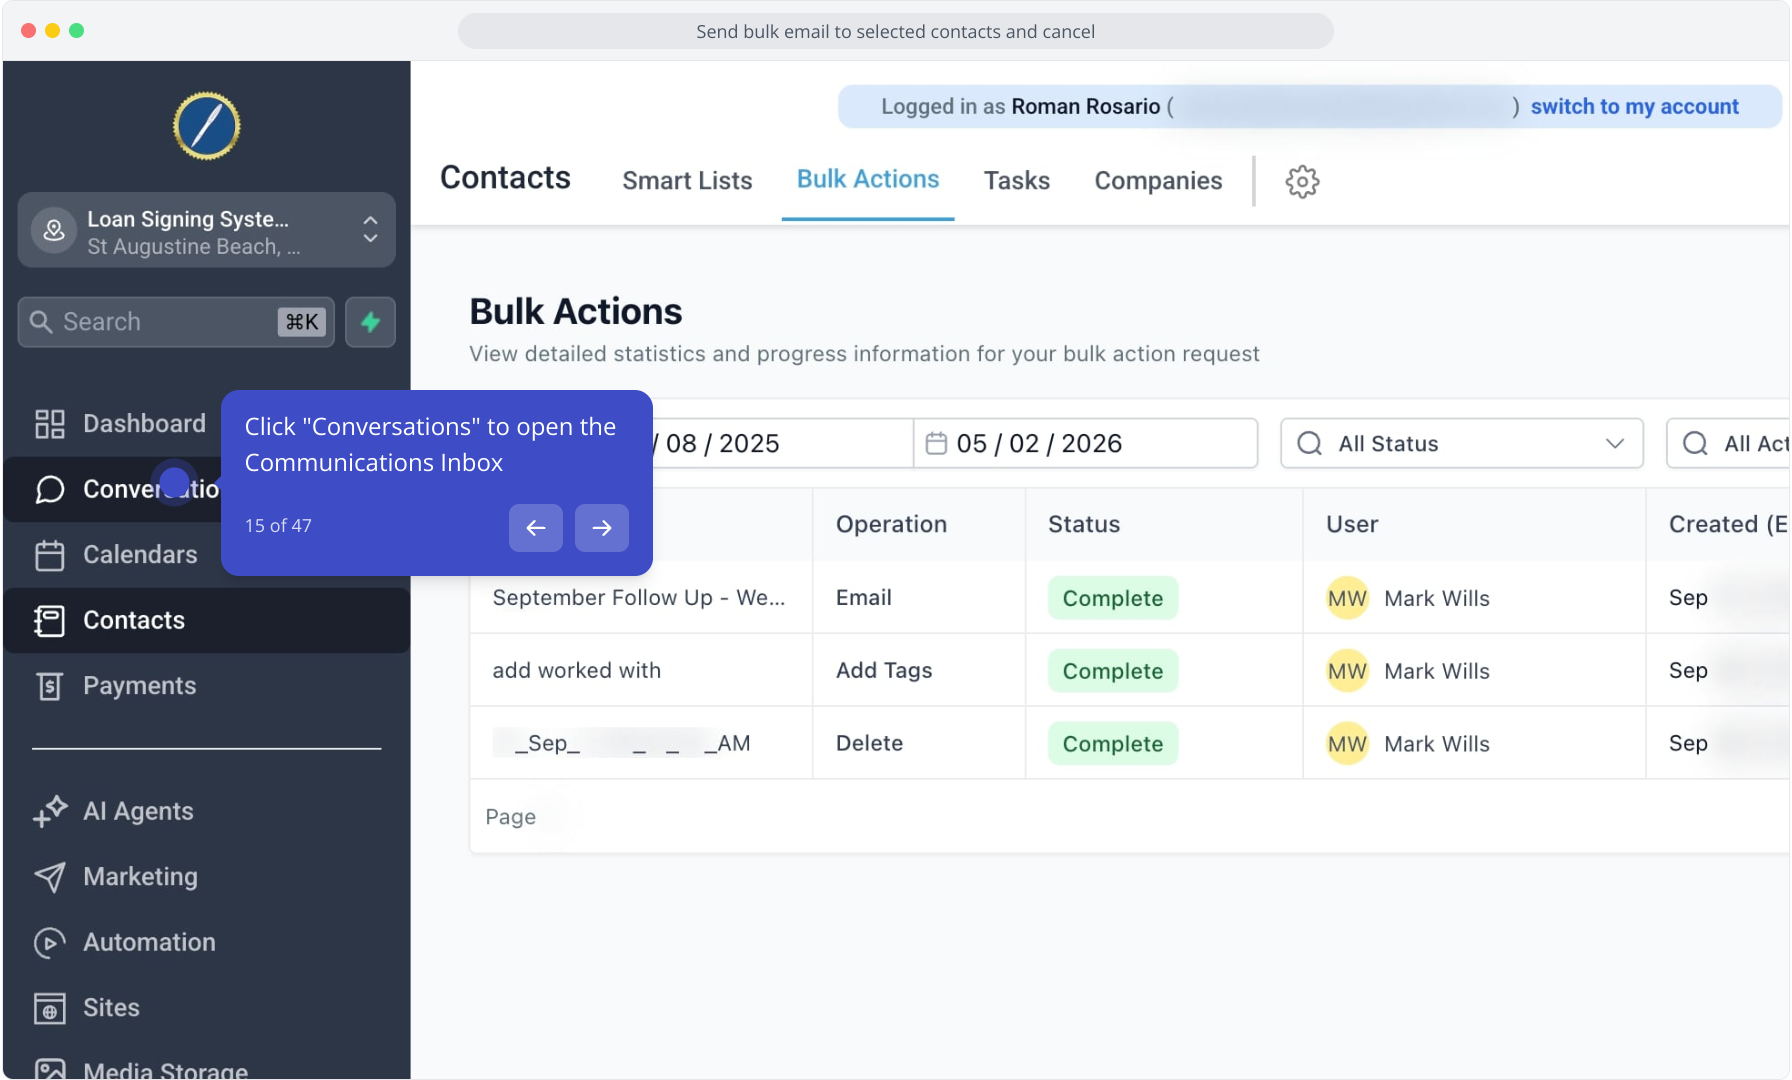
15. Click "Conversations" to open the Communications Inbox
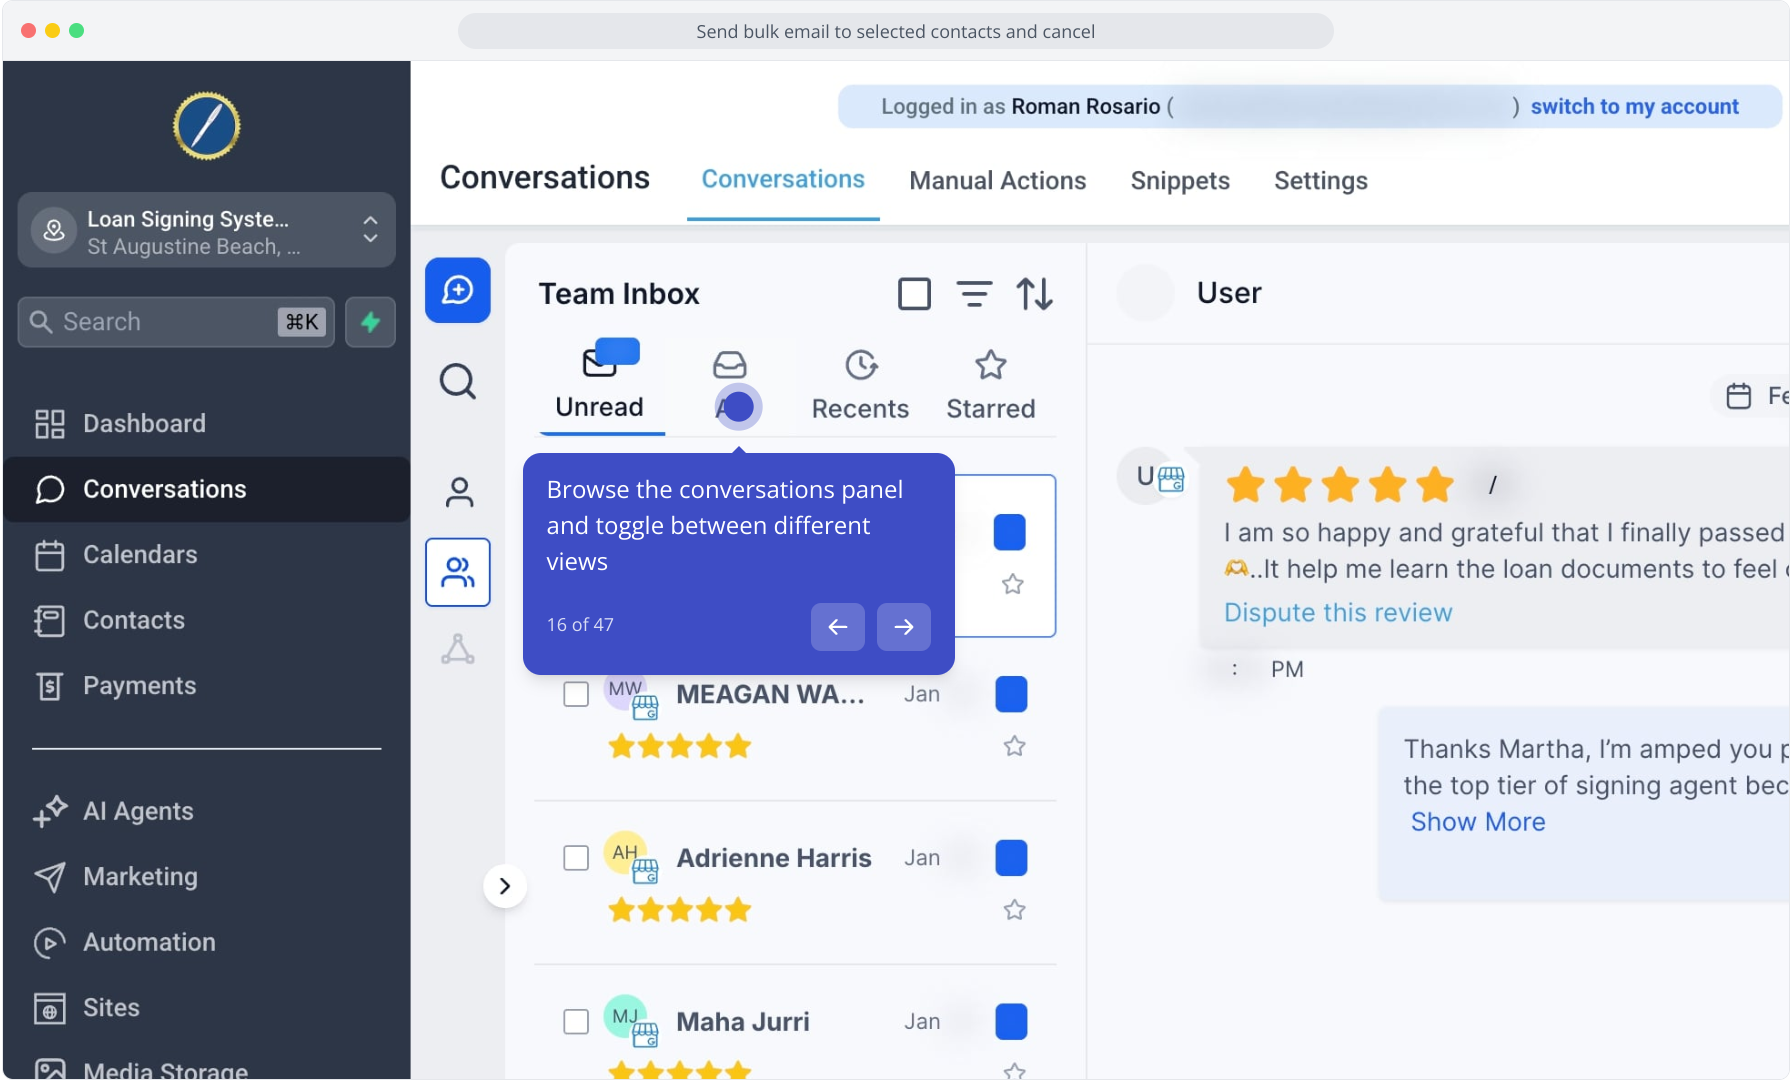
16. Browse the conversations panel and toggle between different views
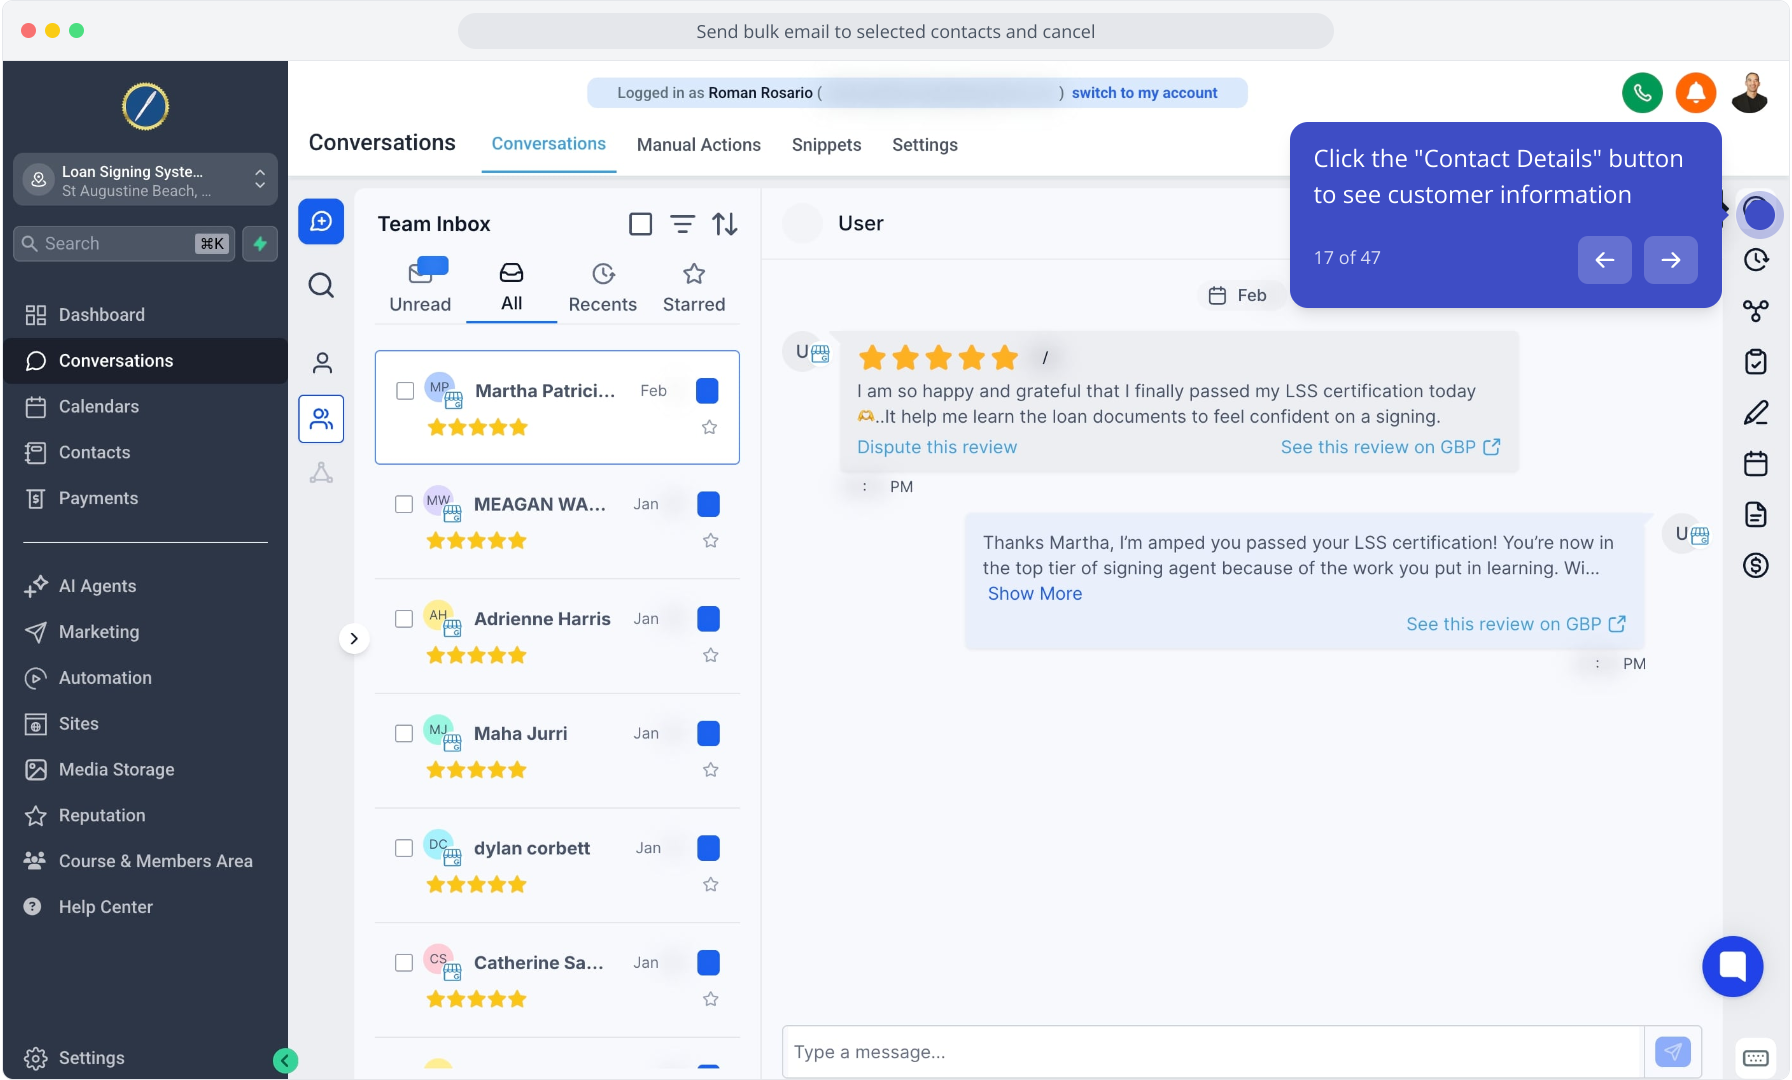
17. Click the "Contact Details" button to see customer information
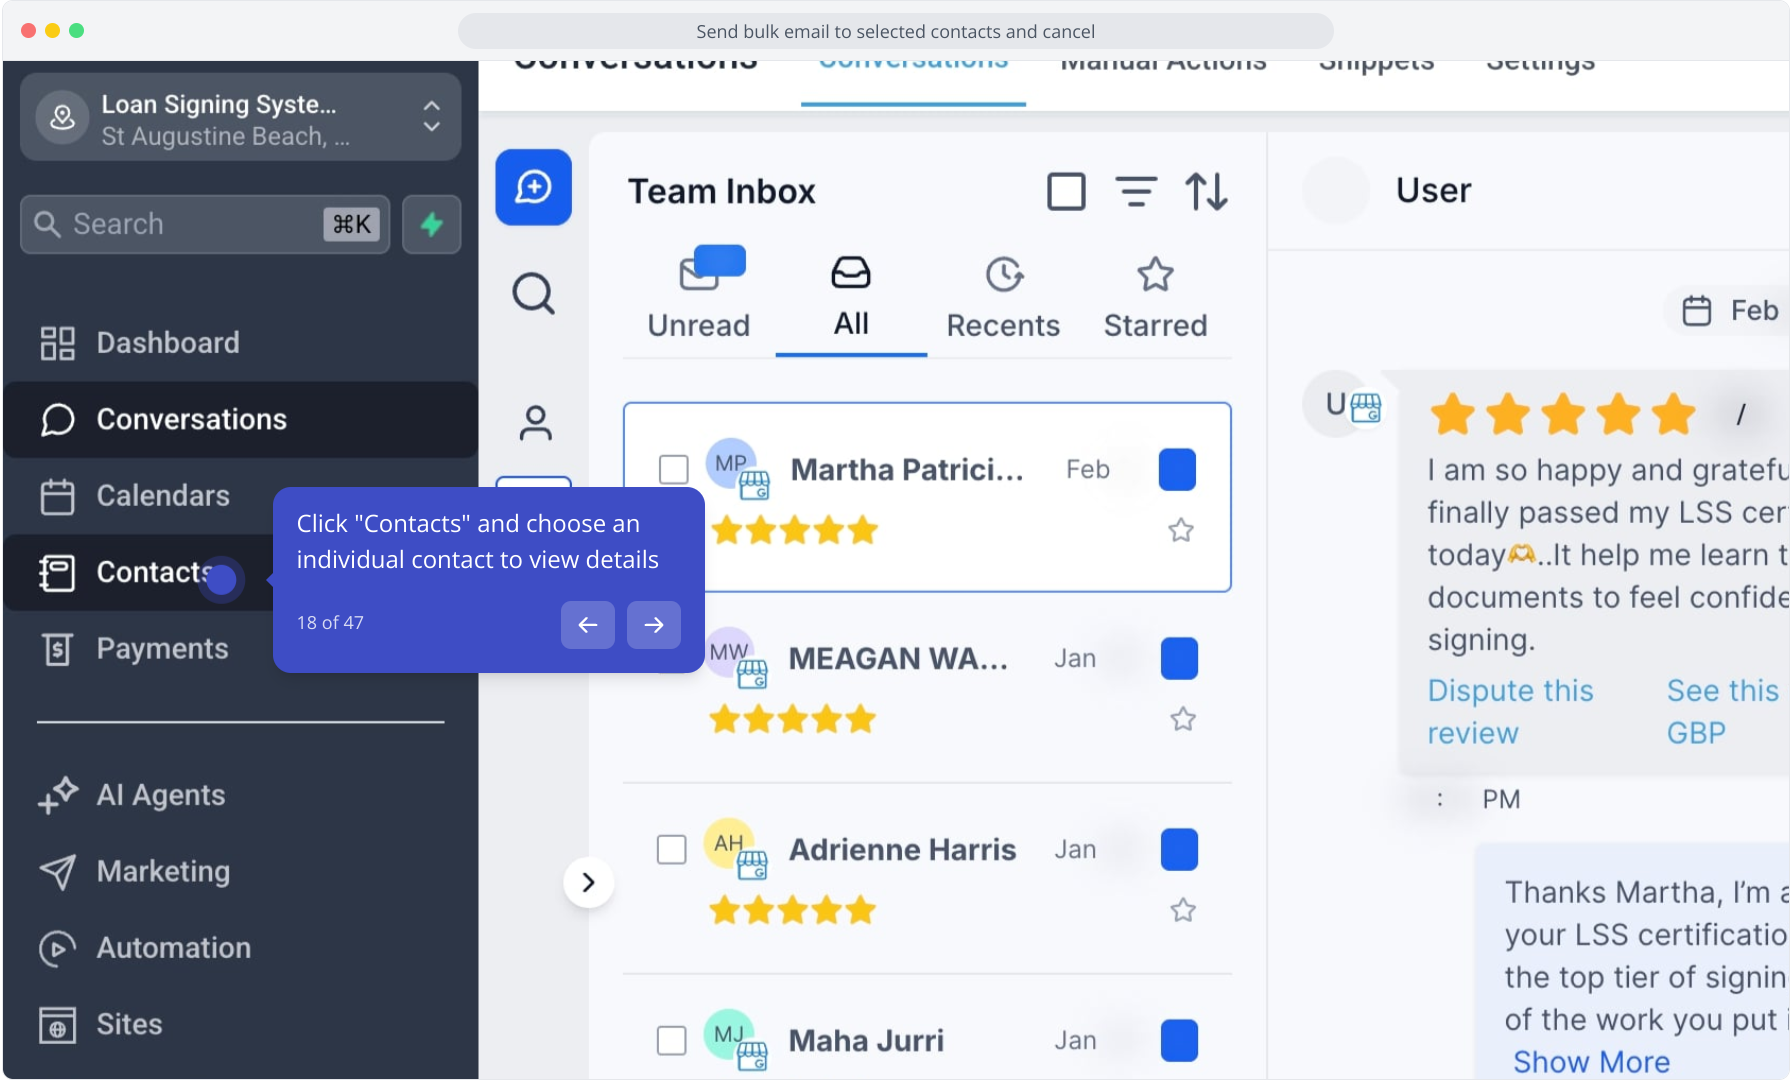
18. Click "Contacts" and choose an individual contact to view details
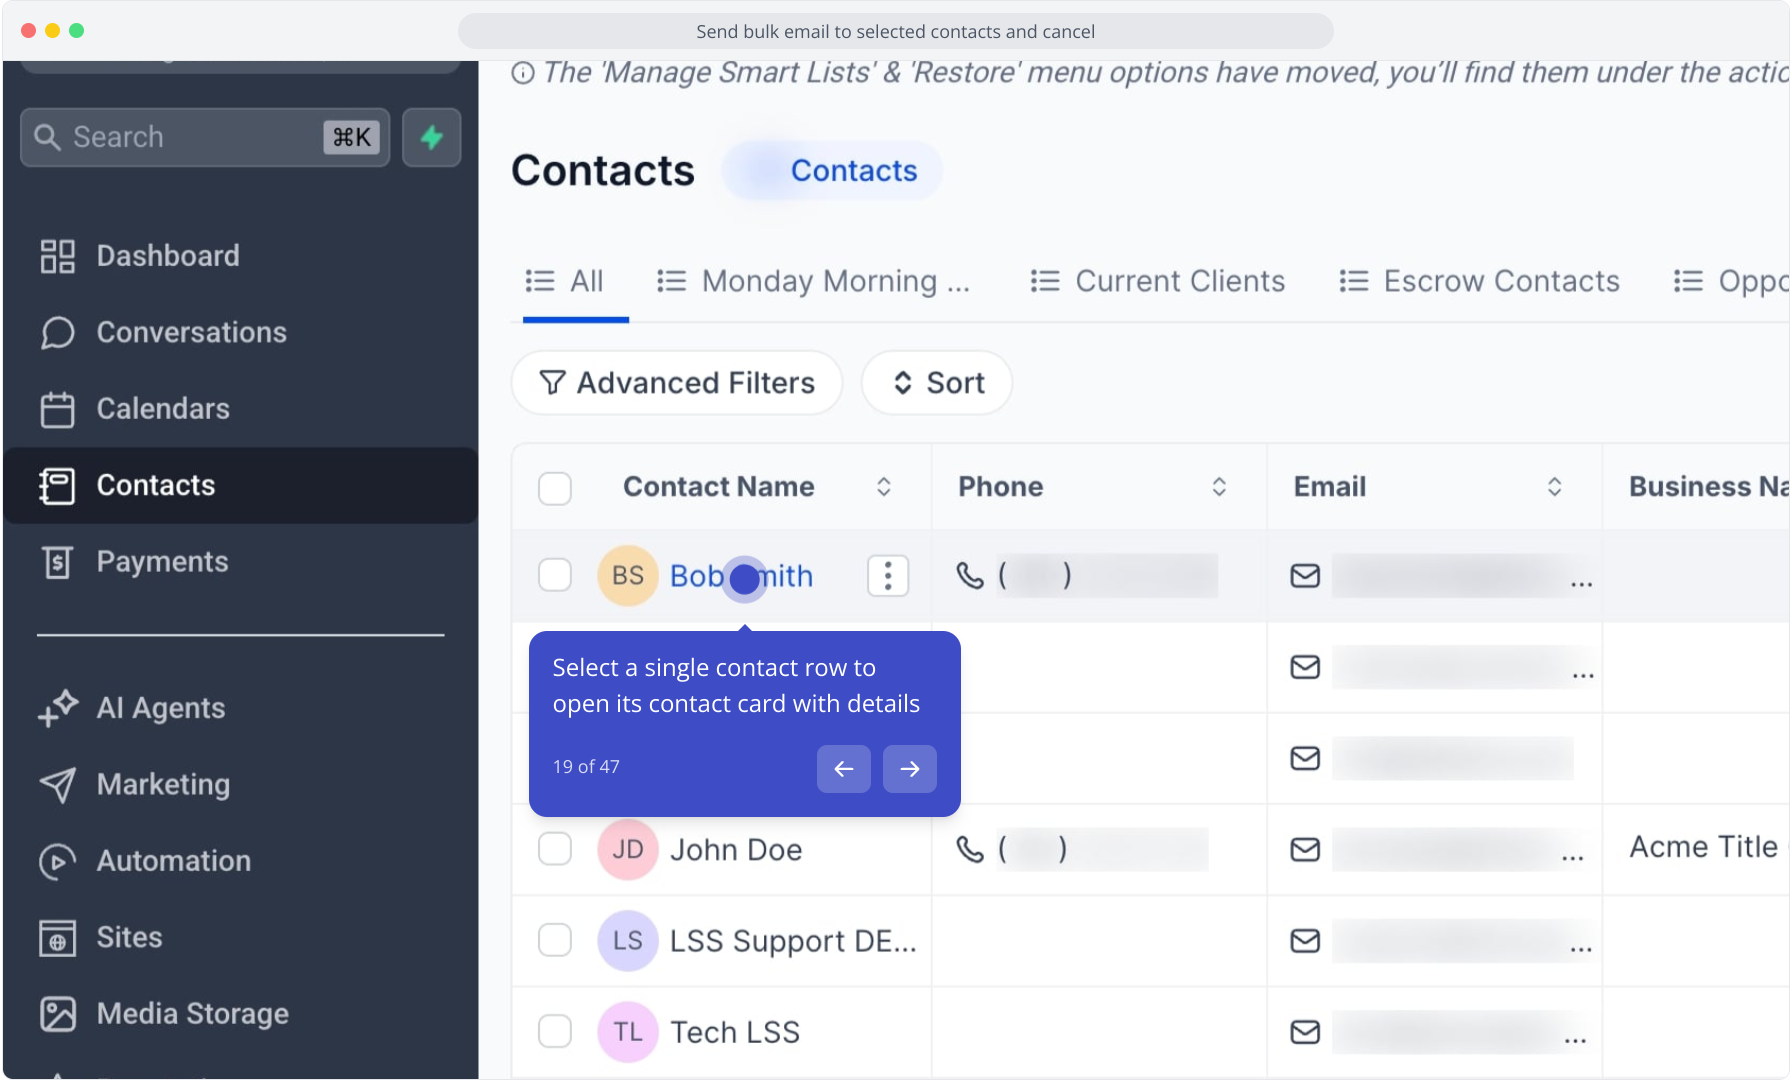
19. Select a single contact row to open its contact card with details
20. Click the "+" next to "tags" to add, remove, or view tags
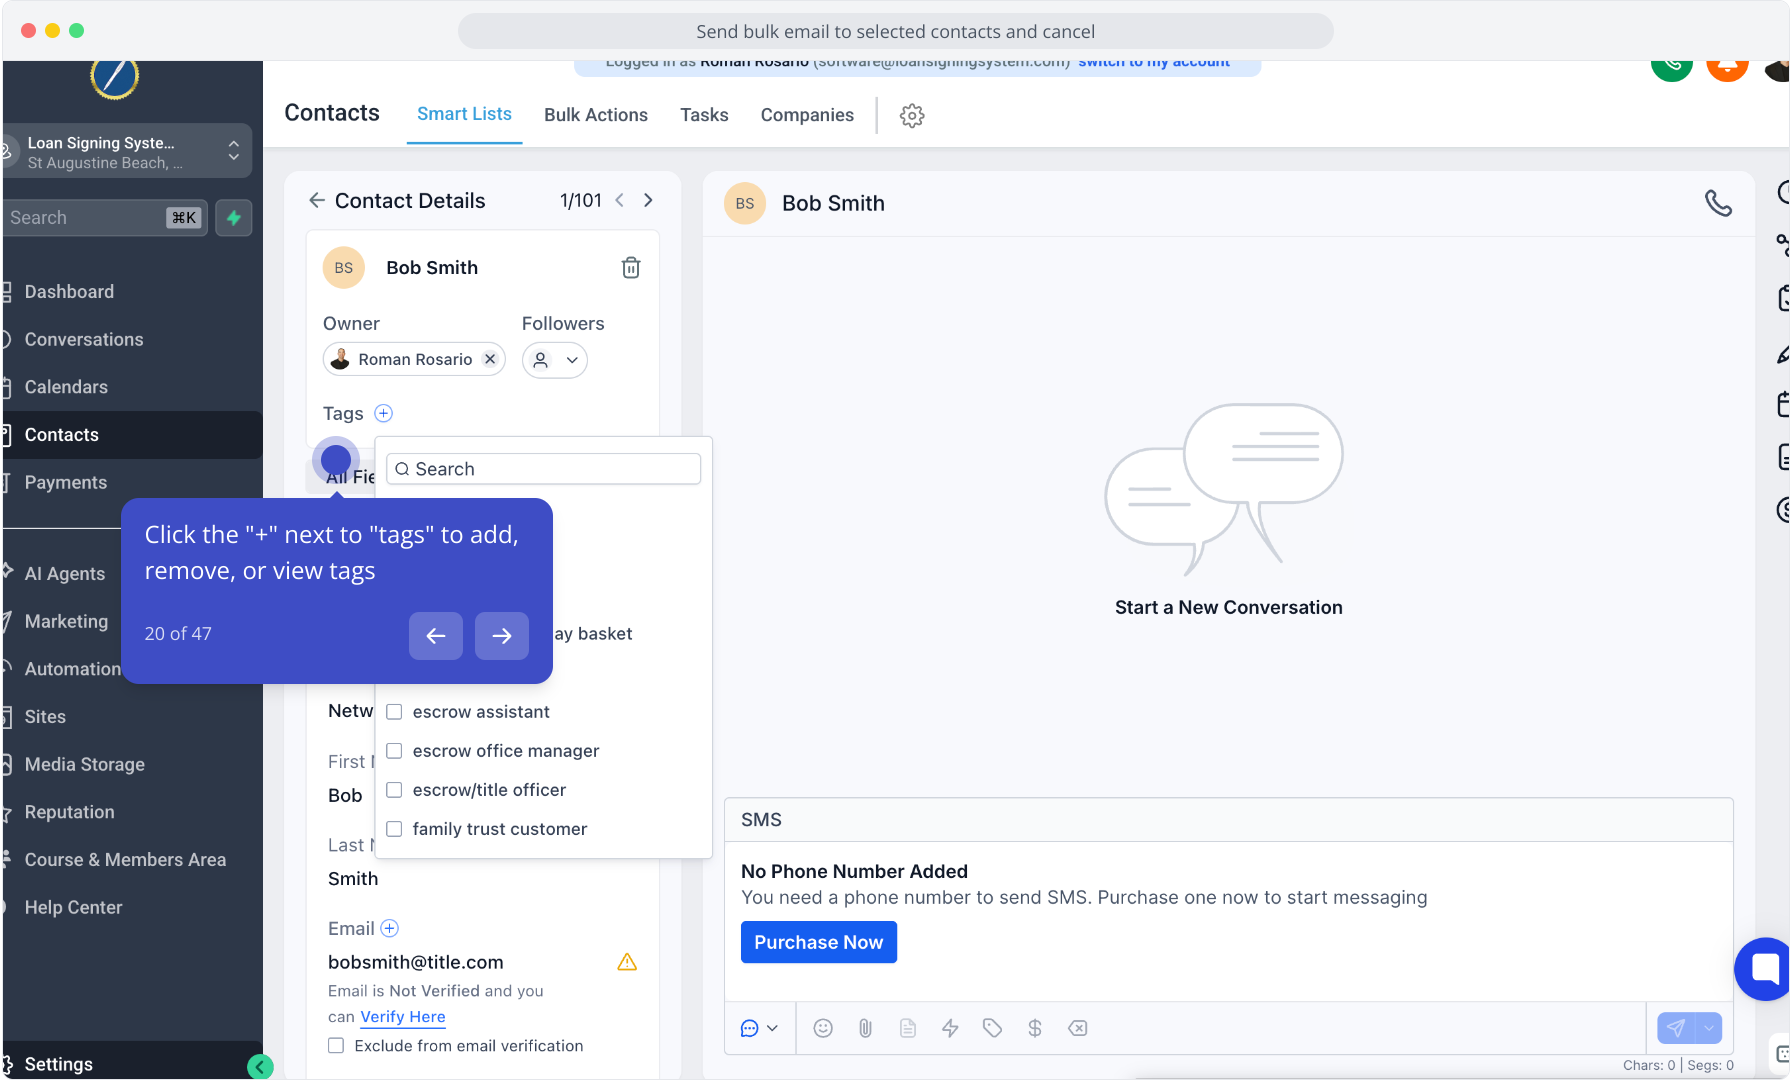
21. Check or uncheck tags to add or remove them from the contact
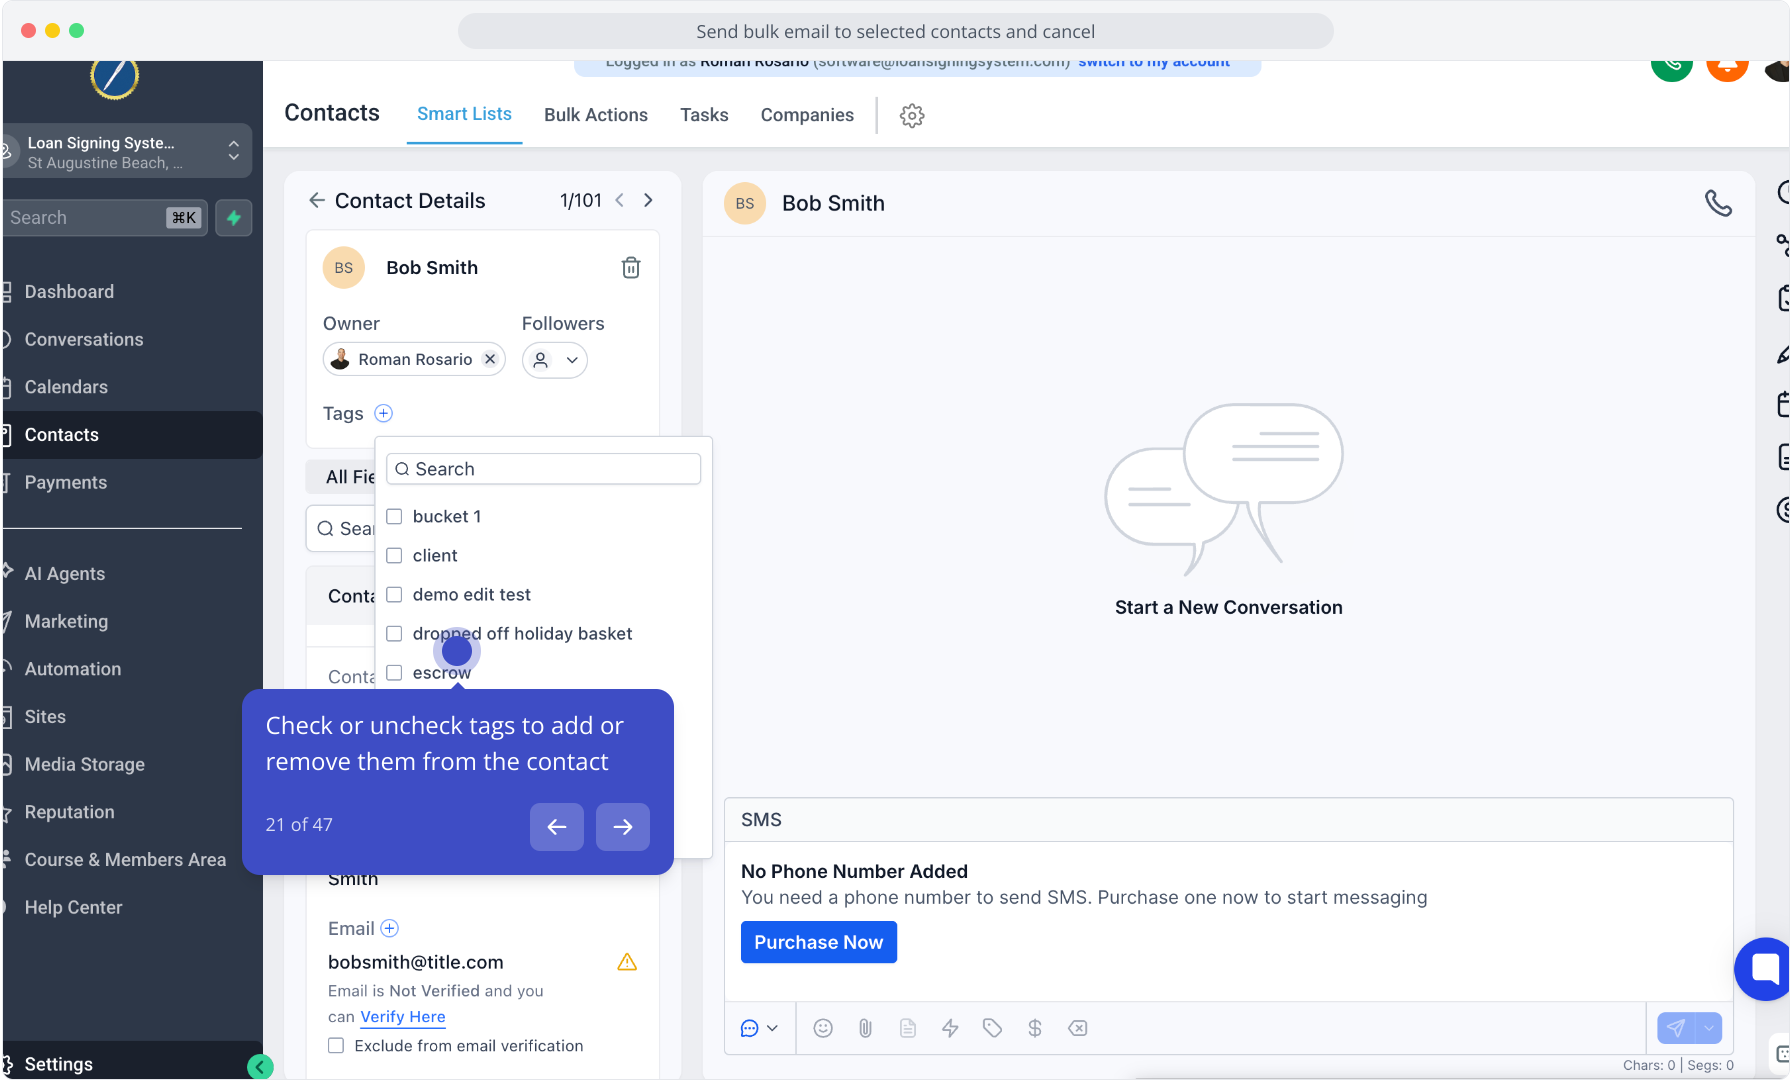
22. Click the "Marketing" section to open GBP Automated Posts features

23. Open the social media planner to view Google Business Profile posts
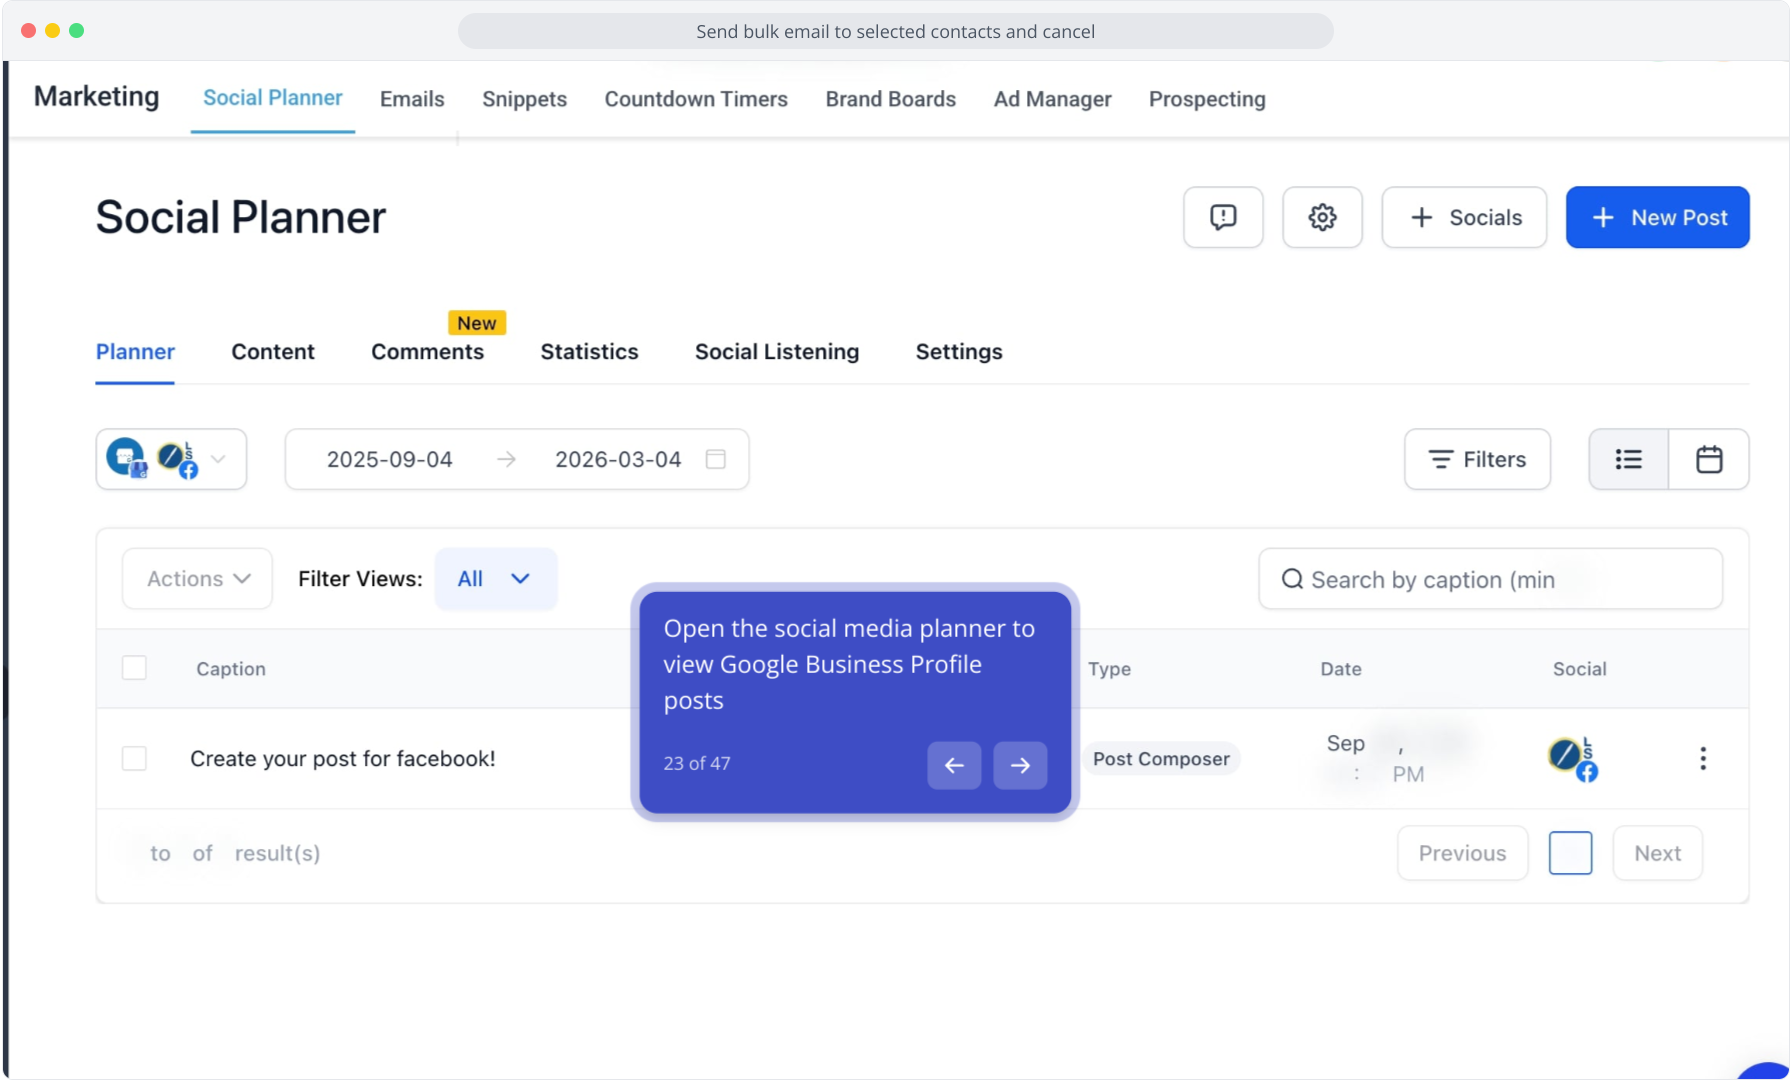
24. Click "Email Marketing" in the top menu to explore updated tools

25. Visit the Campaigns area to send bulk email campaigns and monitor performance
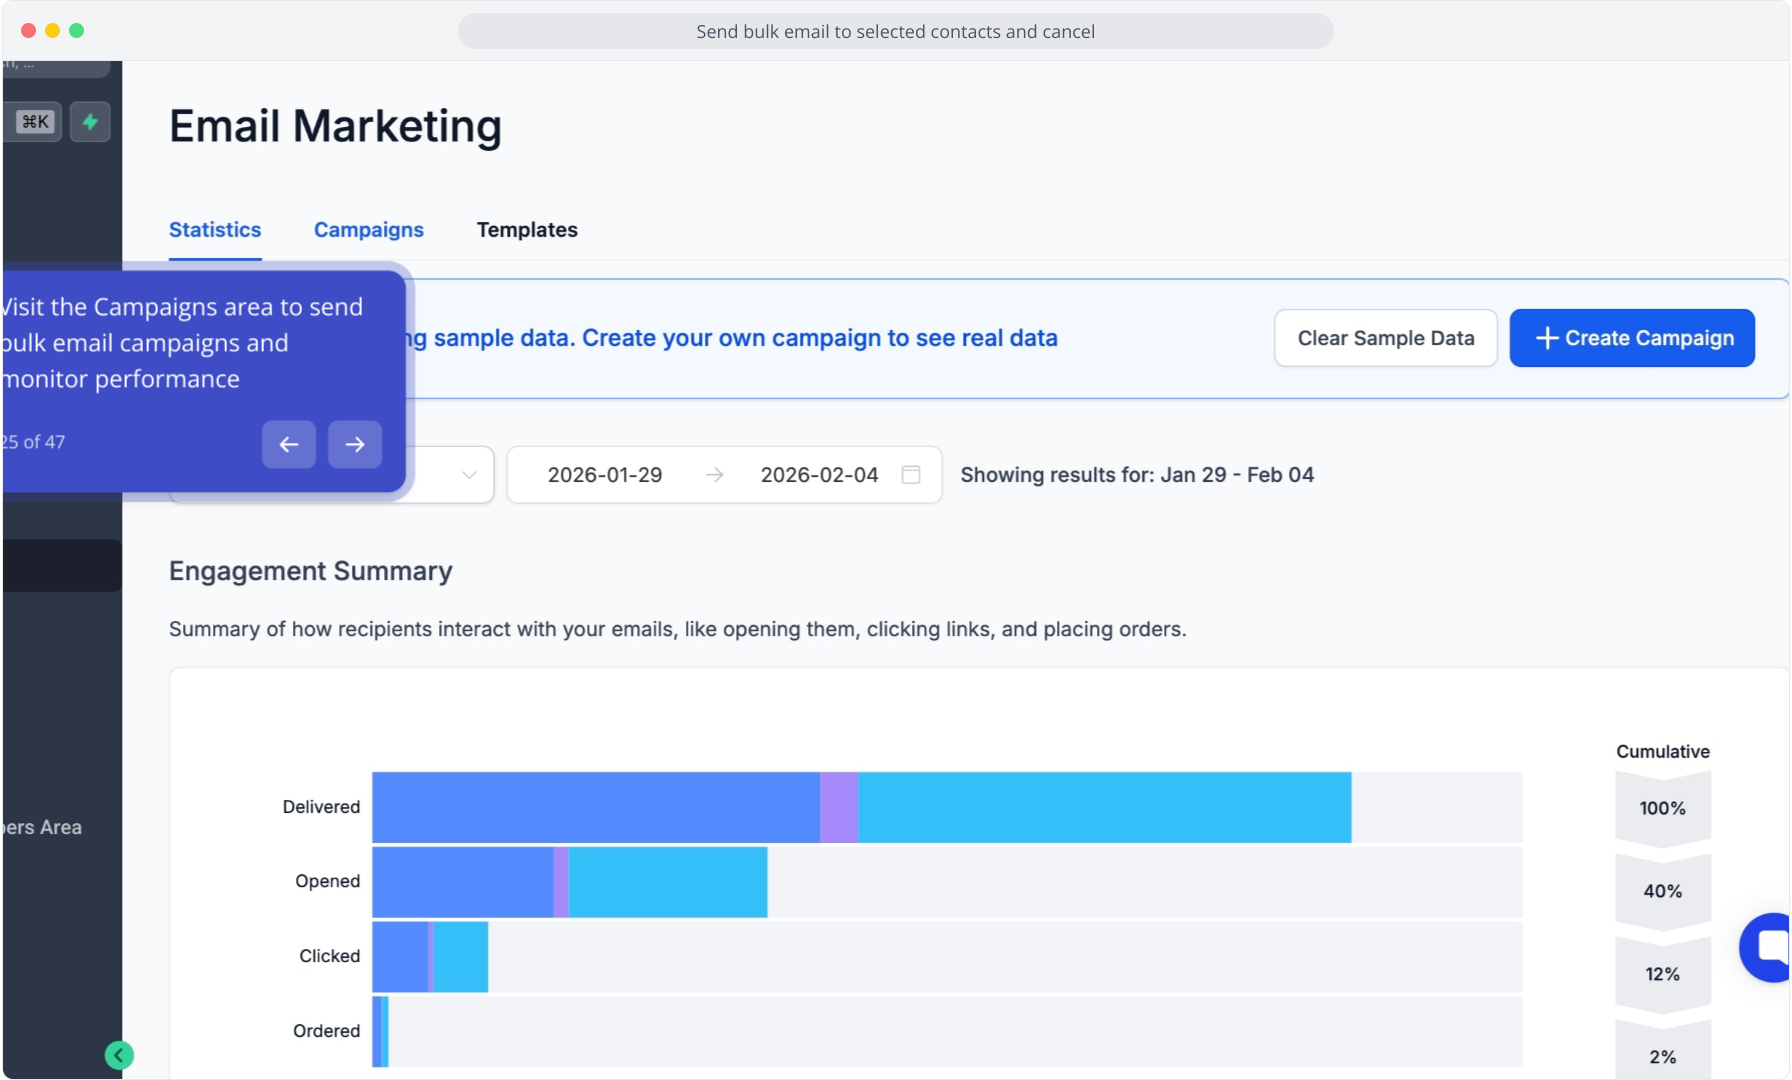
26. Choose to view stats, create a campaign, or edit templates
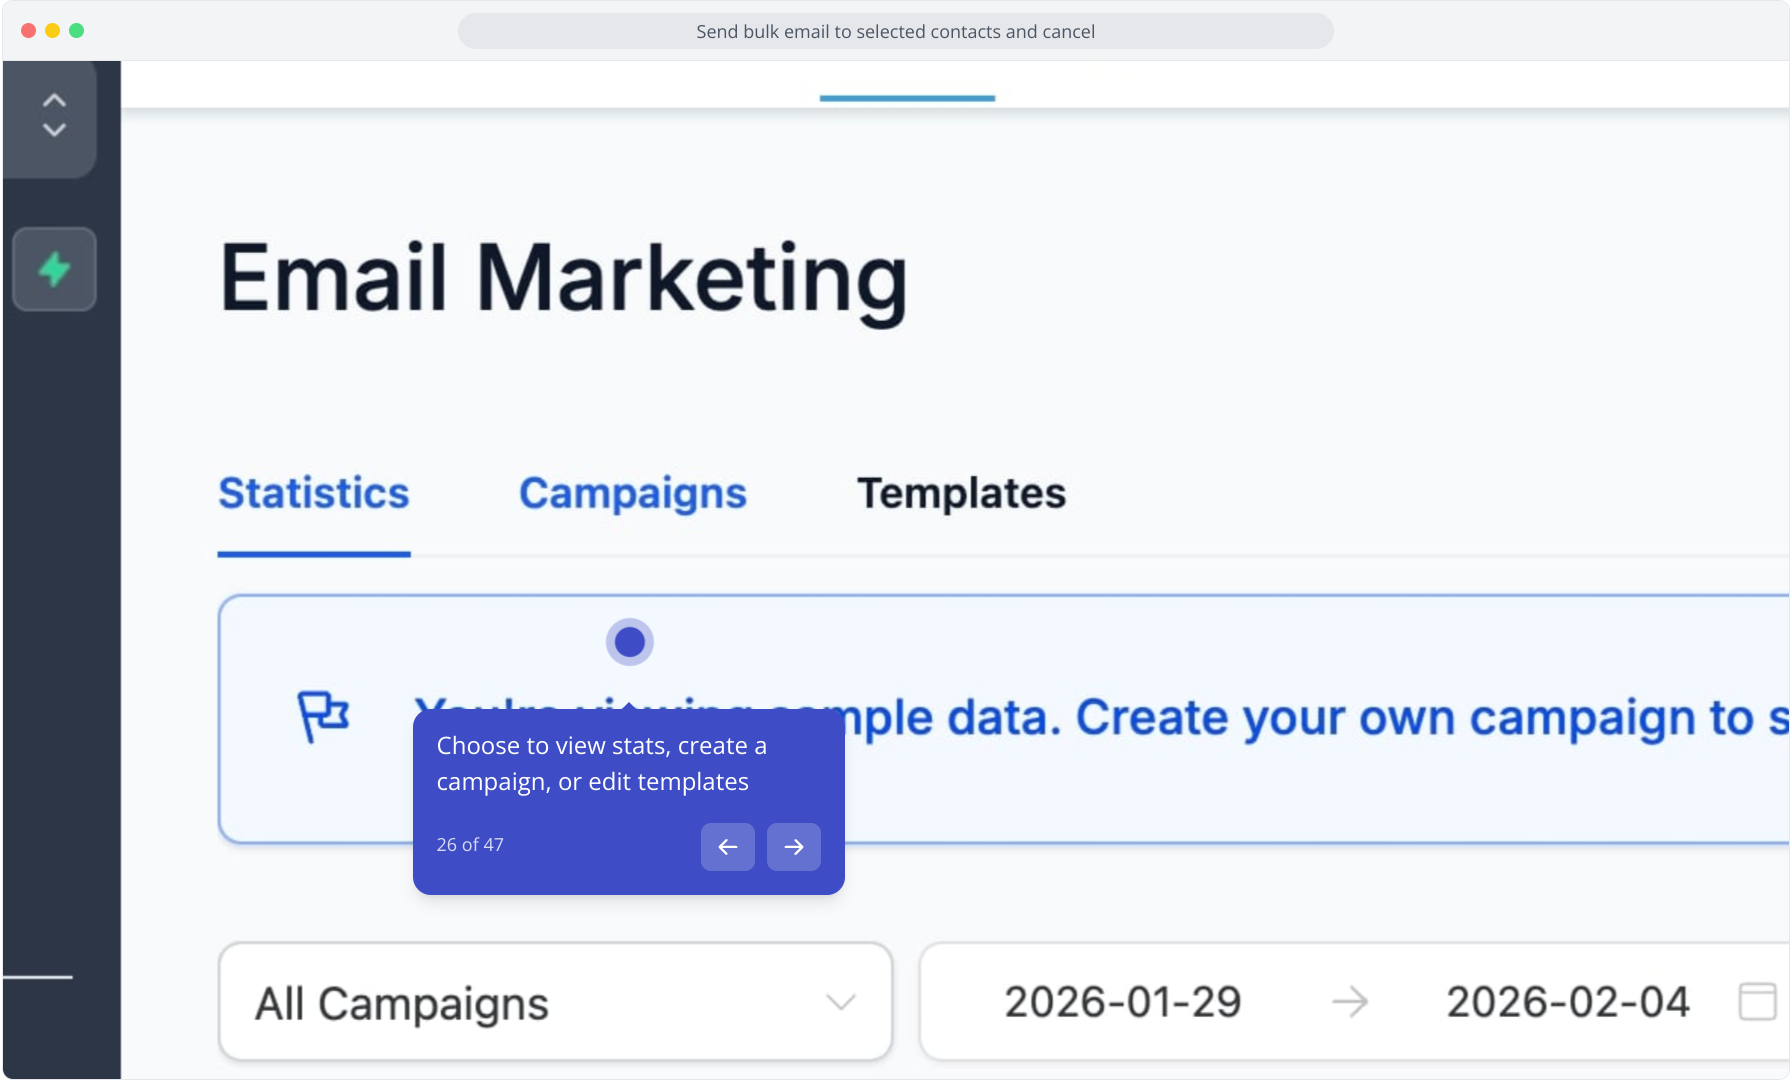
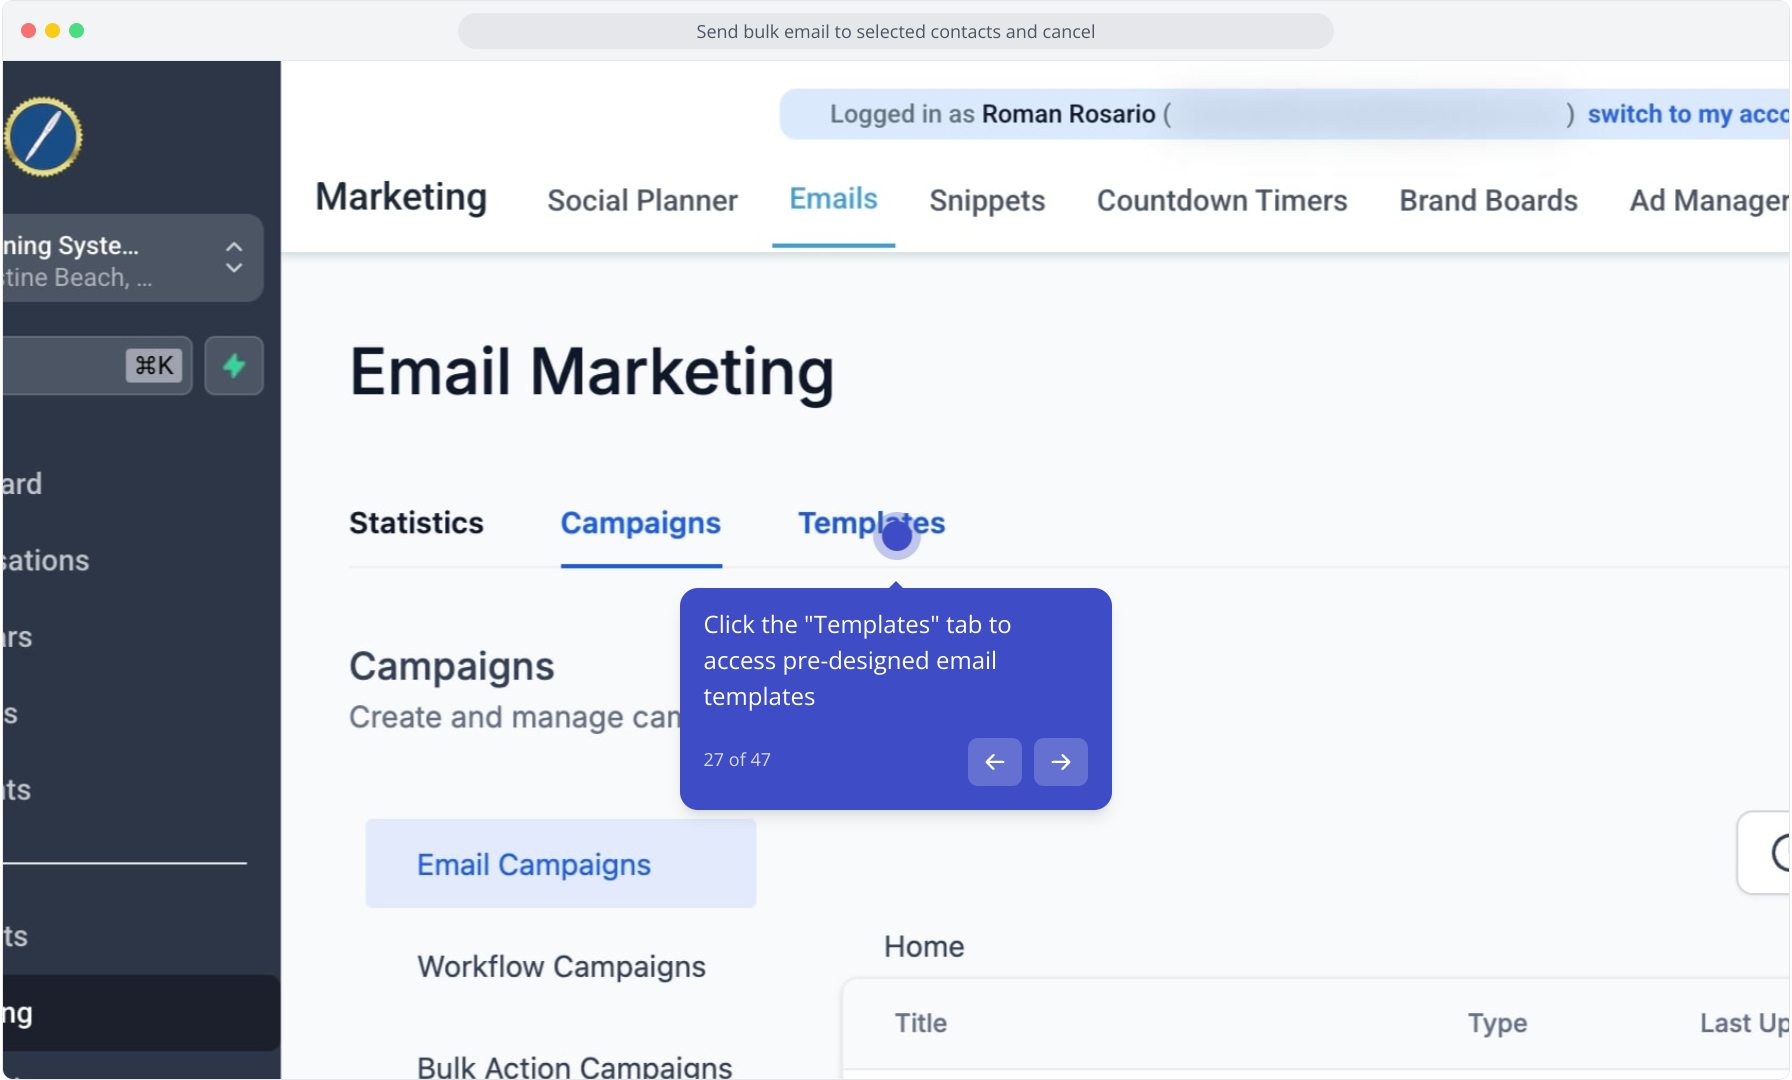
27. Click the "Templates" tab to access pre-designed email templates
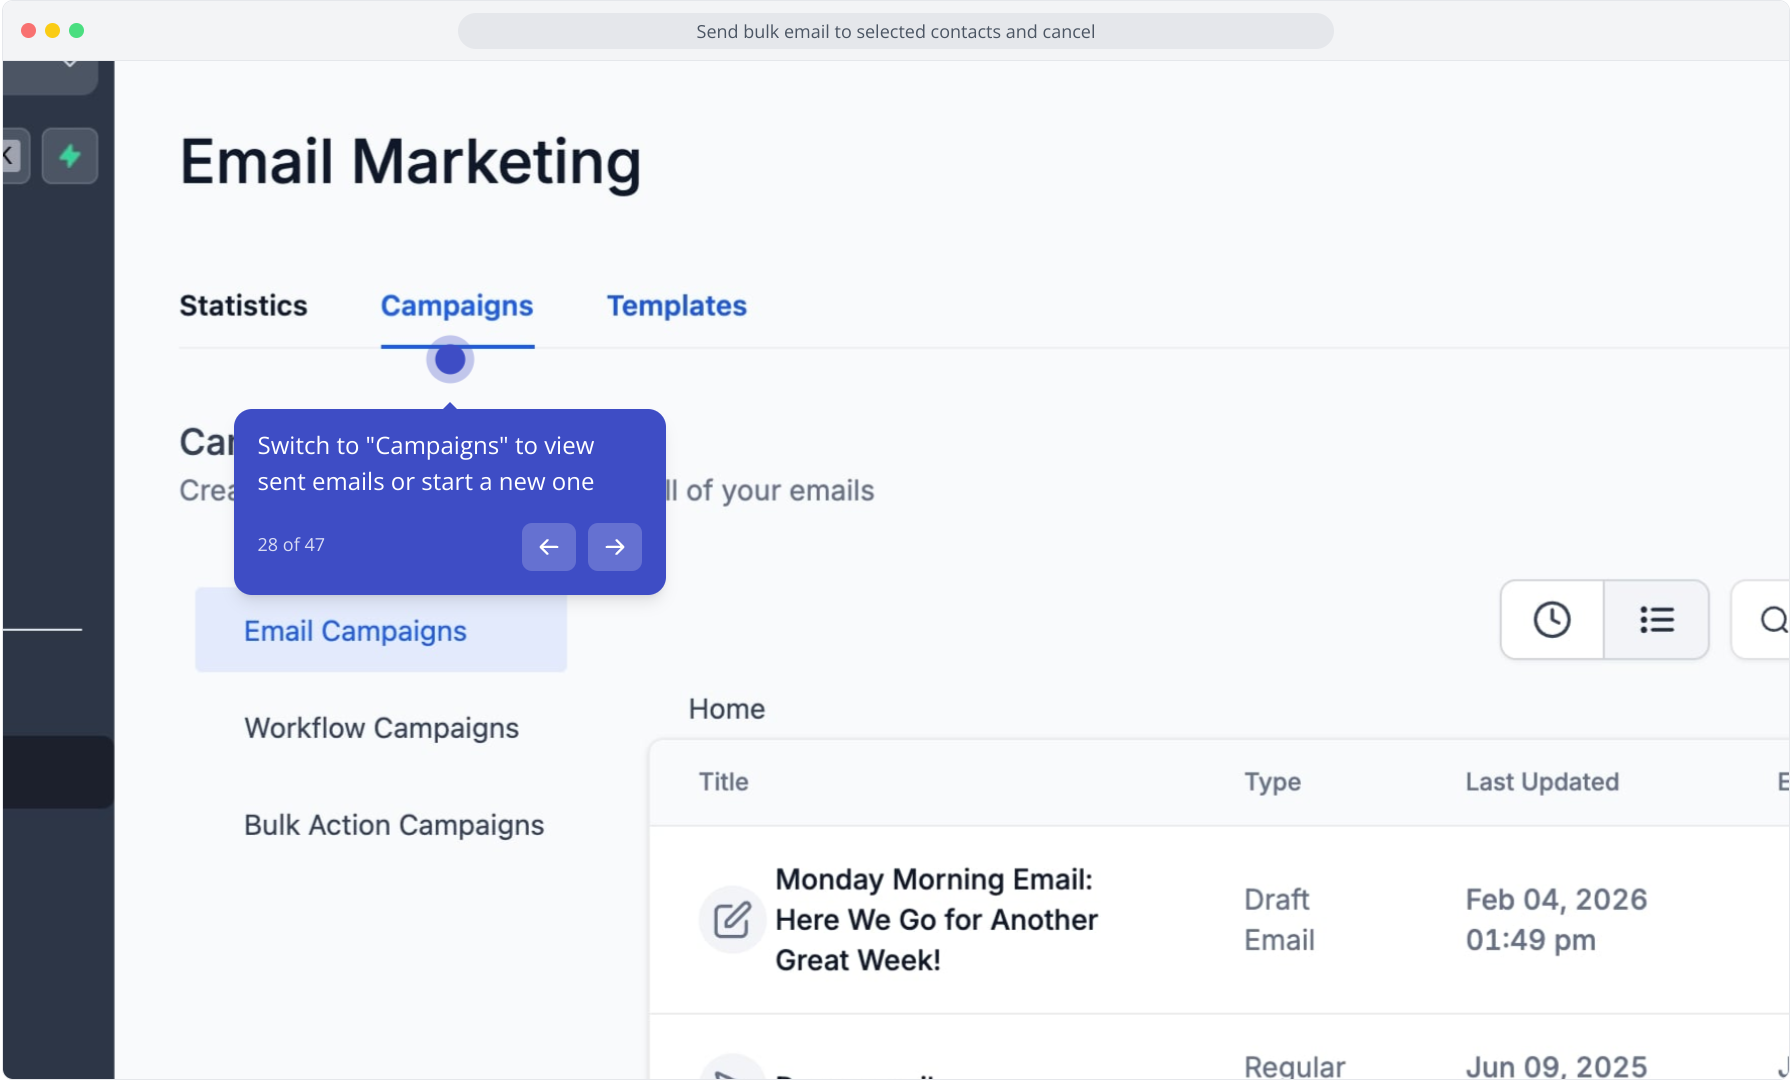
28. Switch to "Campaigns" to view sent emails or start a new one
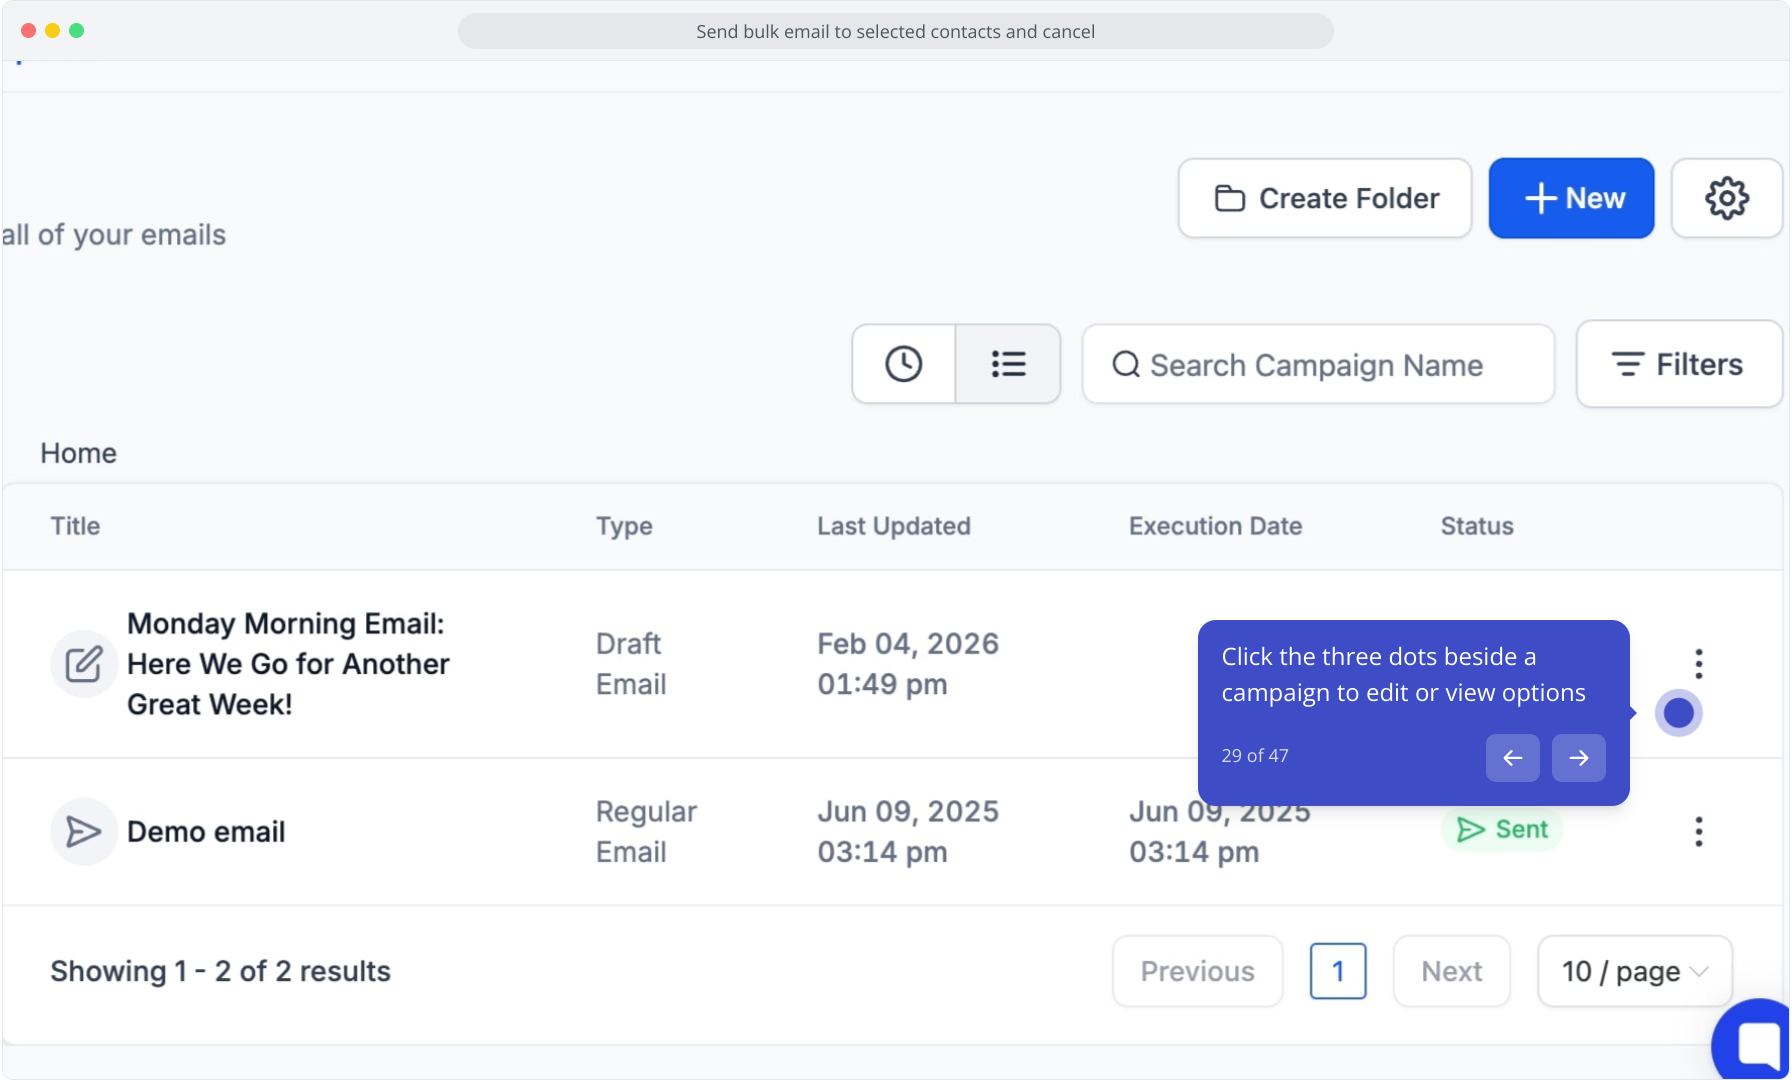
29. Click the three dots beside a campaign to edit or view options
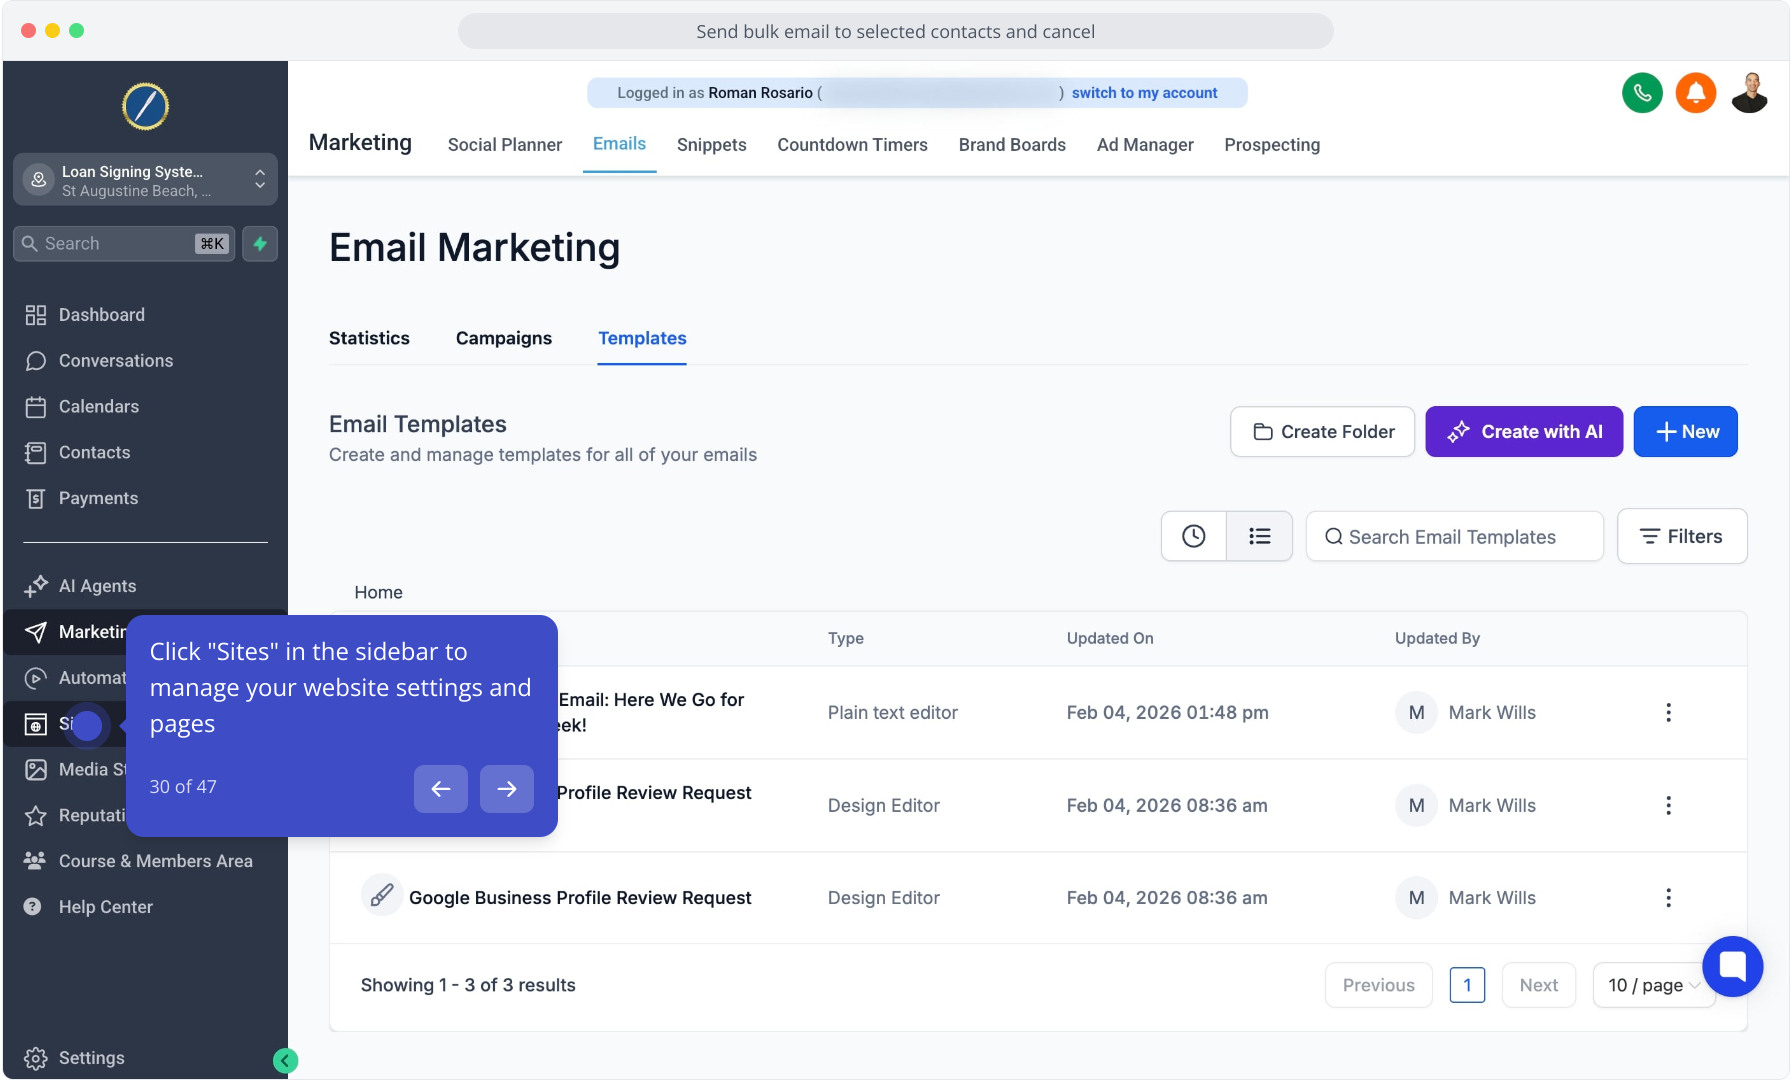
30. Click "Sites" in the sidebar to manage your website settings and pages
31. Open a site entry to view its pages and website details
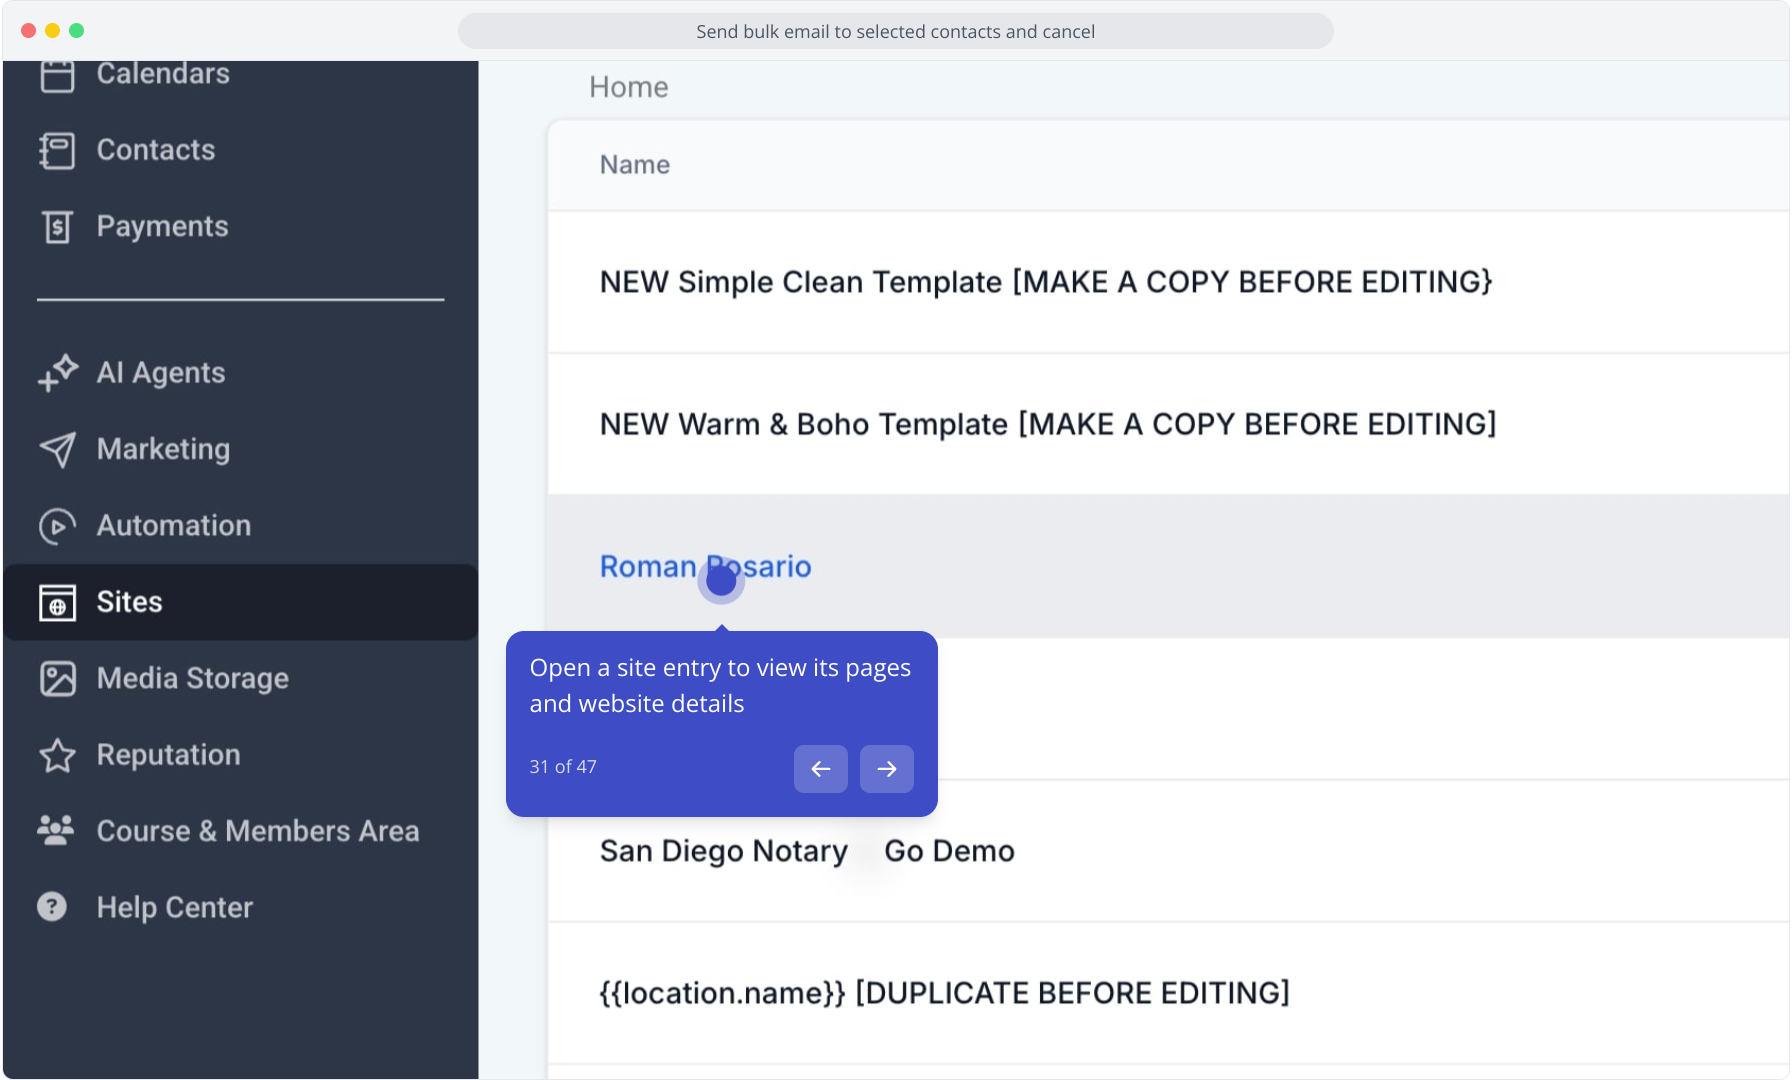
32. Click the Forms dropdown to access form builder and management tools
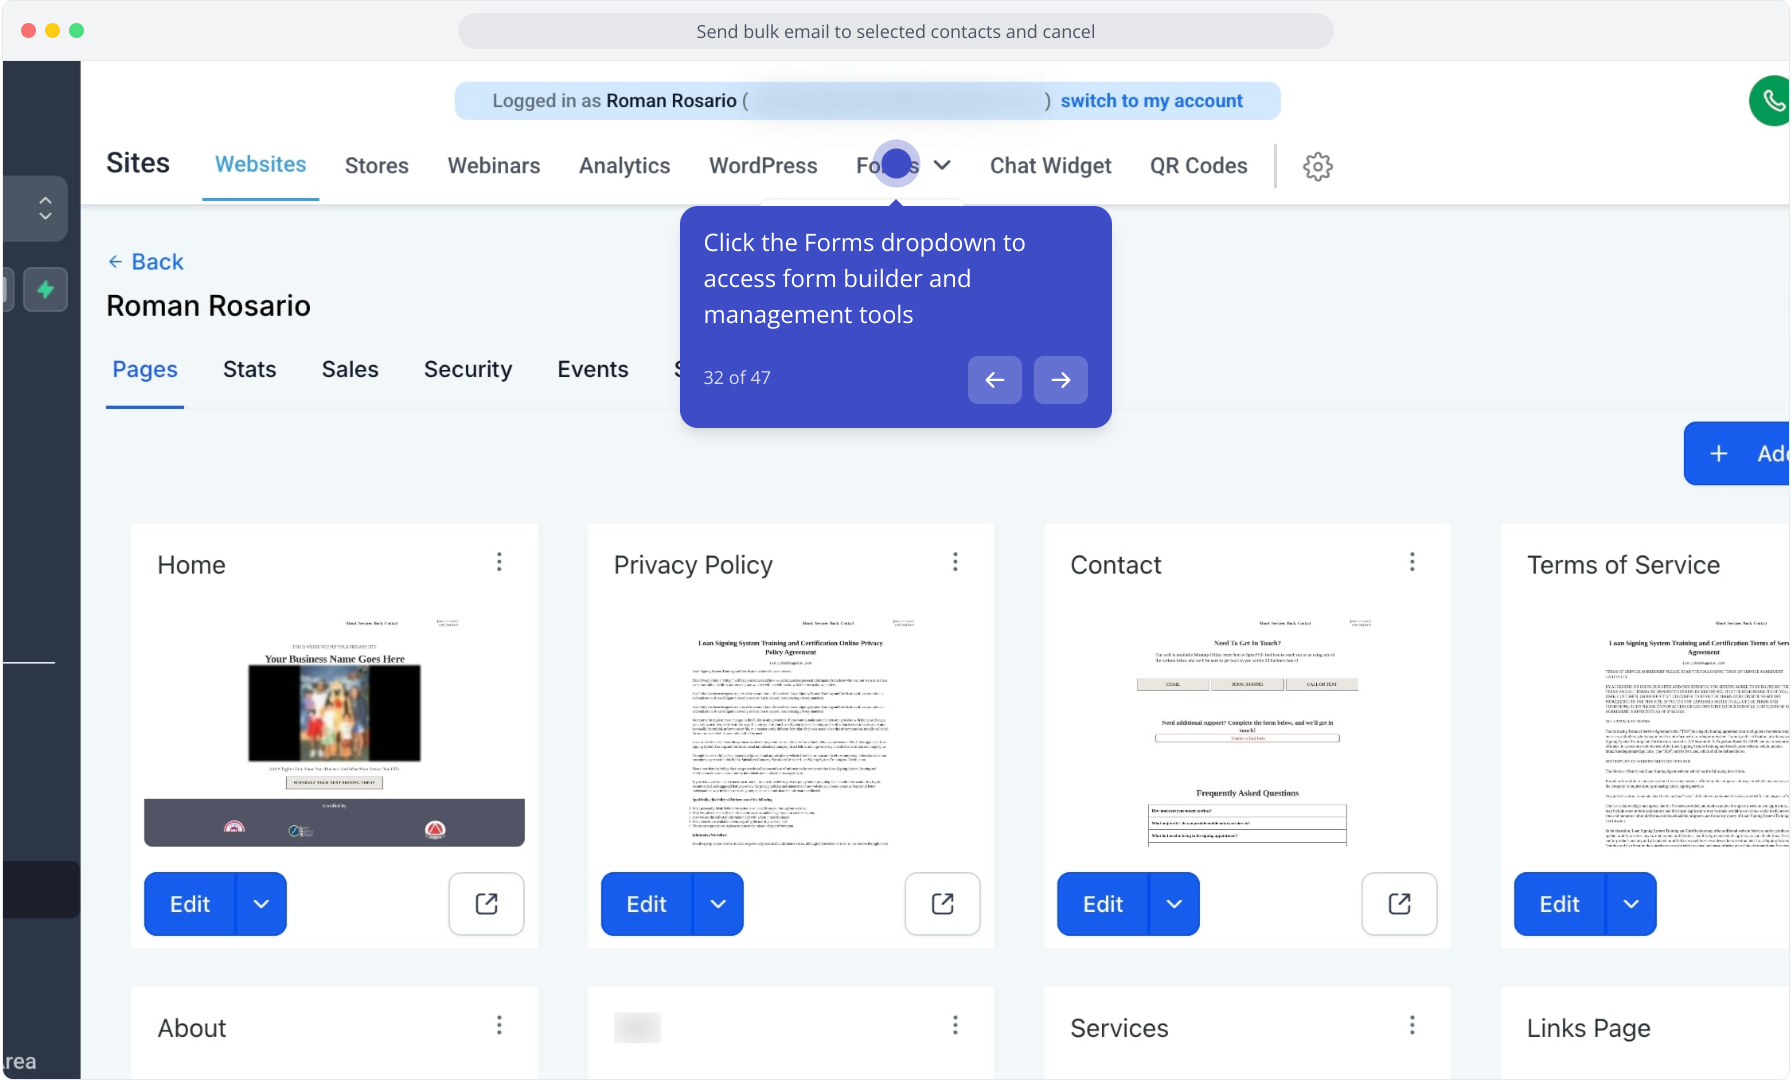
33. Open the Calendar tab to review scheduling options
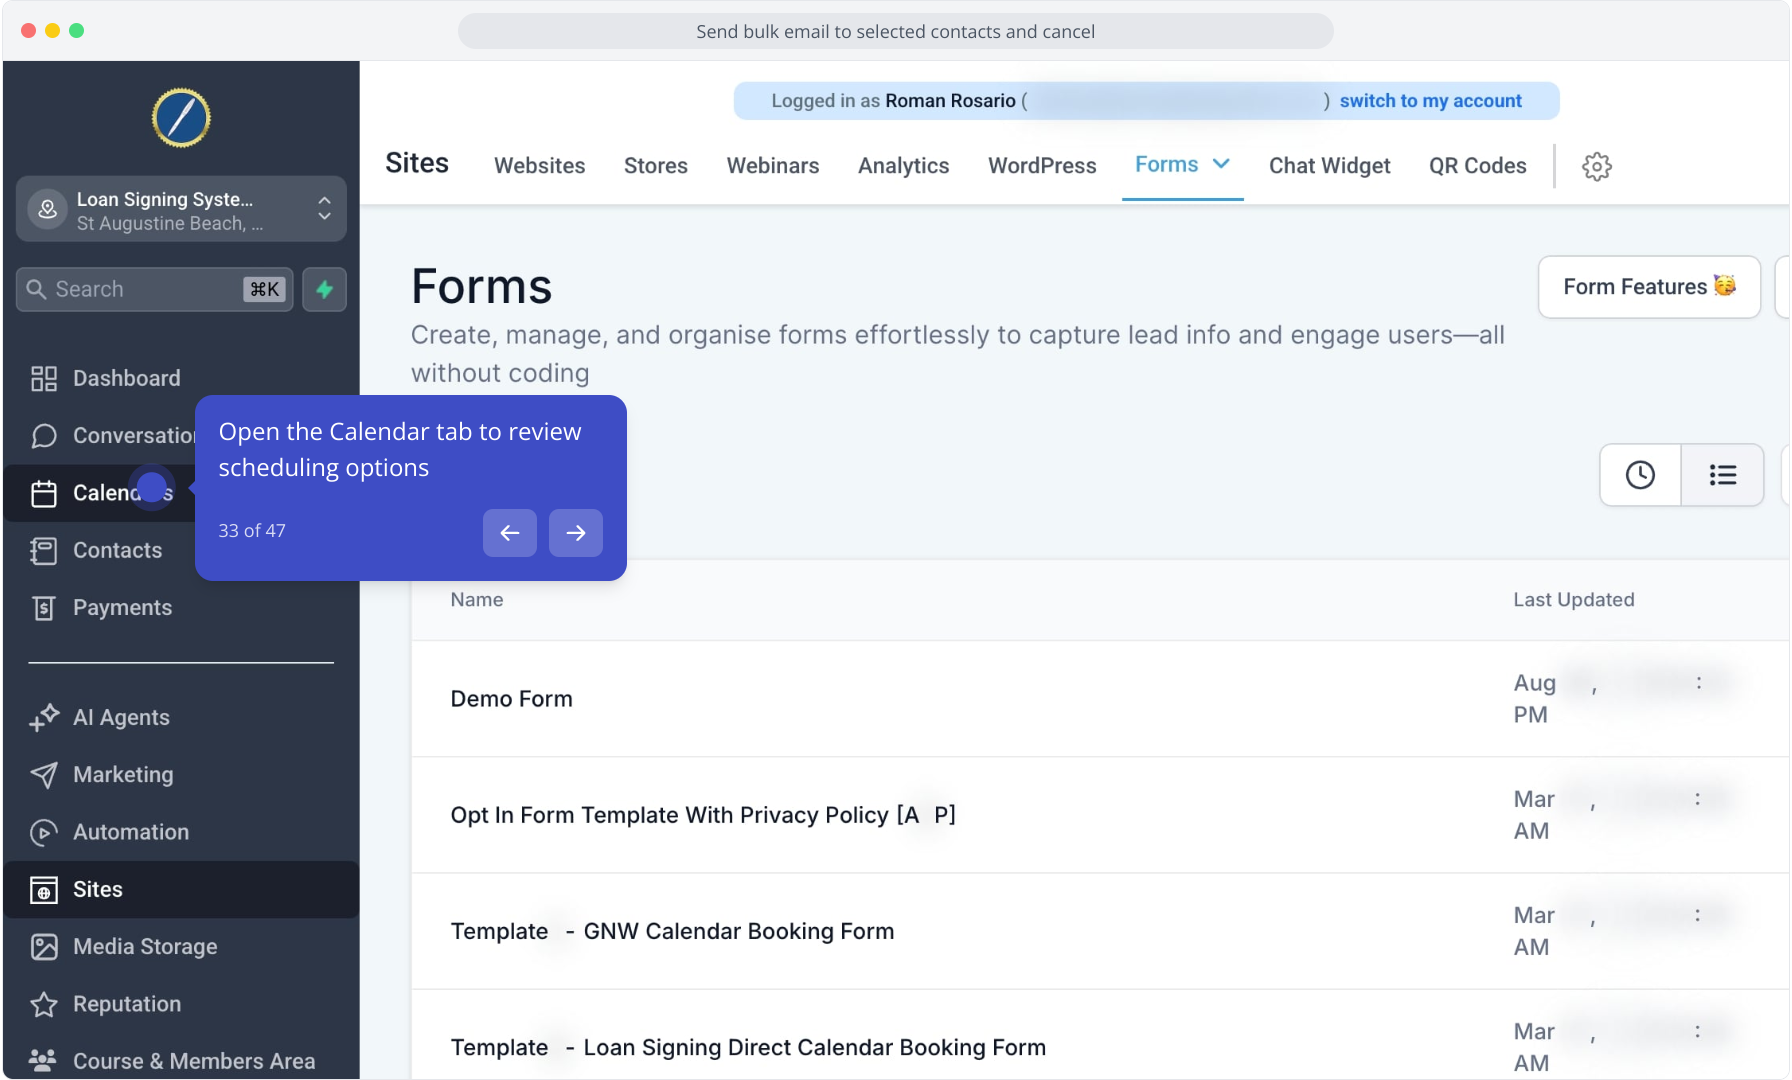
34. Select Calendar Settings to edit and add calendars
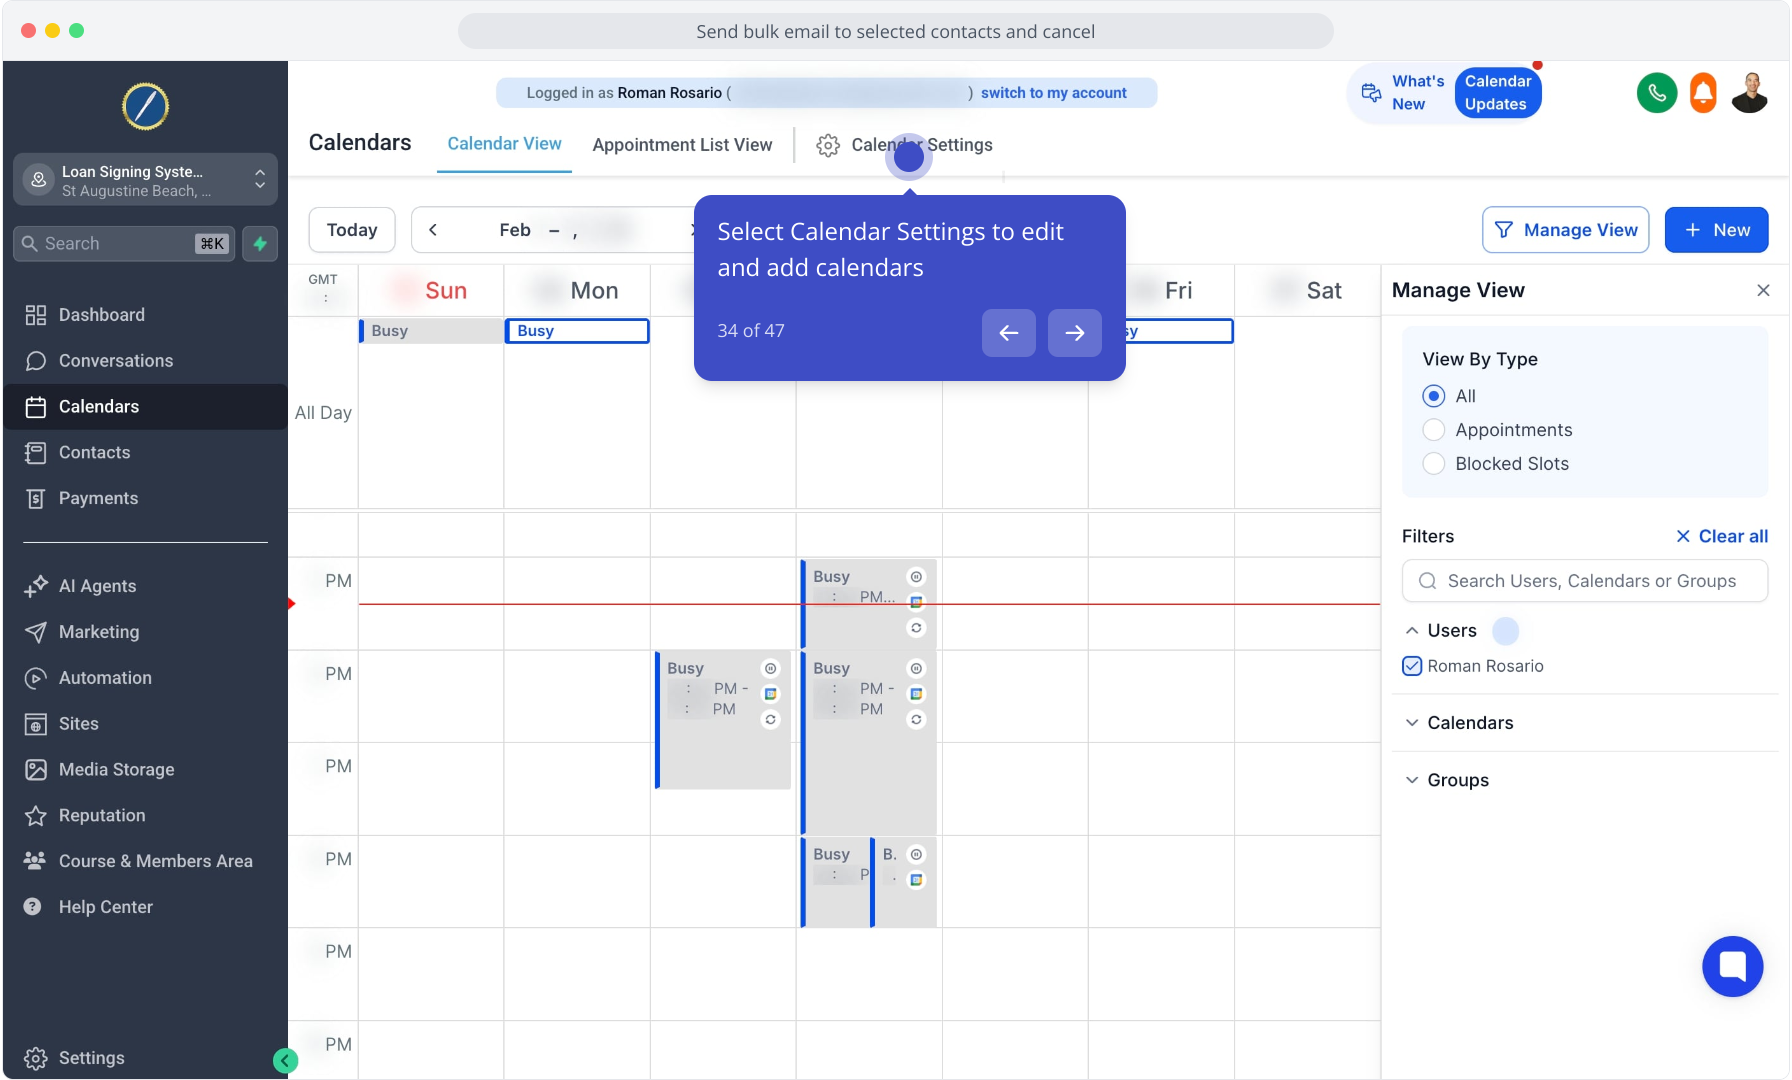
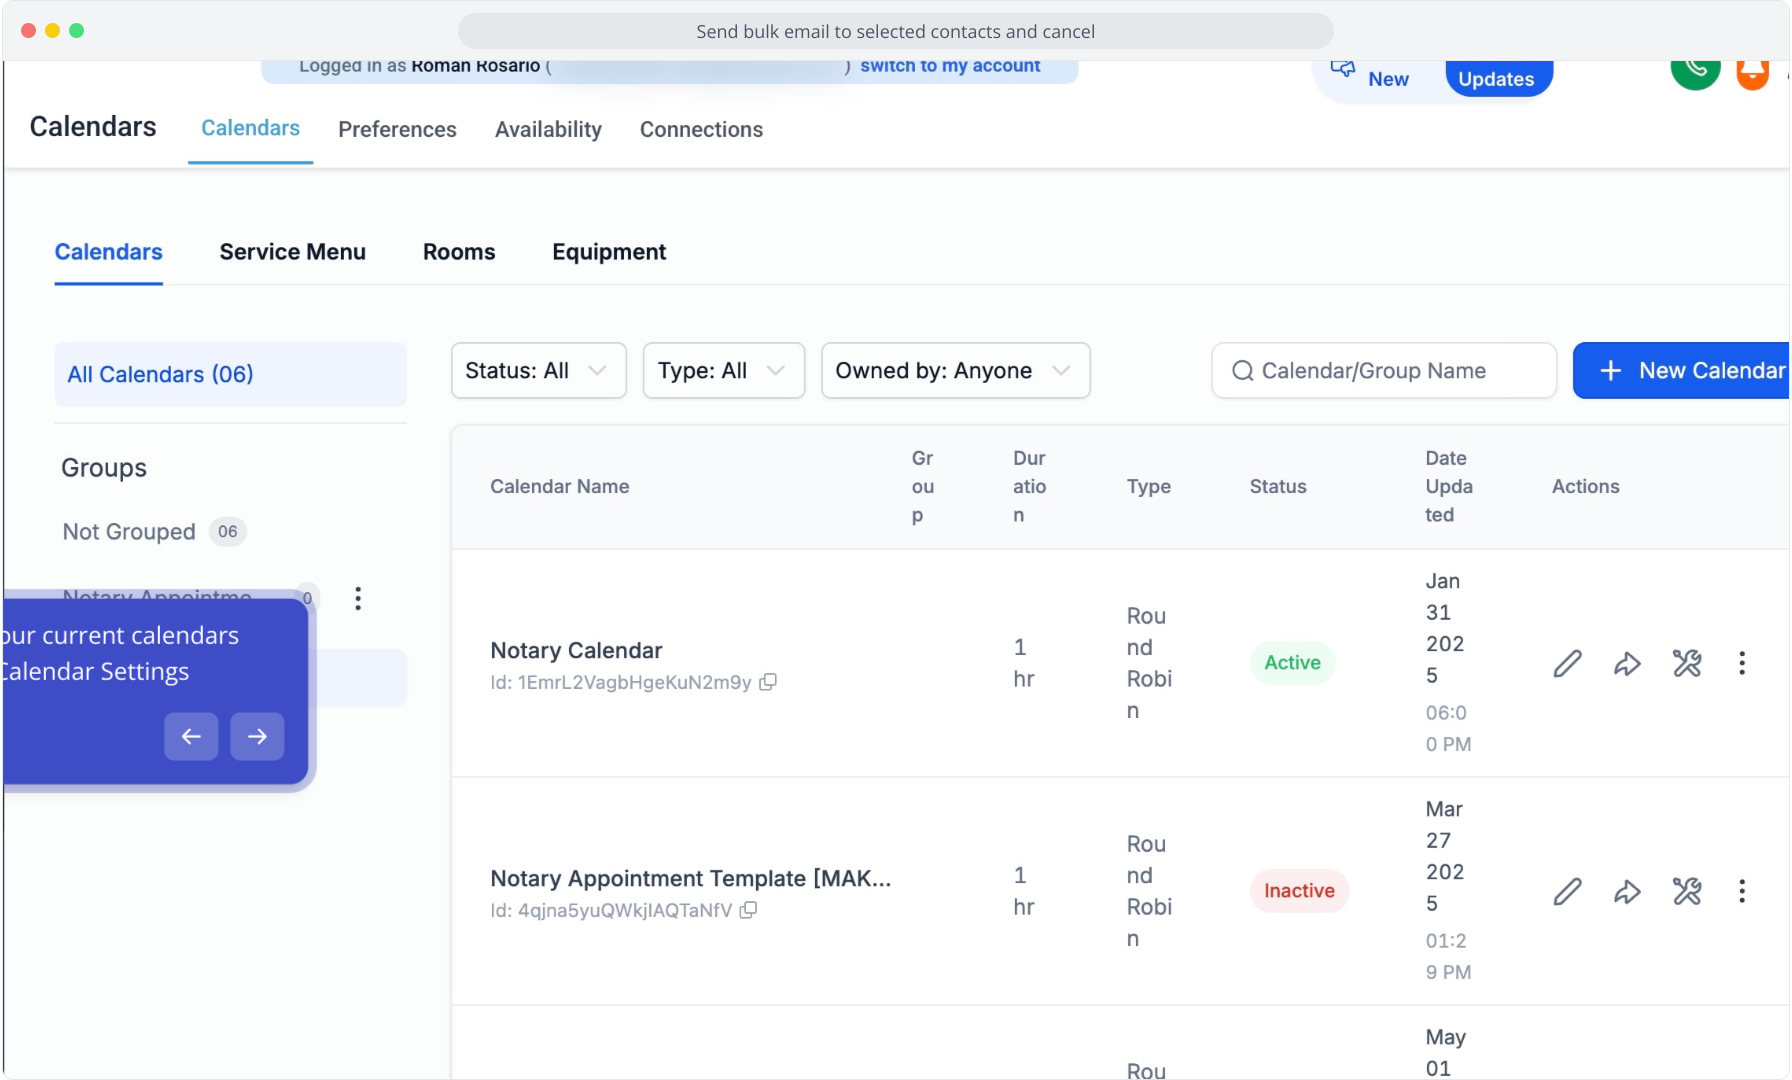
35. Review your current calendars listed in Calendar Settings
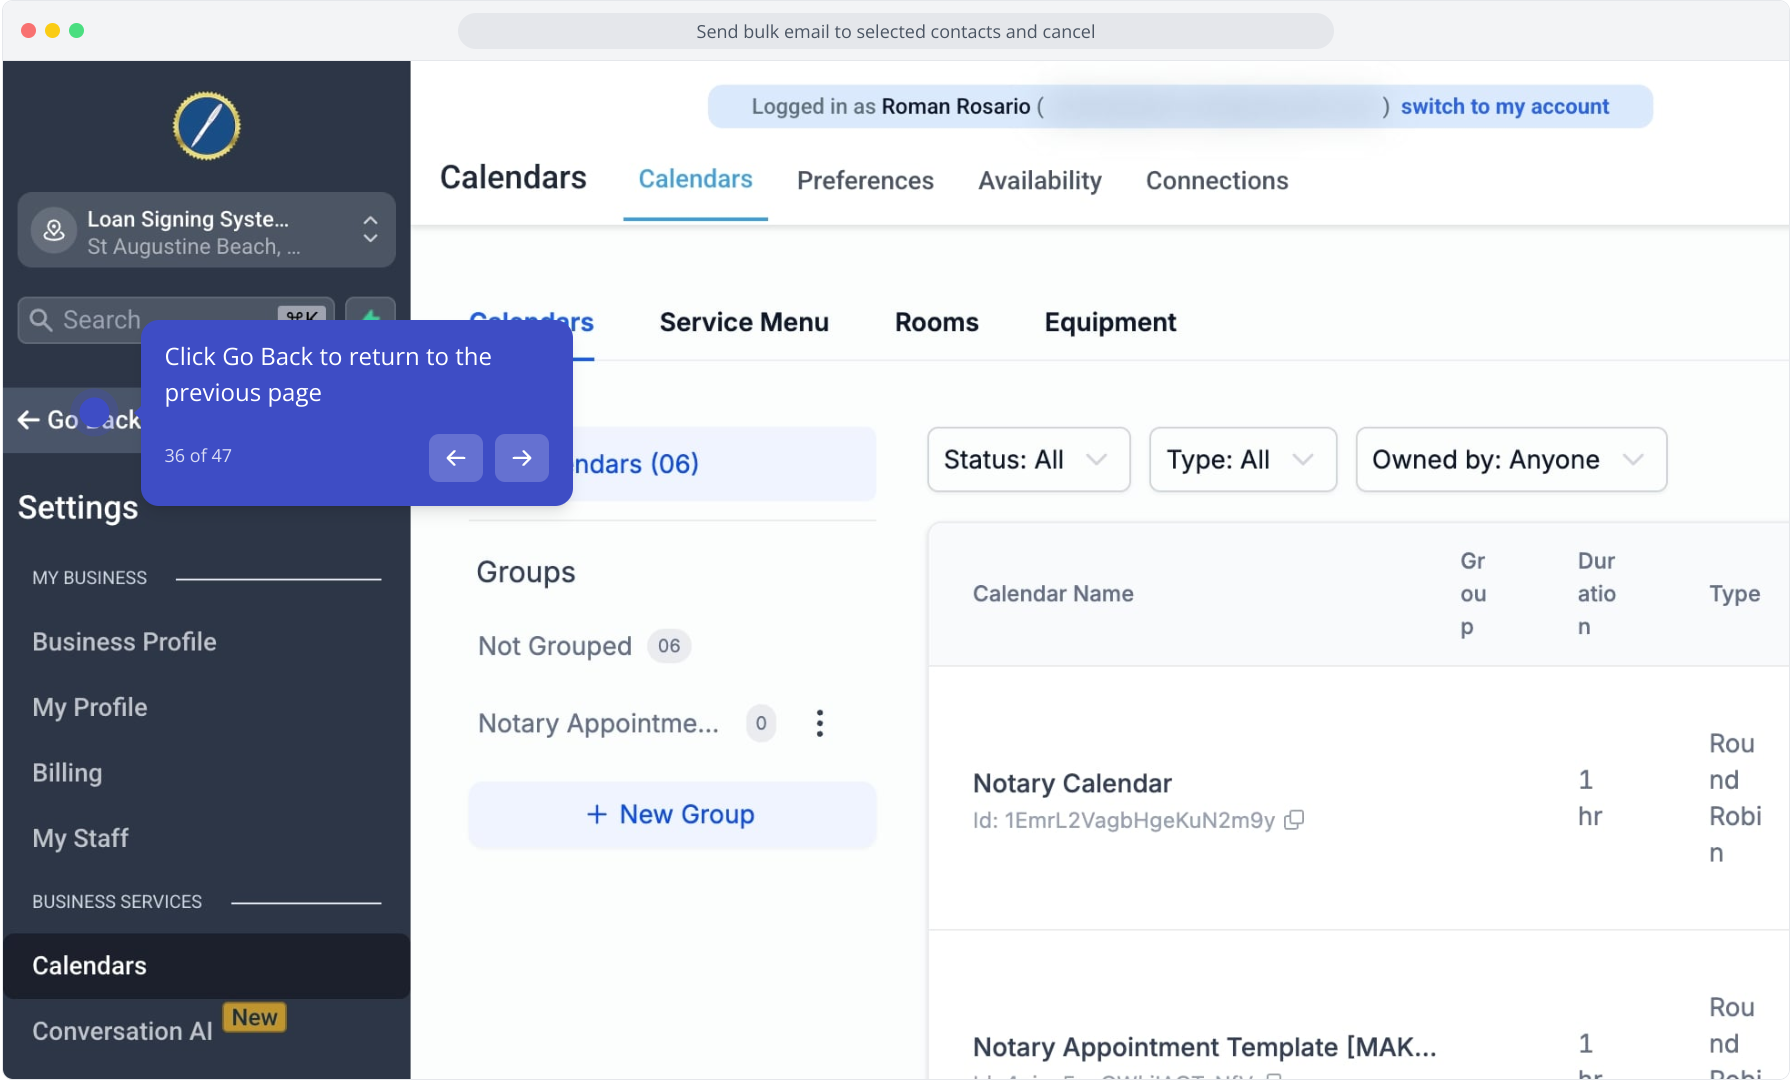
36. Click Go Back to return to the previous page
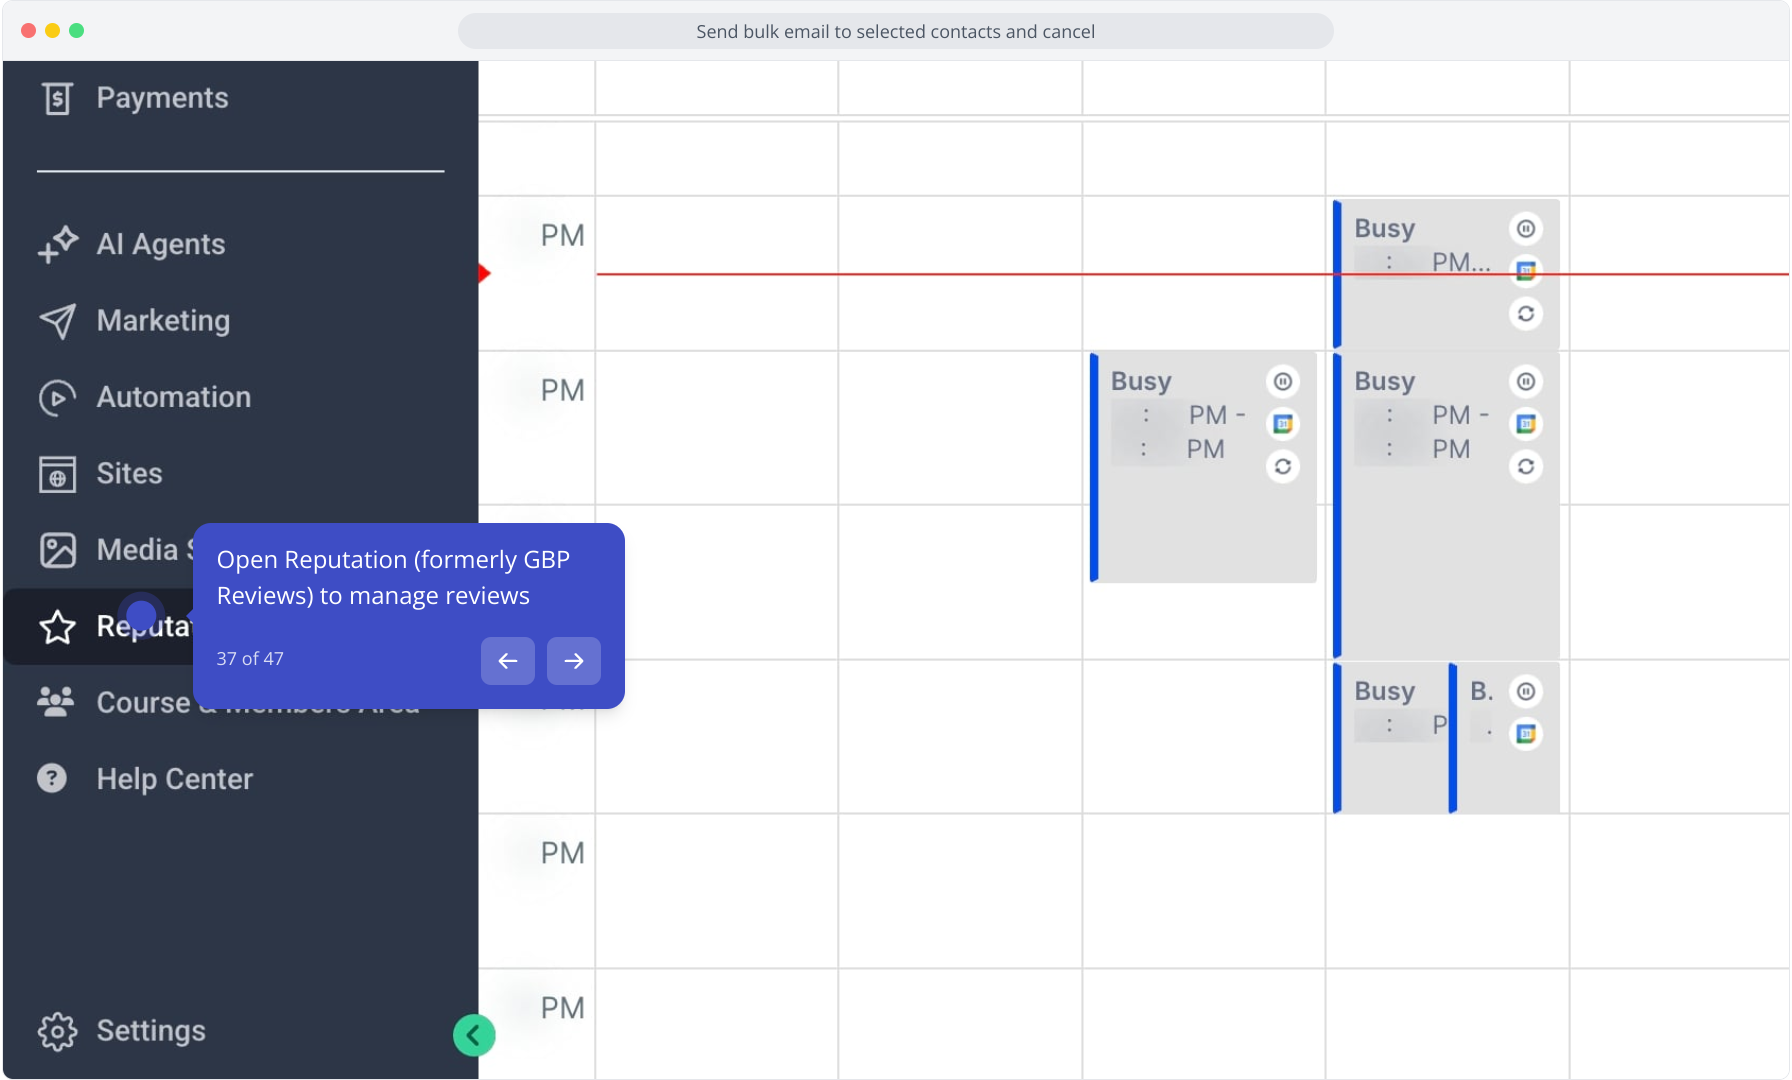
37. Open Reputation (formerly GBP Reviews) to manage reviews
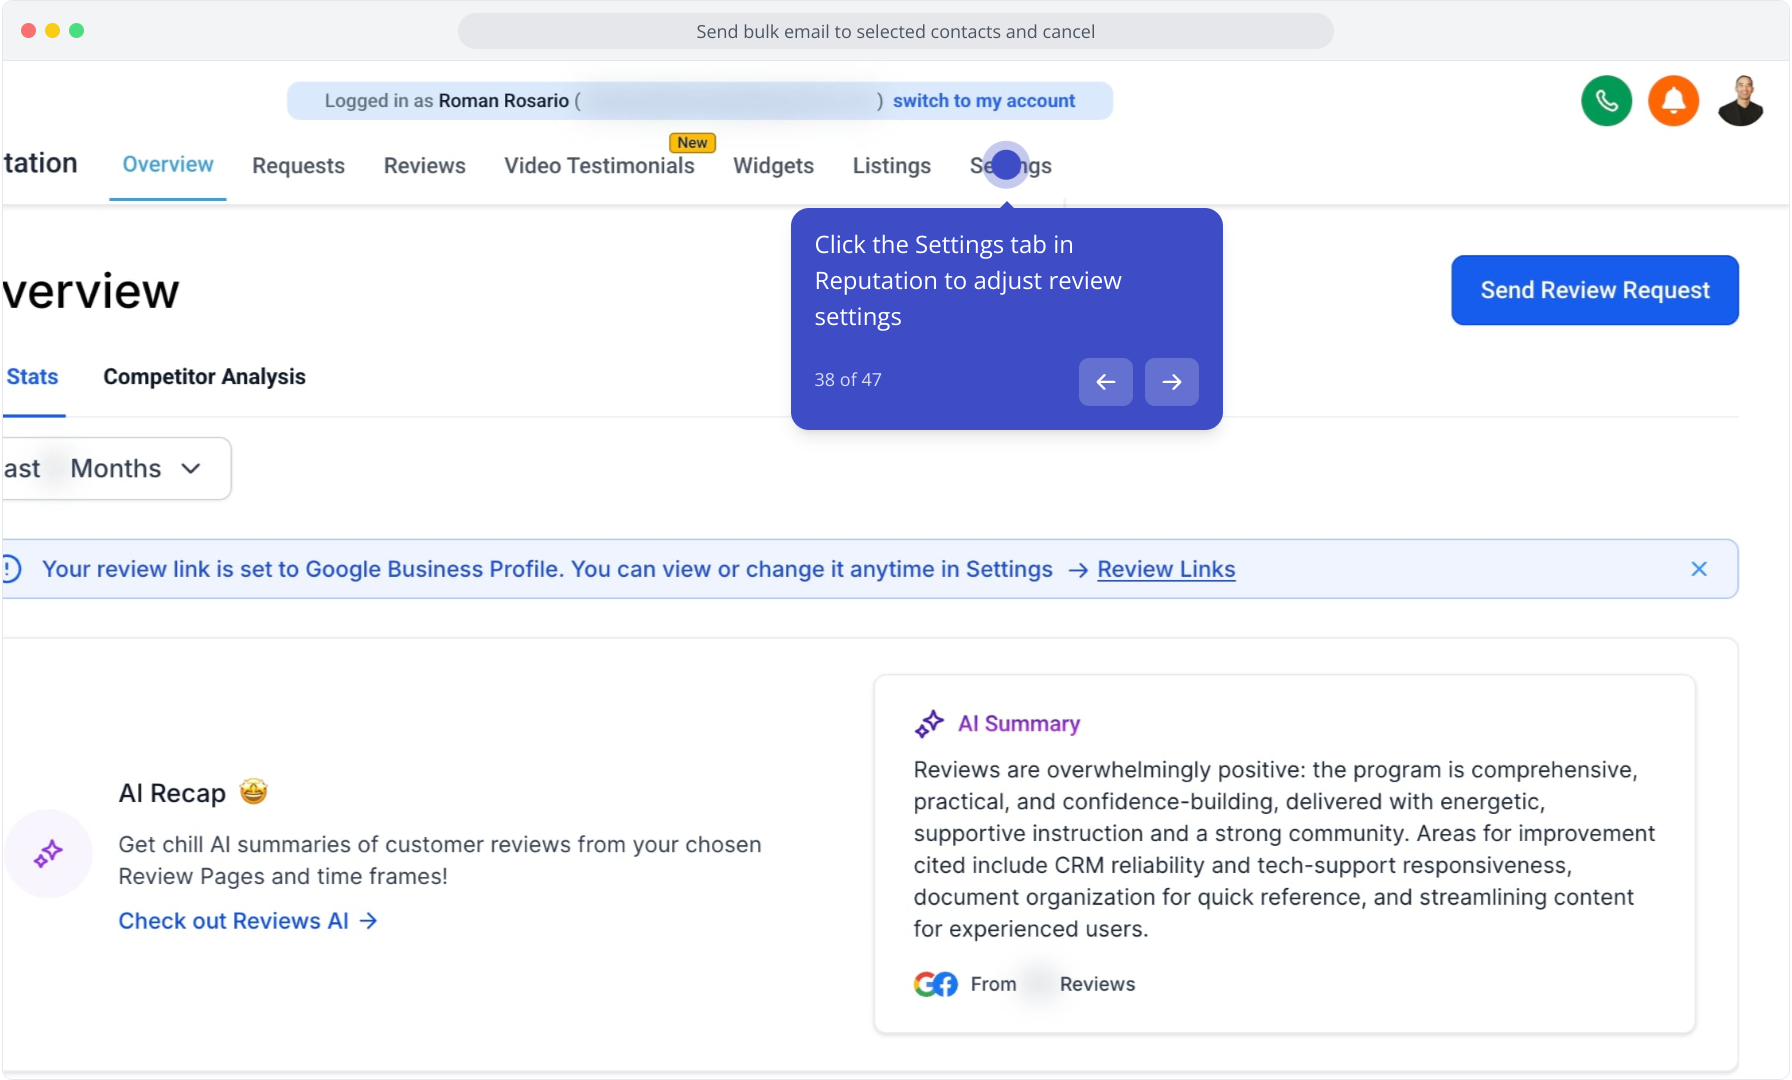
38. Click the Settings tab in Reputation to adjust review settings
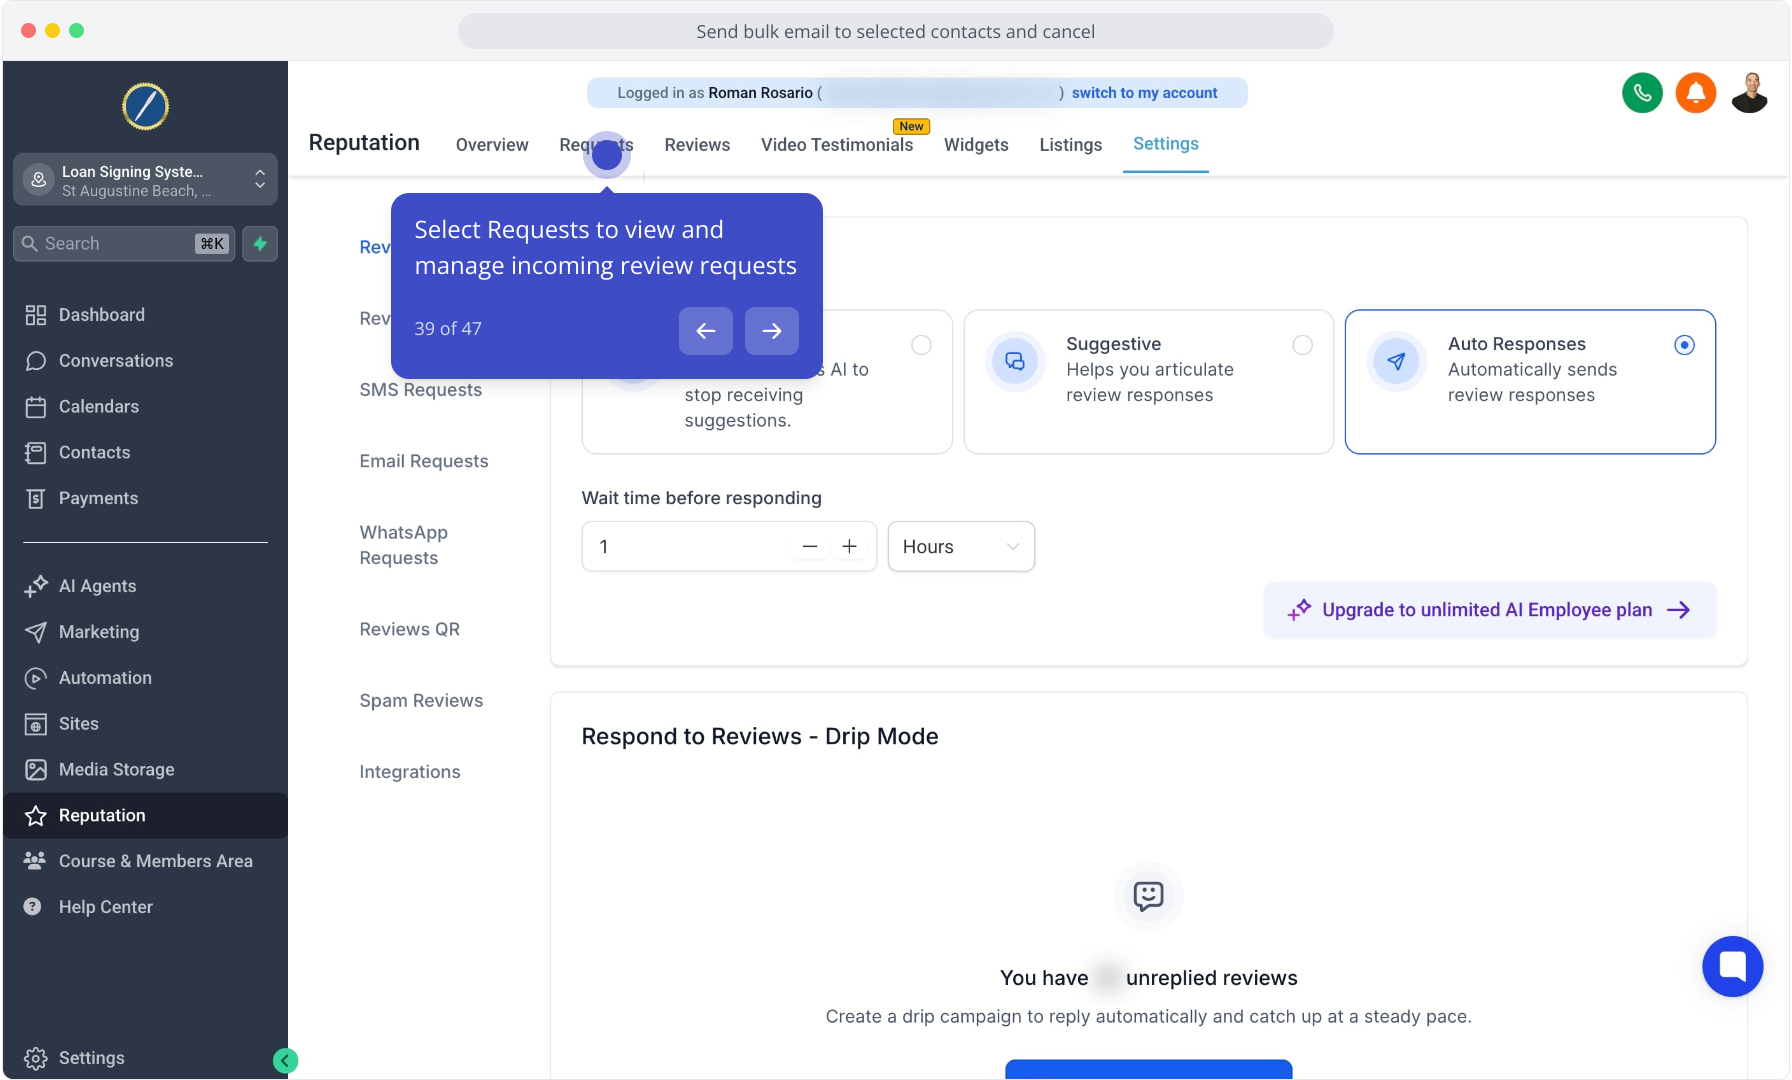
39. Select Requests to view and manage incoming review requests
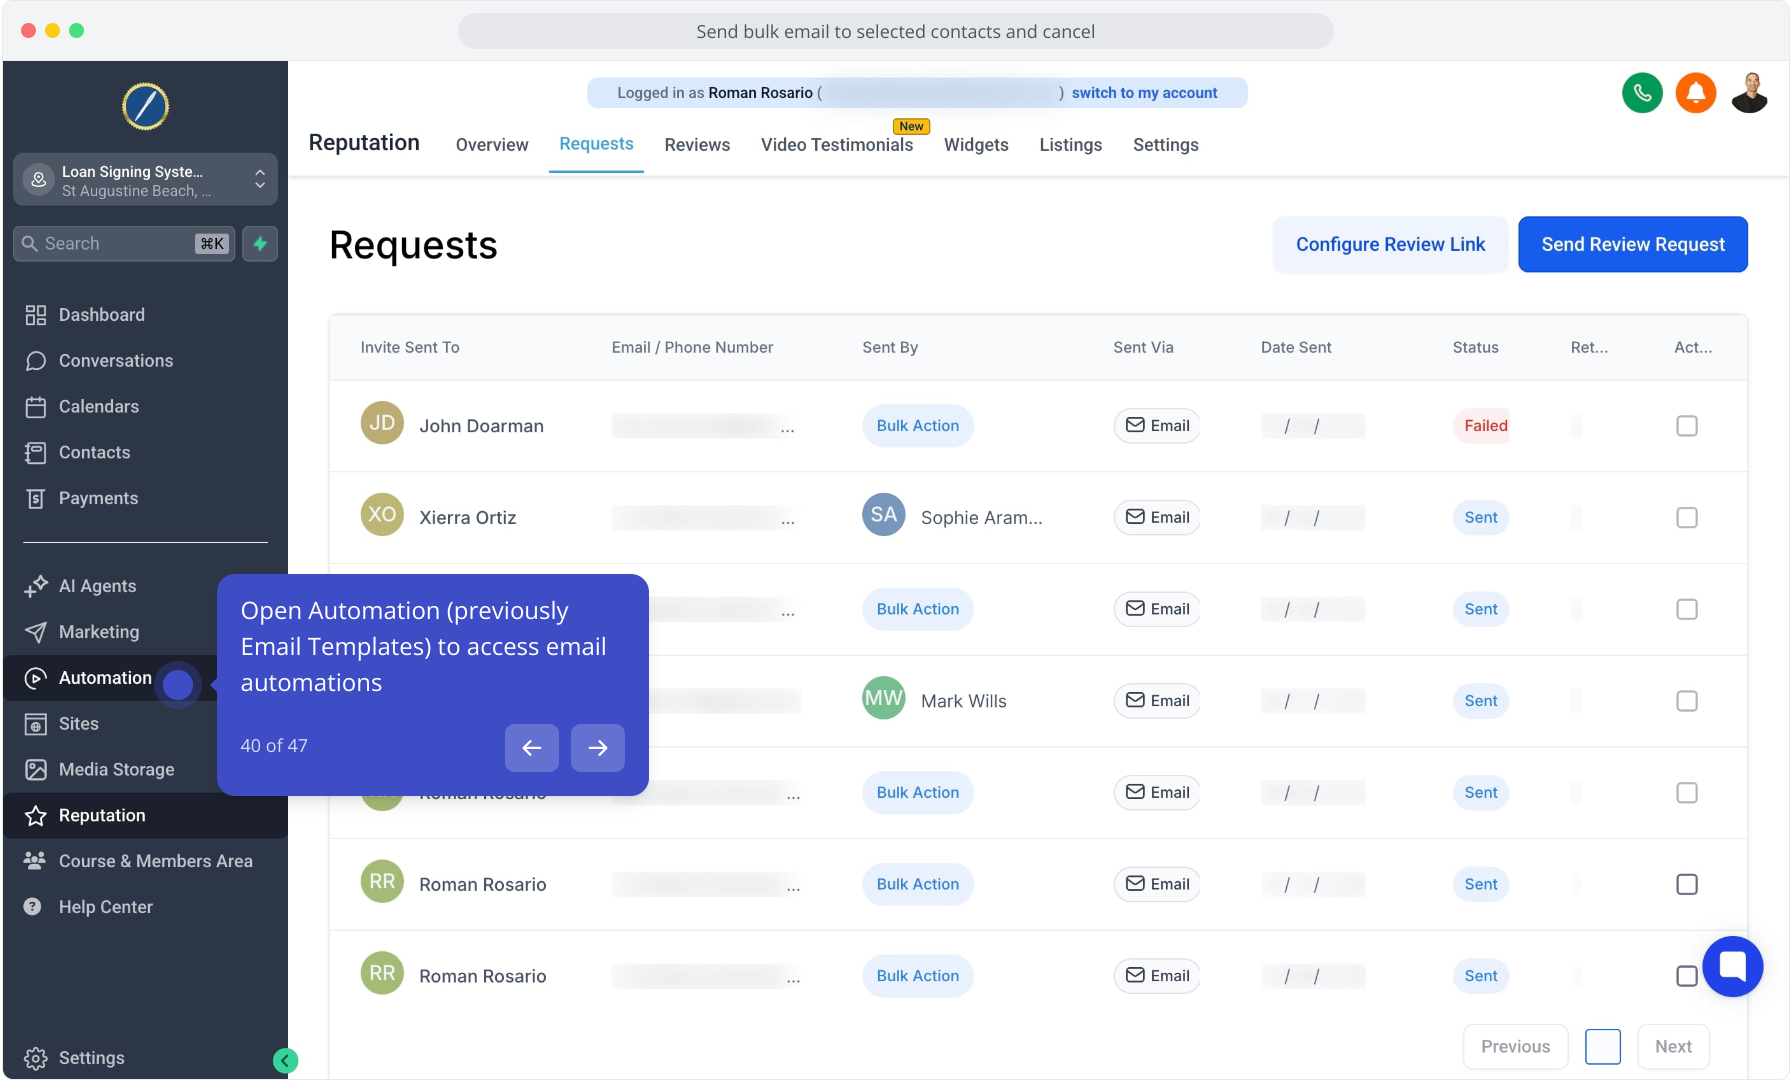
40. Open Automation (previously Email Templates) to access email automations
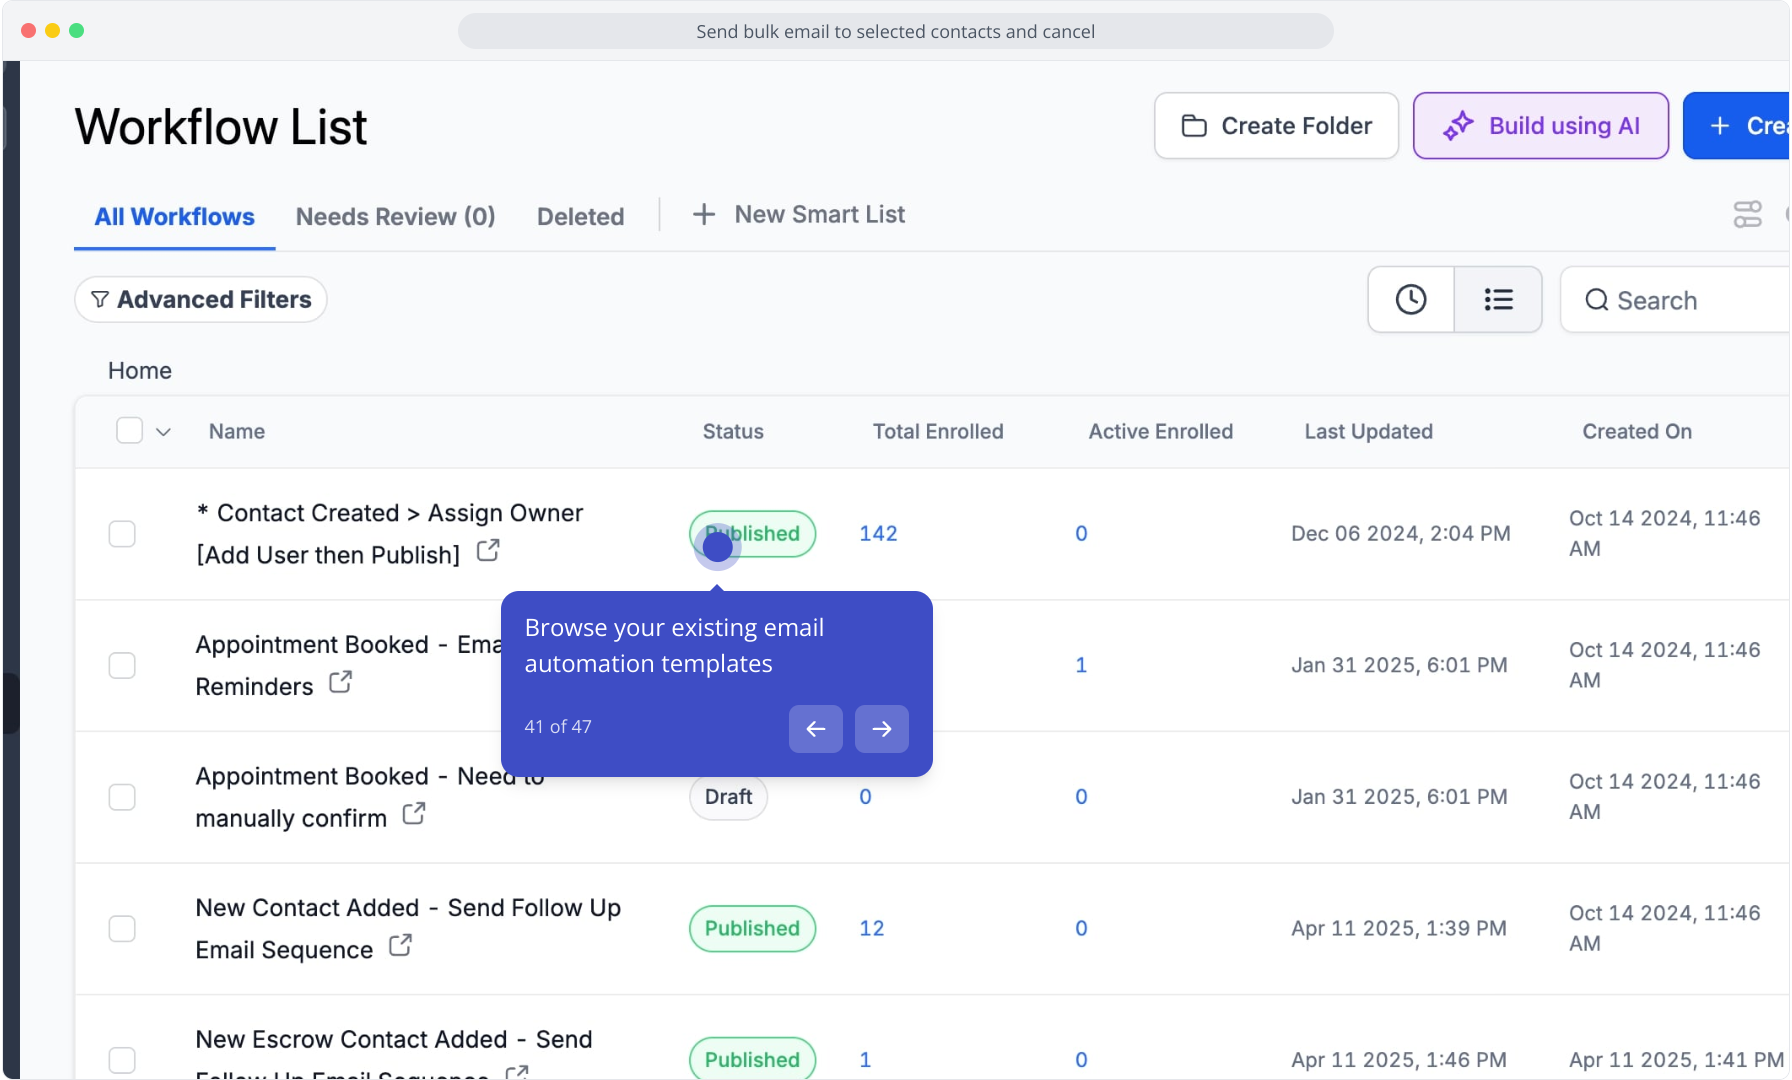
41. Browse your existing email automation templates
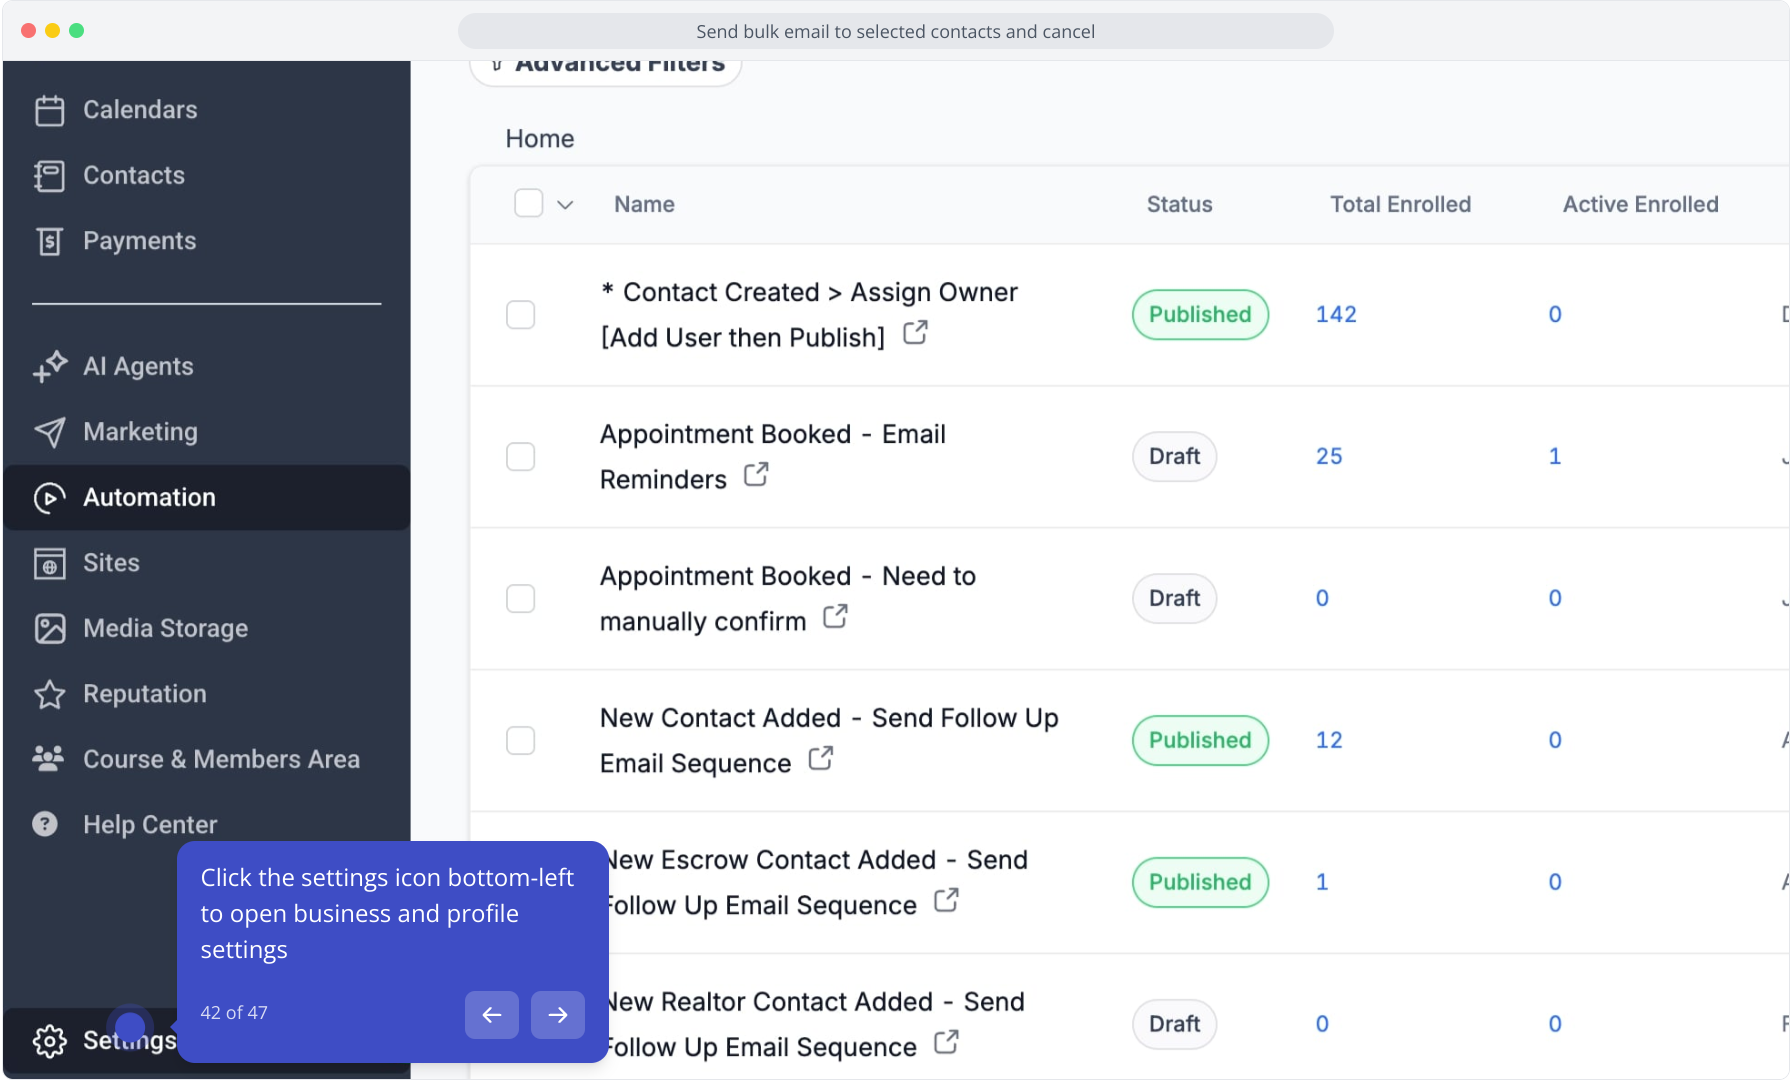
42. Click the settings icon bottom-left to open business and profile settings
43. Update your business profile details as needed
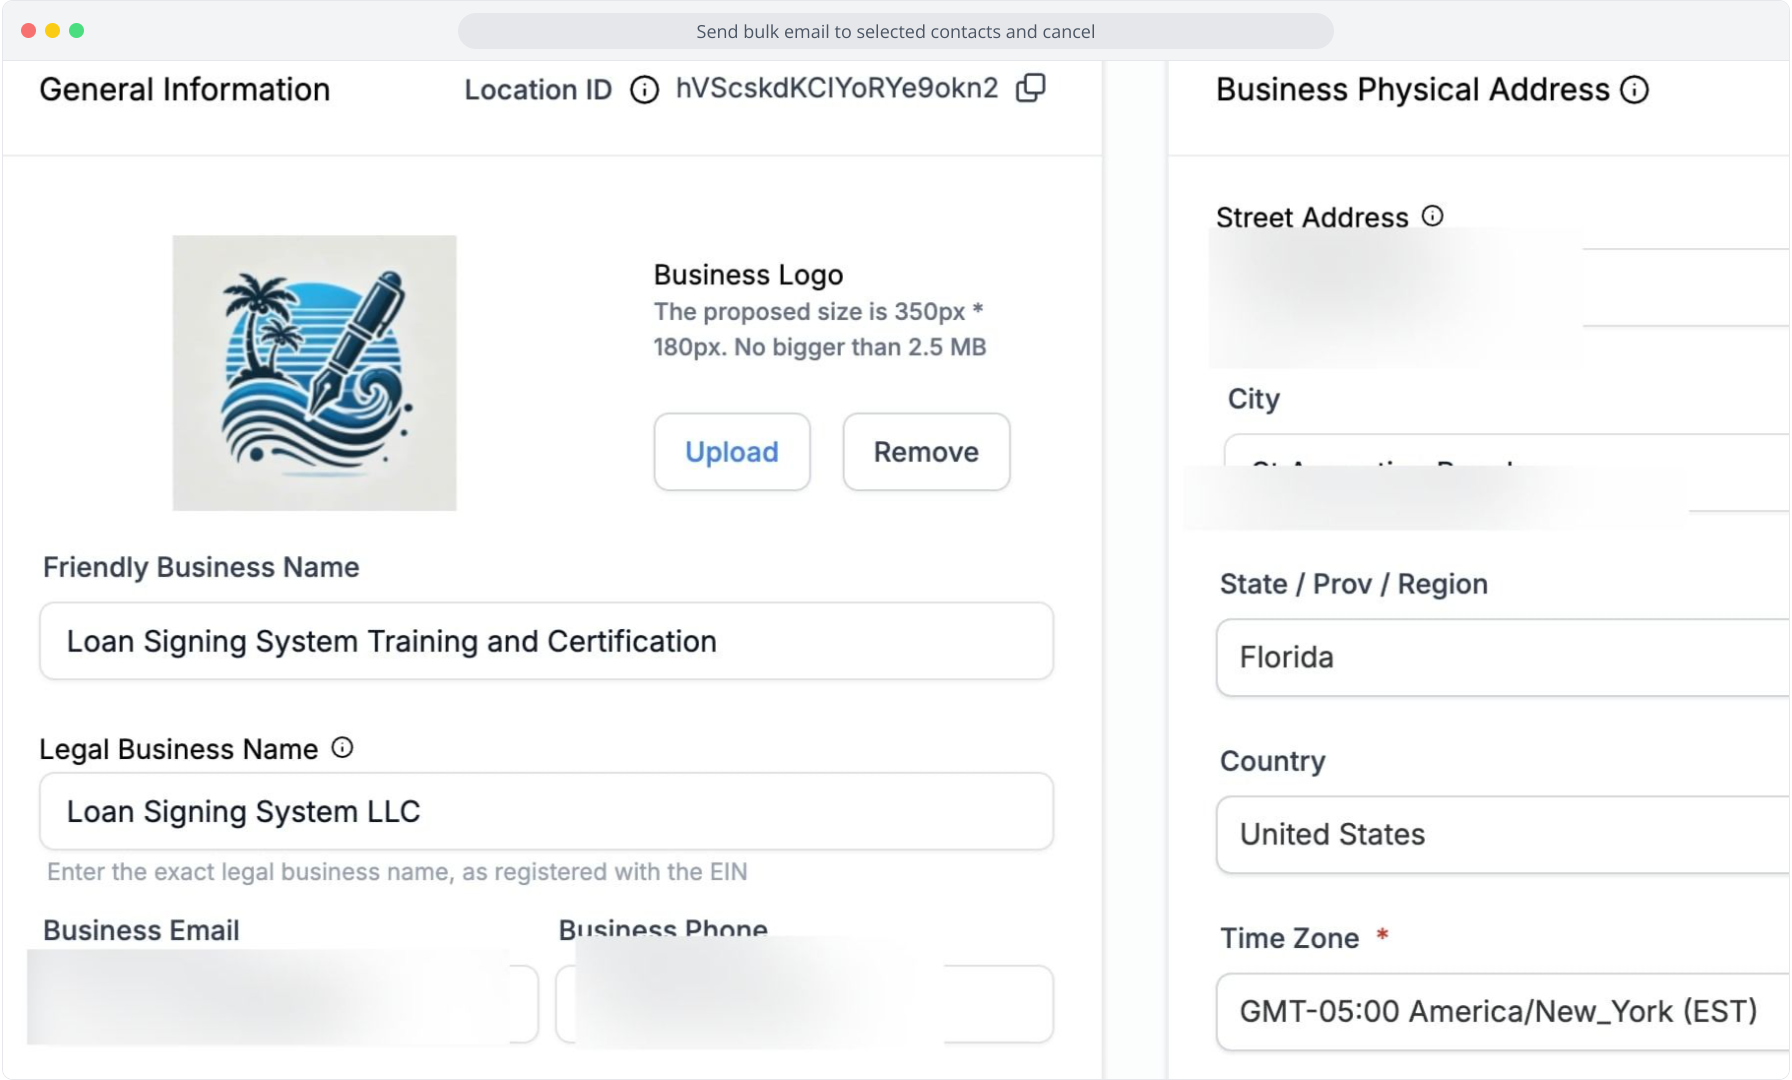
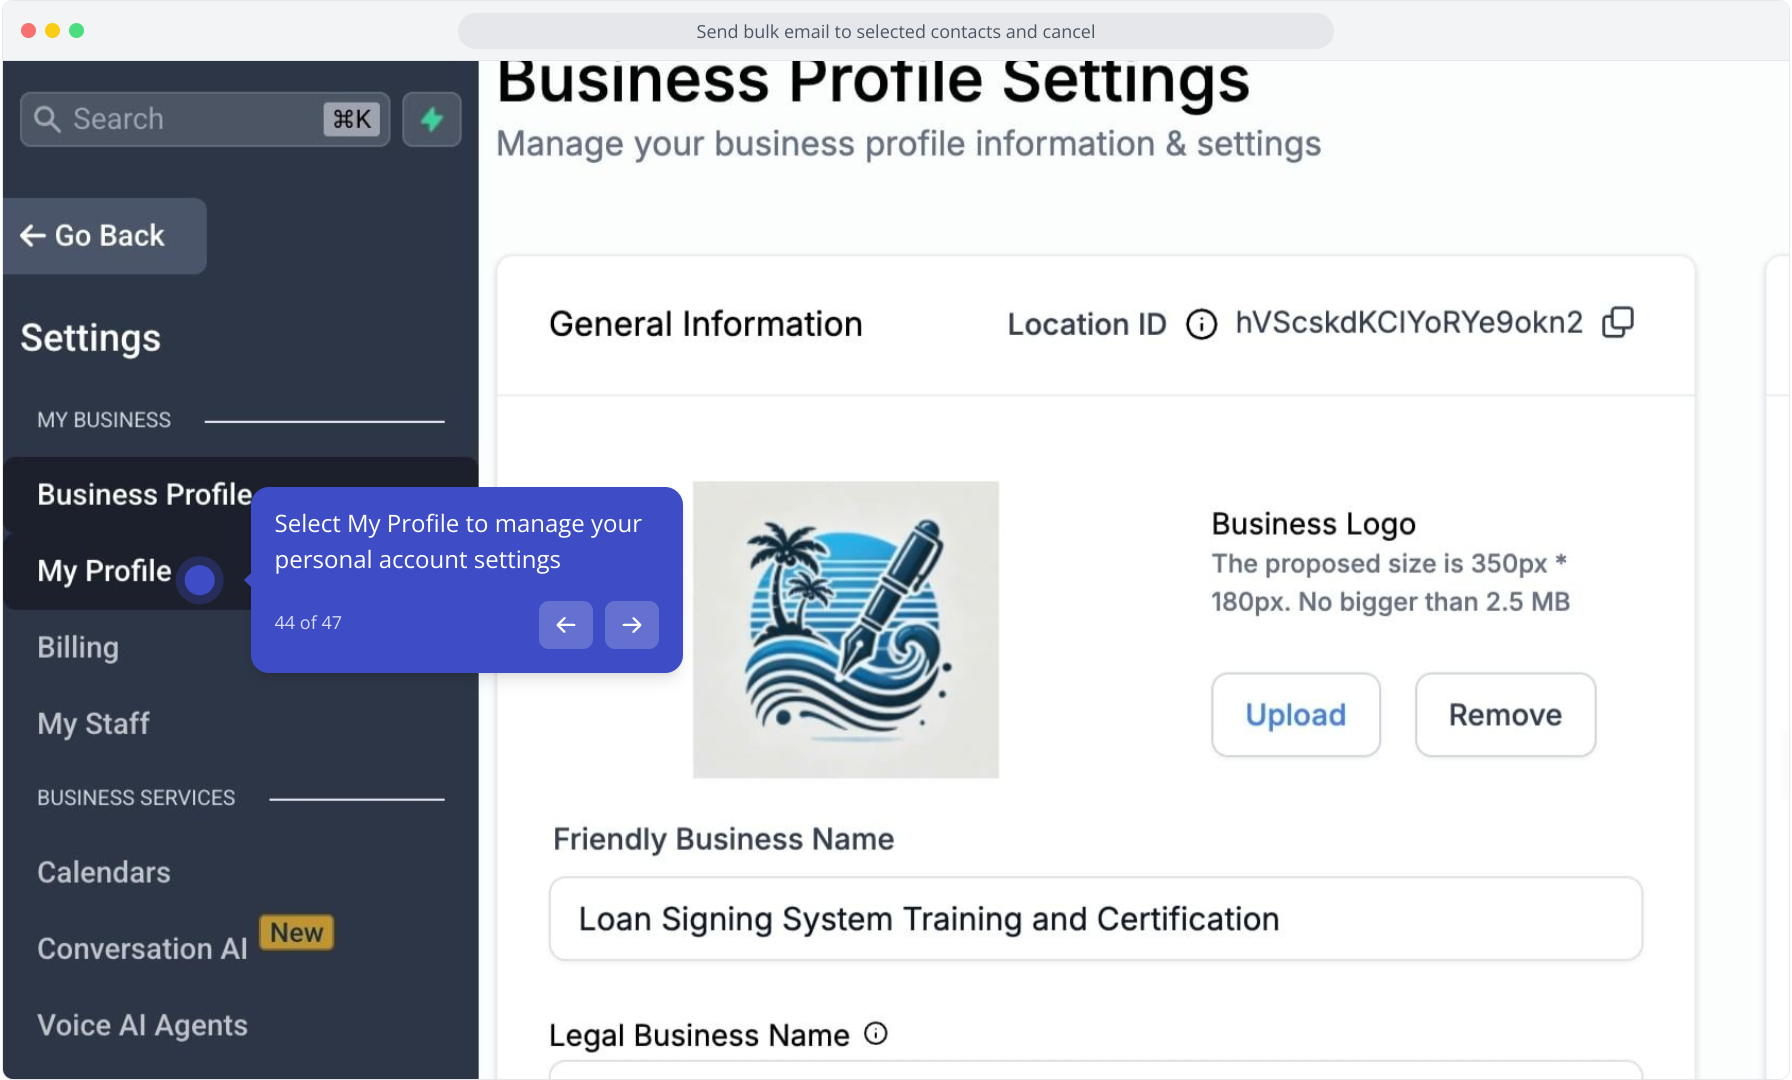
44. Select My Profile to manage your personal account settings
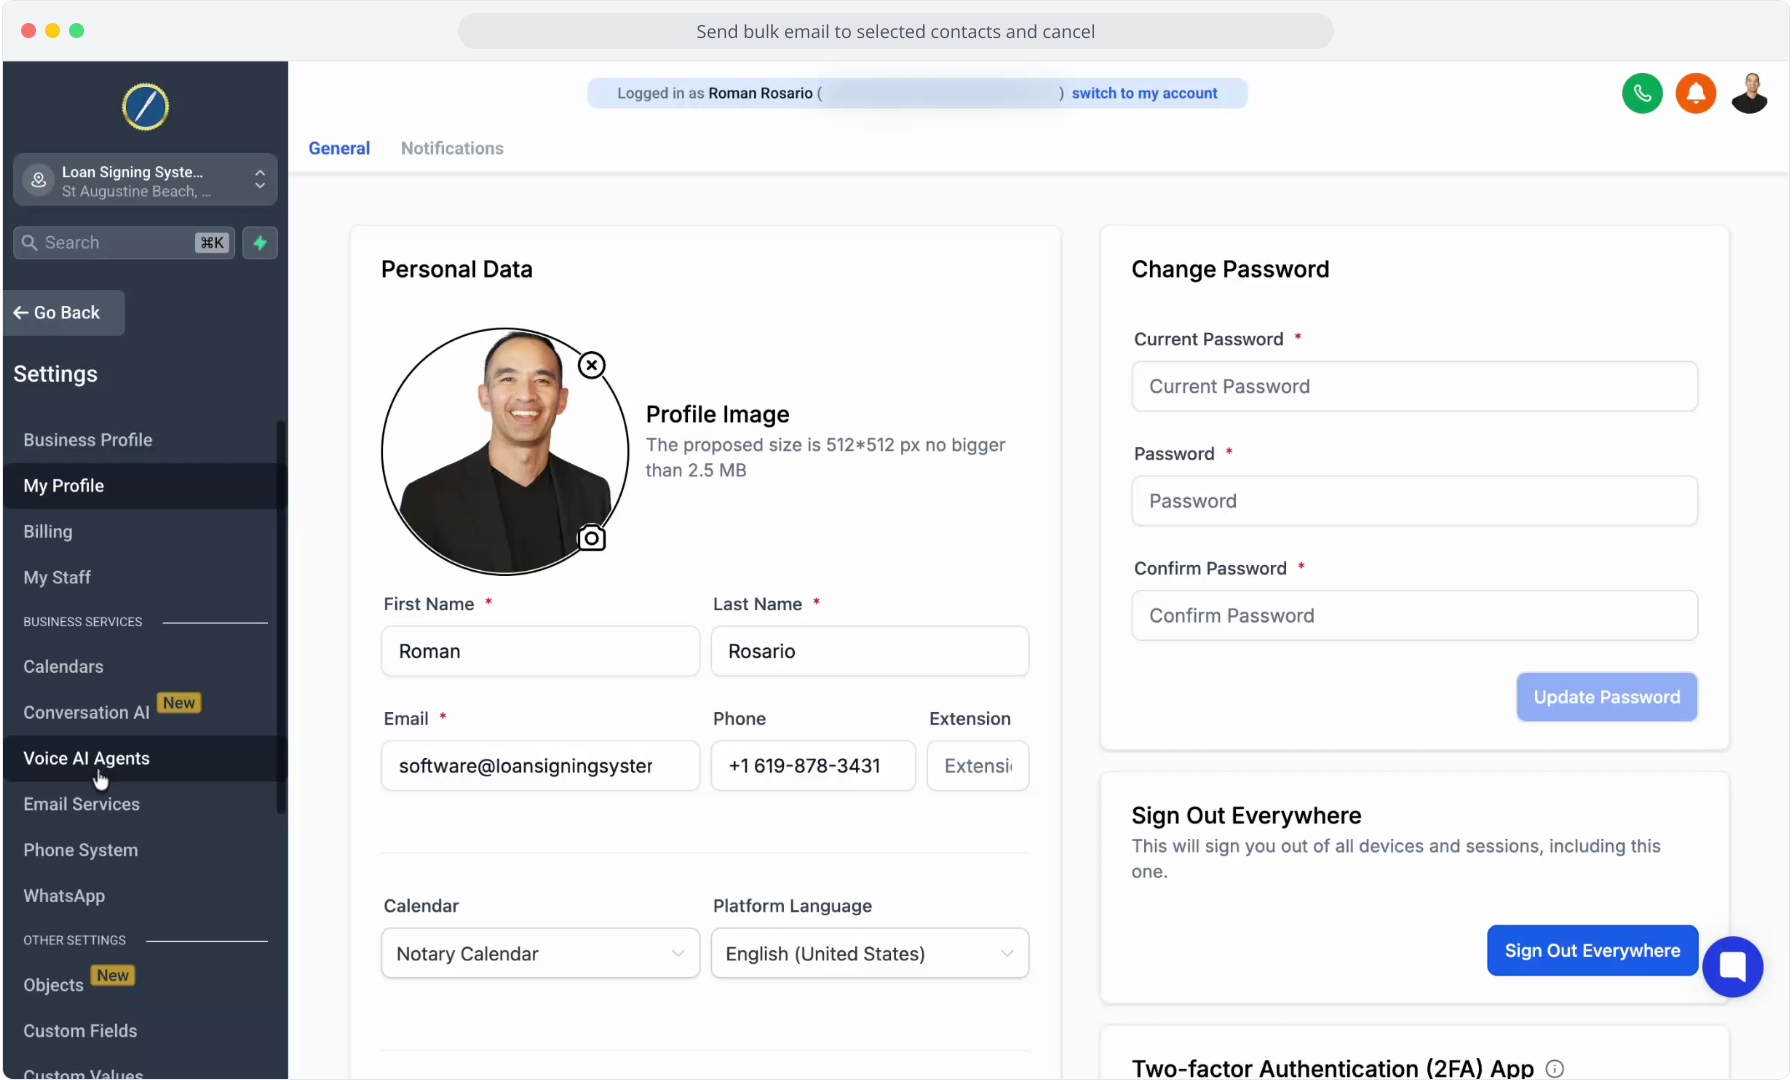
45. Video Step
(Play Now)
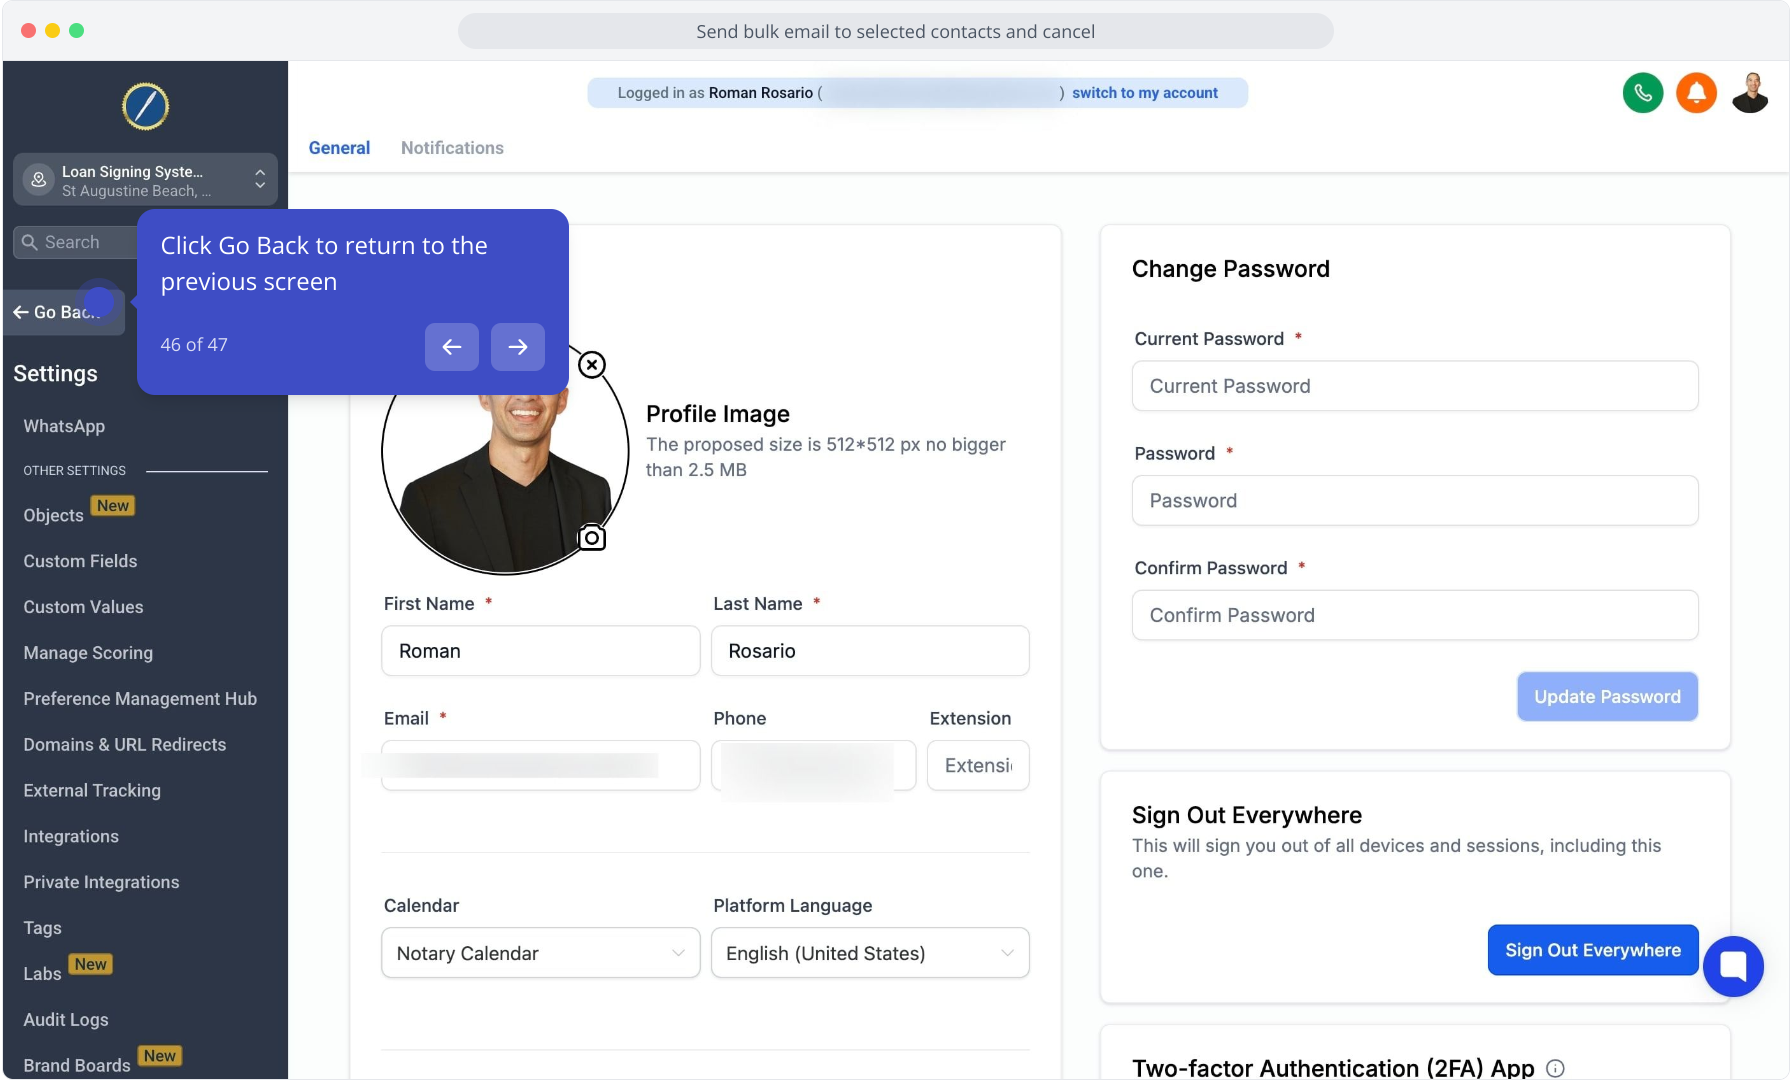
46. Click Go Back to return to the previous screen
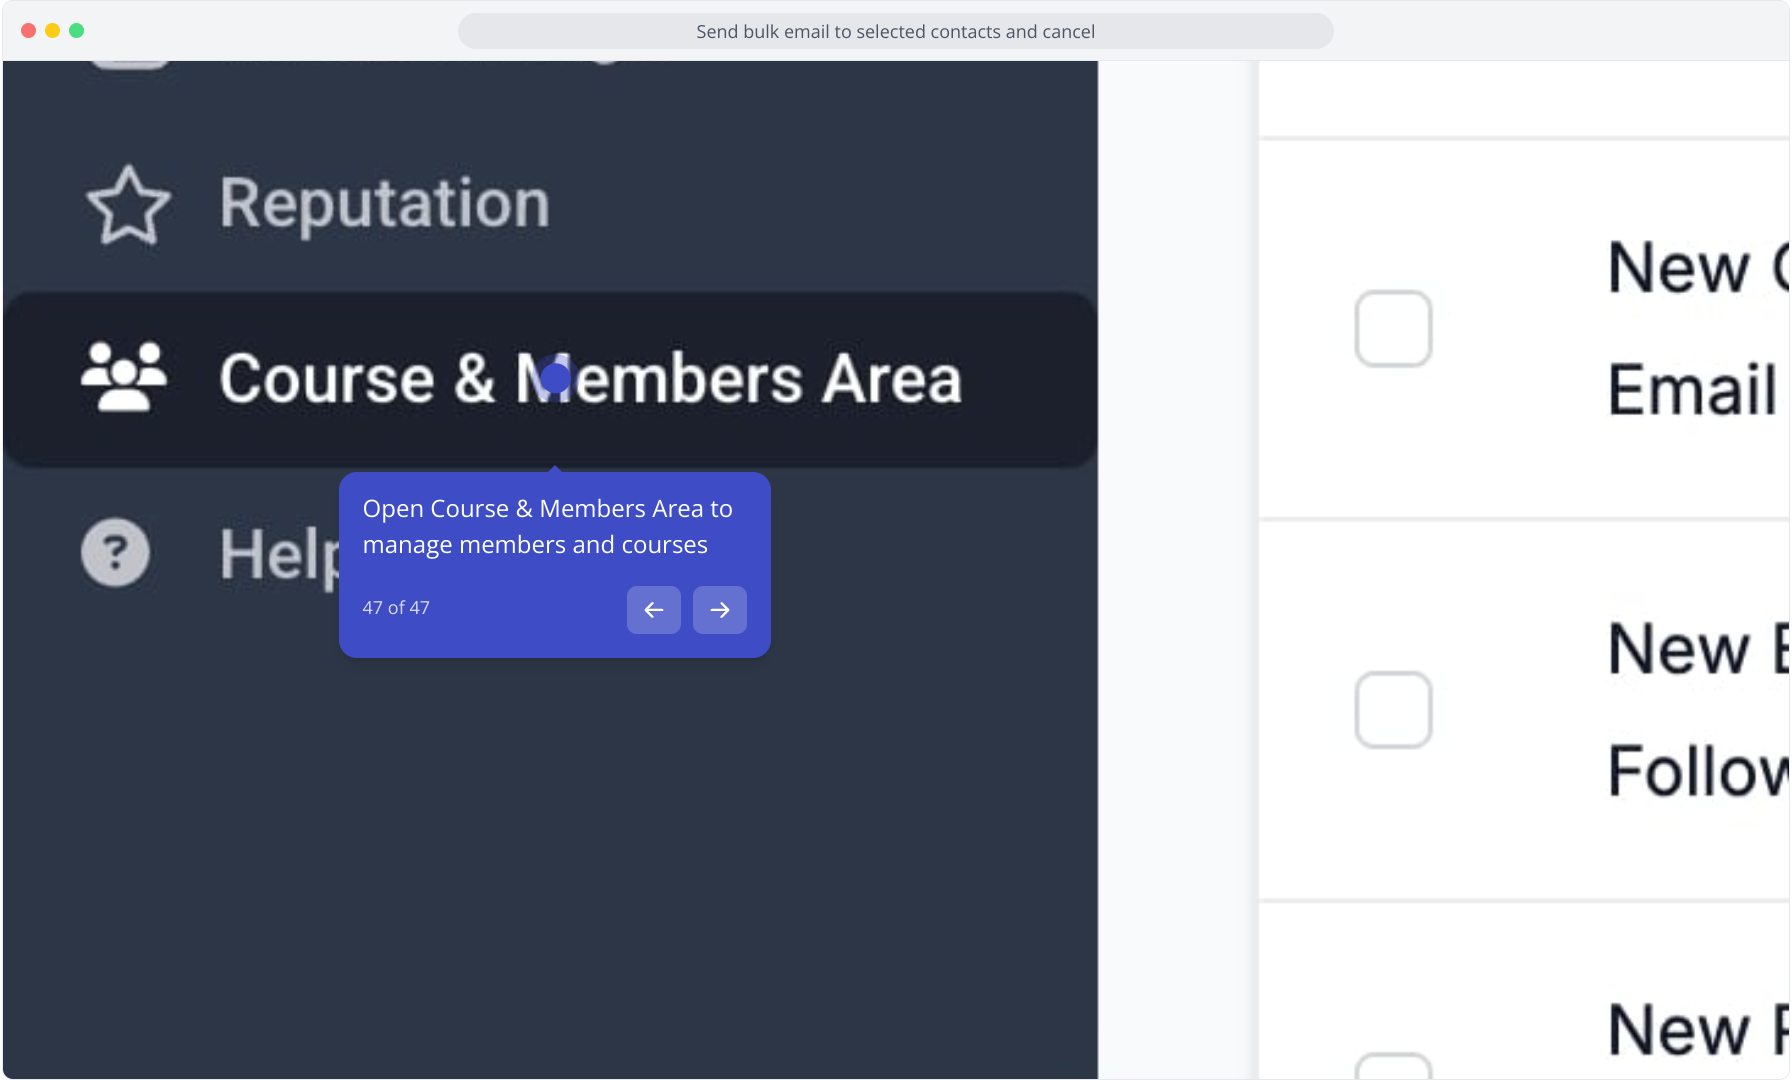
47. Open Course & Members Area to manage members and courses