Please checkout the full tutorial video by clicking HERE
If you’re unable to open the url above, you can copy paste the URL here:
https://www.loom.com/share/b184e37a05234adda85007913197762b
00:00 Introduction to Domain Setup
02:19 Domain Activation Process
04:04 Connecting Website Component
06:40 Linking Domain to Website
09:22 Setting Up Email Domain
12:05 Updating Business Website
14:03 Domain Configuration Updates
17:20 Setting Up Google Workspace
19:57 Starting Free Trial
24:20Adding MX Records
26:52Finalizing Google Workspace Setup
34:32Conclusion and Next Steps
This SOP outlines the step-by-step process for purchasing and setting up a new domain within the LSS Notary Marketing software, ensuring that team members can execute the task efficiently and correctly.
Step 1: Purchase a New Domain 0:57
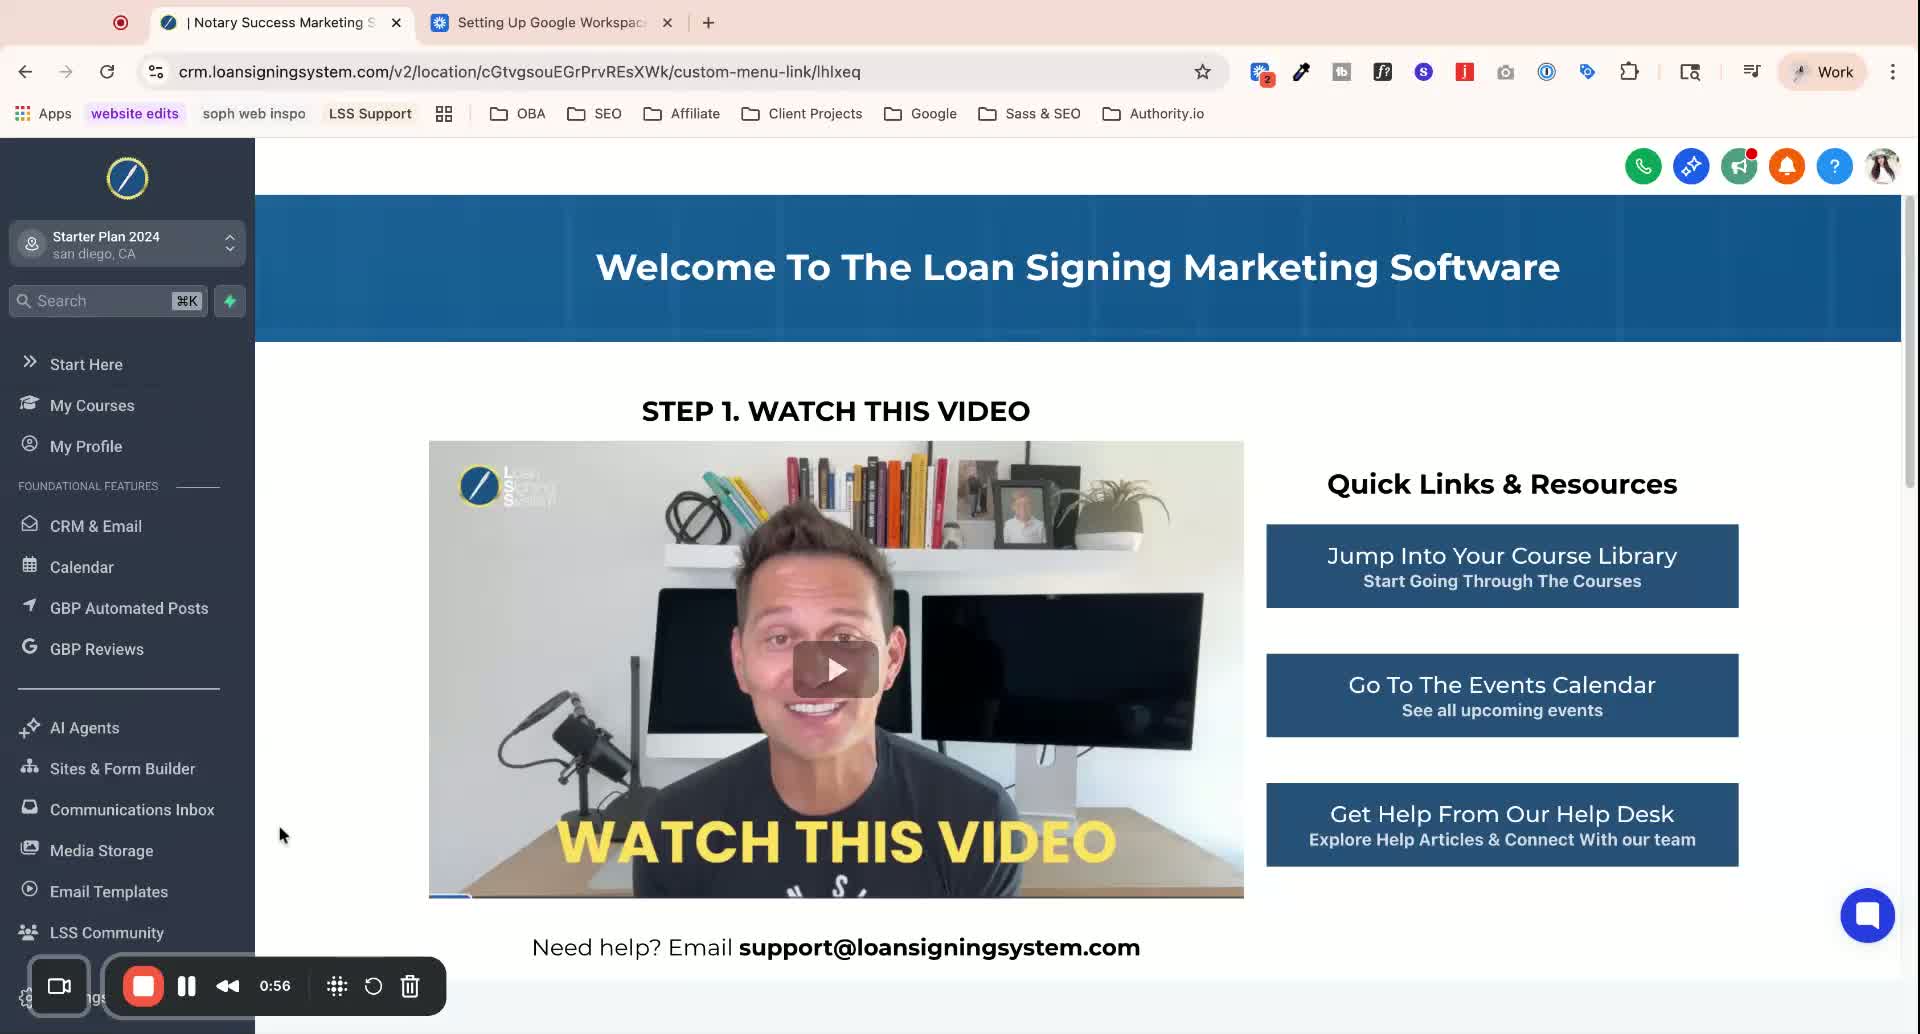
Click on Settings in the LSS Node-A-Marketing software.
Scroll down to Domain and URL Redirects.
Search for the desired domain name (e.g., SophDemoCount.com).
If available, agree to the terms and purchase the domain for the specified rate (e.g., $12 per year).
Wait for the domain to propagate (may take a few minutes). Look for a green dot indicating the domain is active.
Step 2: Set Up the Domain in Your Account 3:30
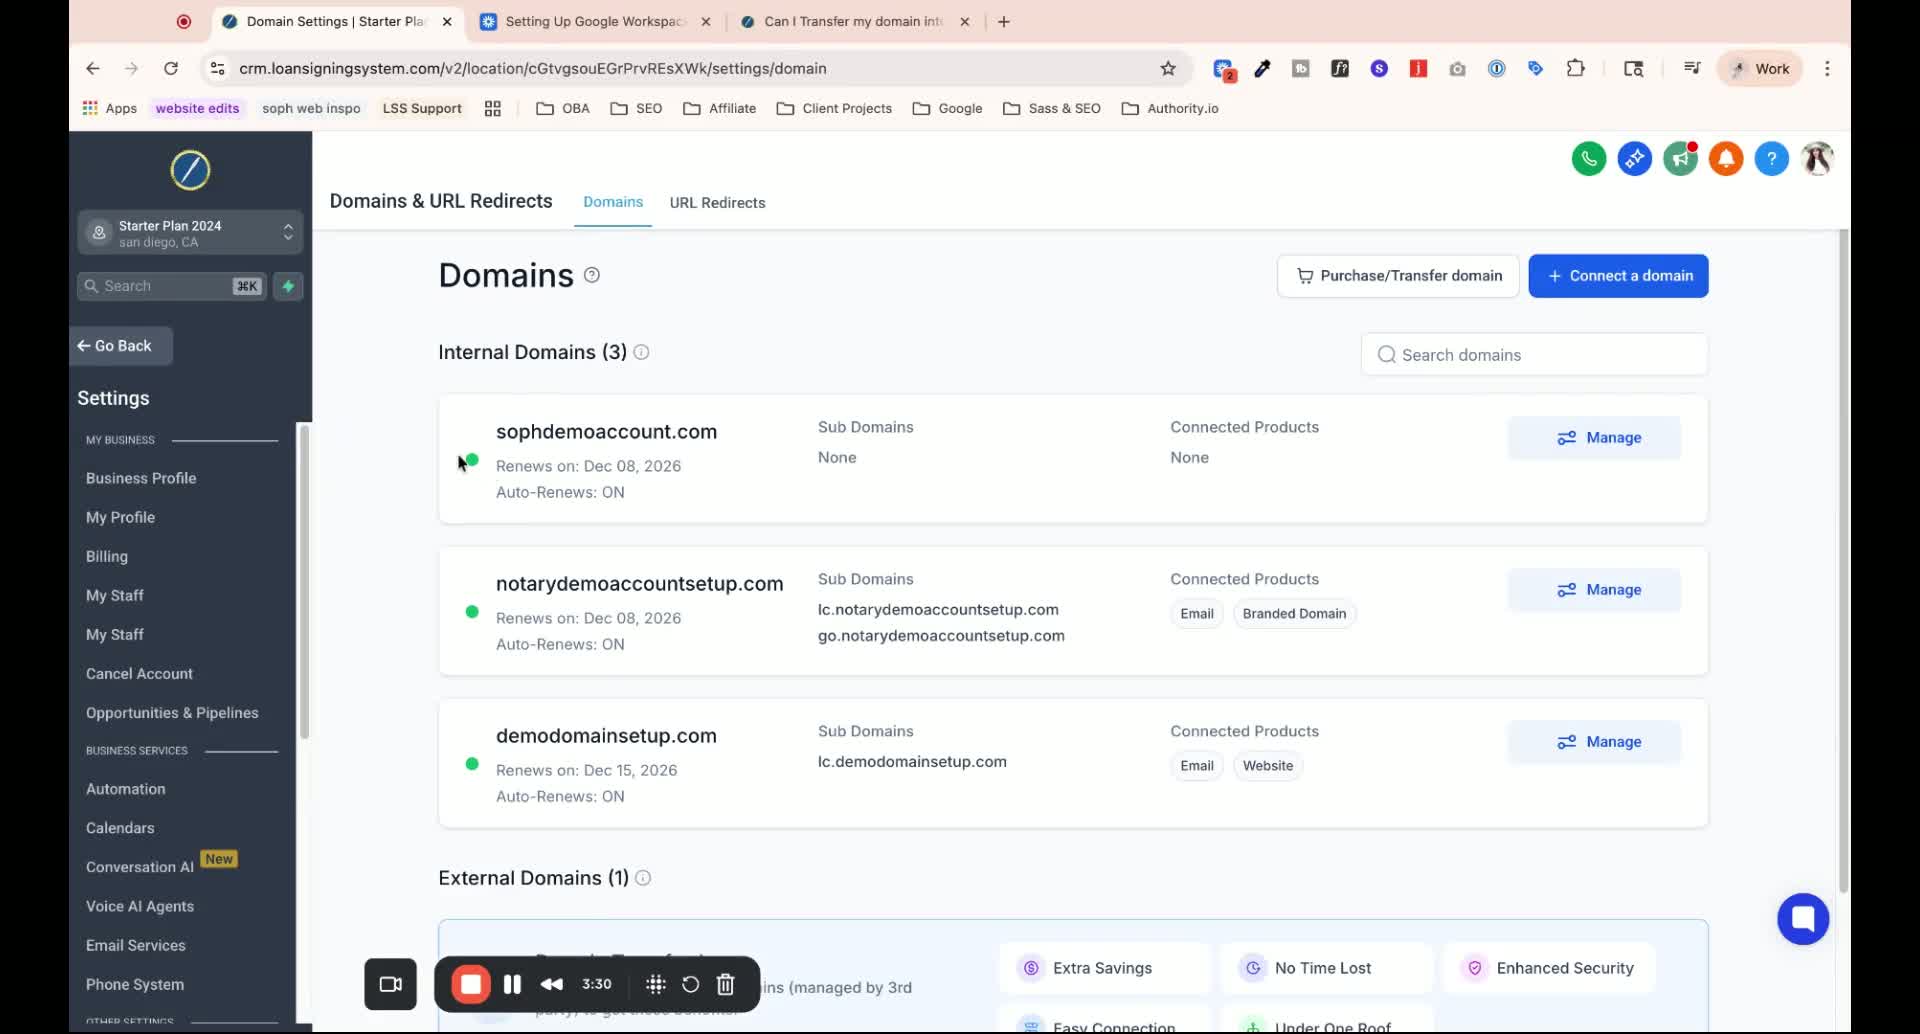
Click on Manage next to the newly purchased domain.
Click on Connect to link the domain to various products.
Start with the Website component:
Ensure you have a website template ready (clone if necessary).
Select the website you want to connect to the domain.
Step 3: Connect Email Services 8:07
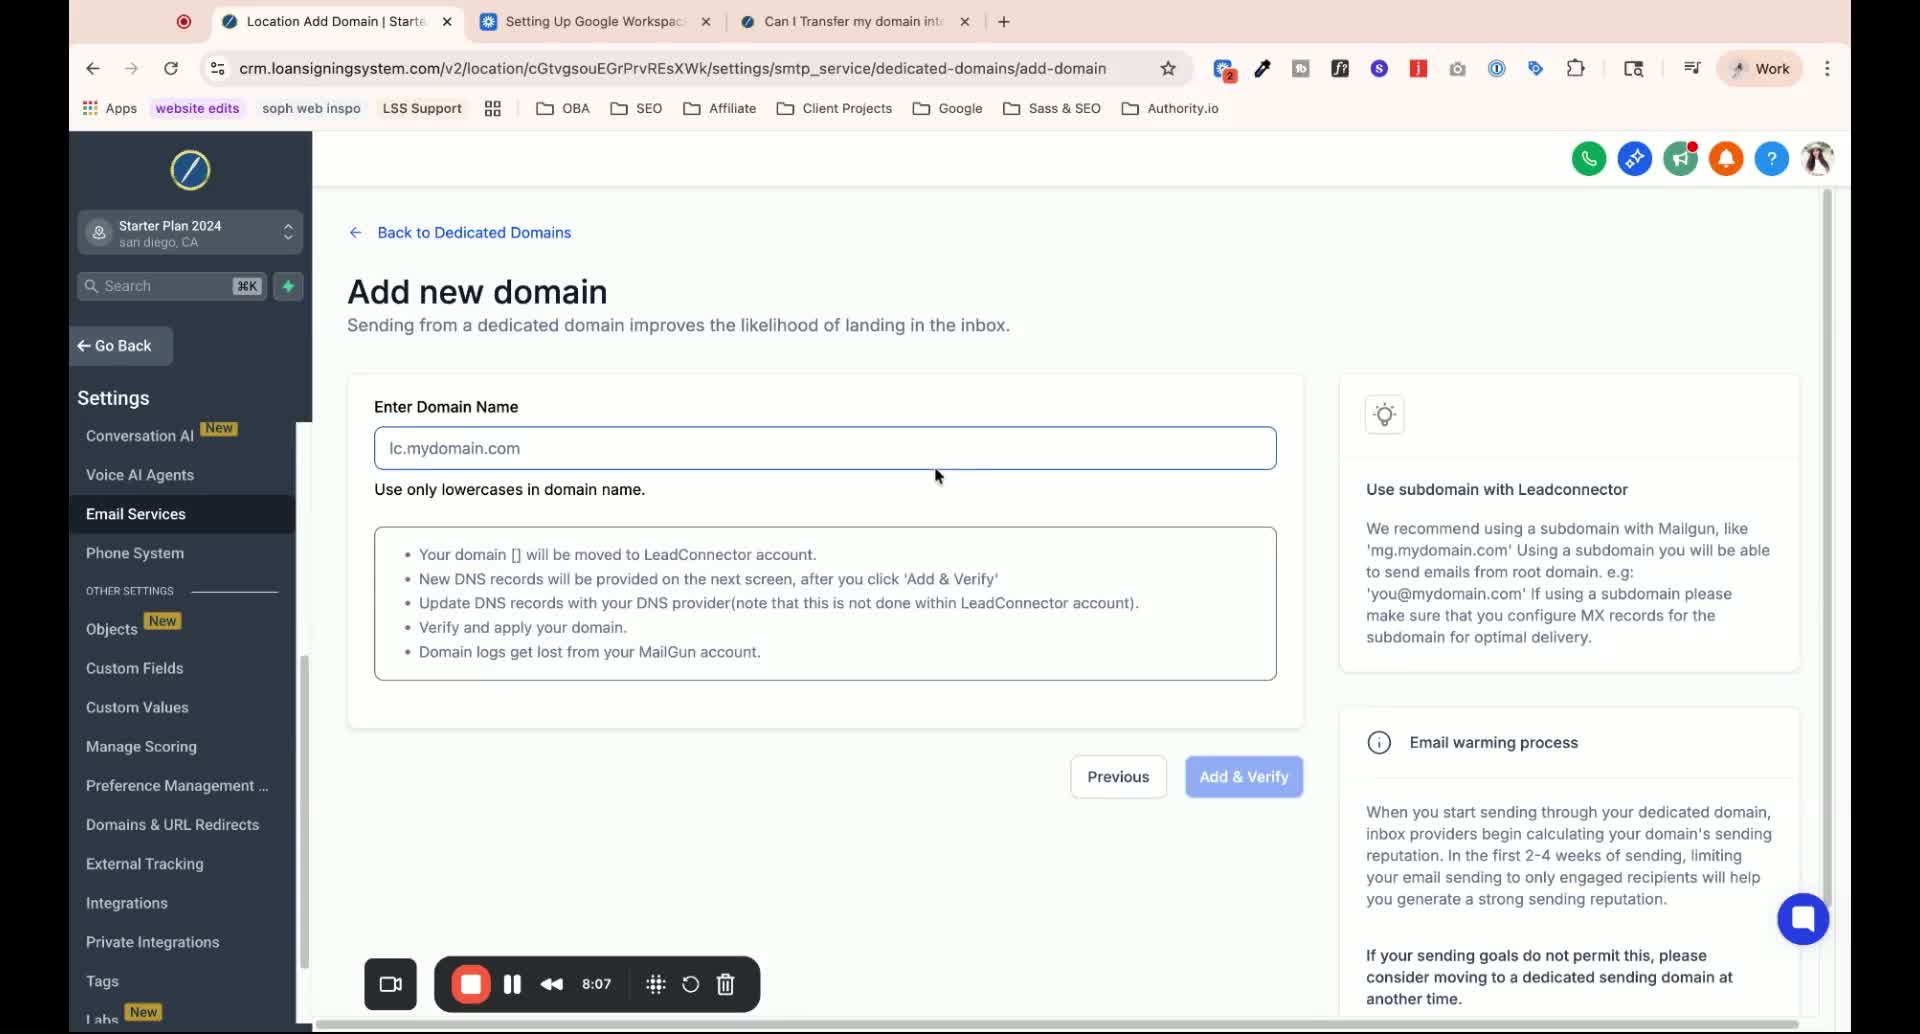
Navigate to Email Services from the left-hand panel.
Click on Add Domain and enter lc.yourdomain.com (replace with your actual domain).
Hit Add and Verify to receive DNS records that need to be added.
Step 4: Set Up Branded Domain 10:36
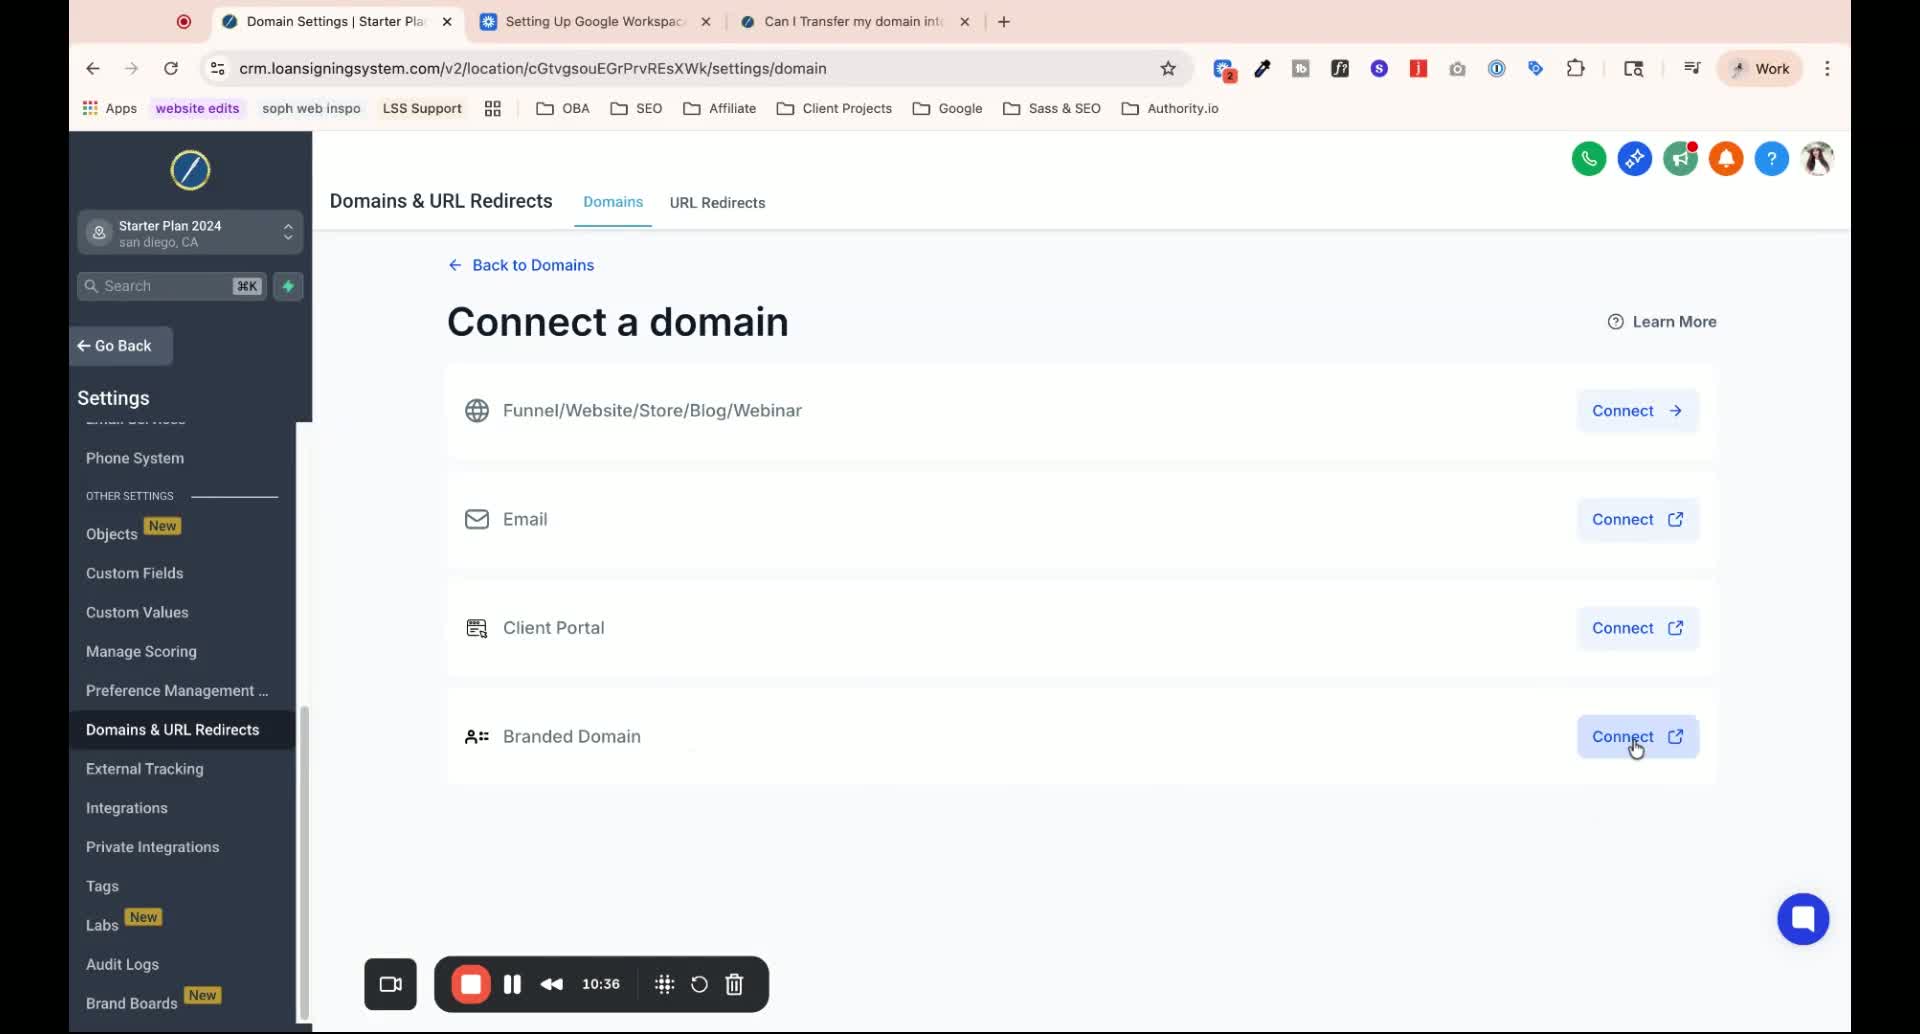
Click on Connect for the branded domain.
Use a subdomain format (e.g., go.yourdomain.com).
Hit Add Domain and follow the prompts to add DNS records.
Step 5: Update Business Website Information 12:05
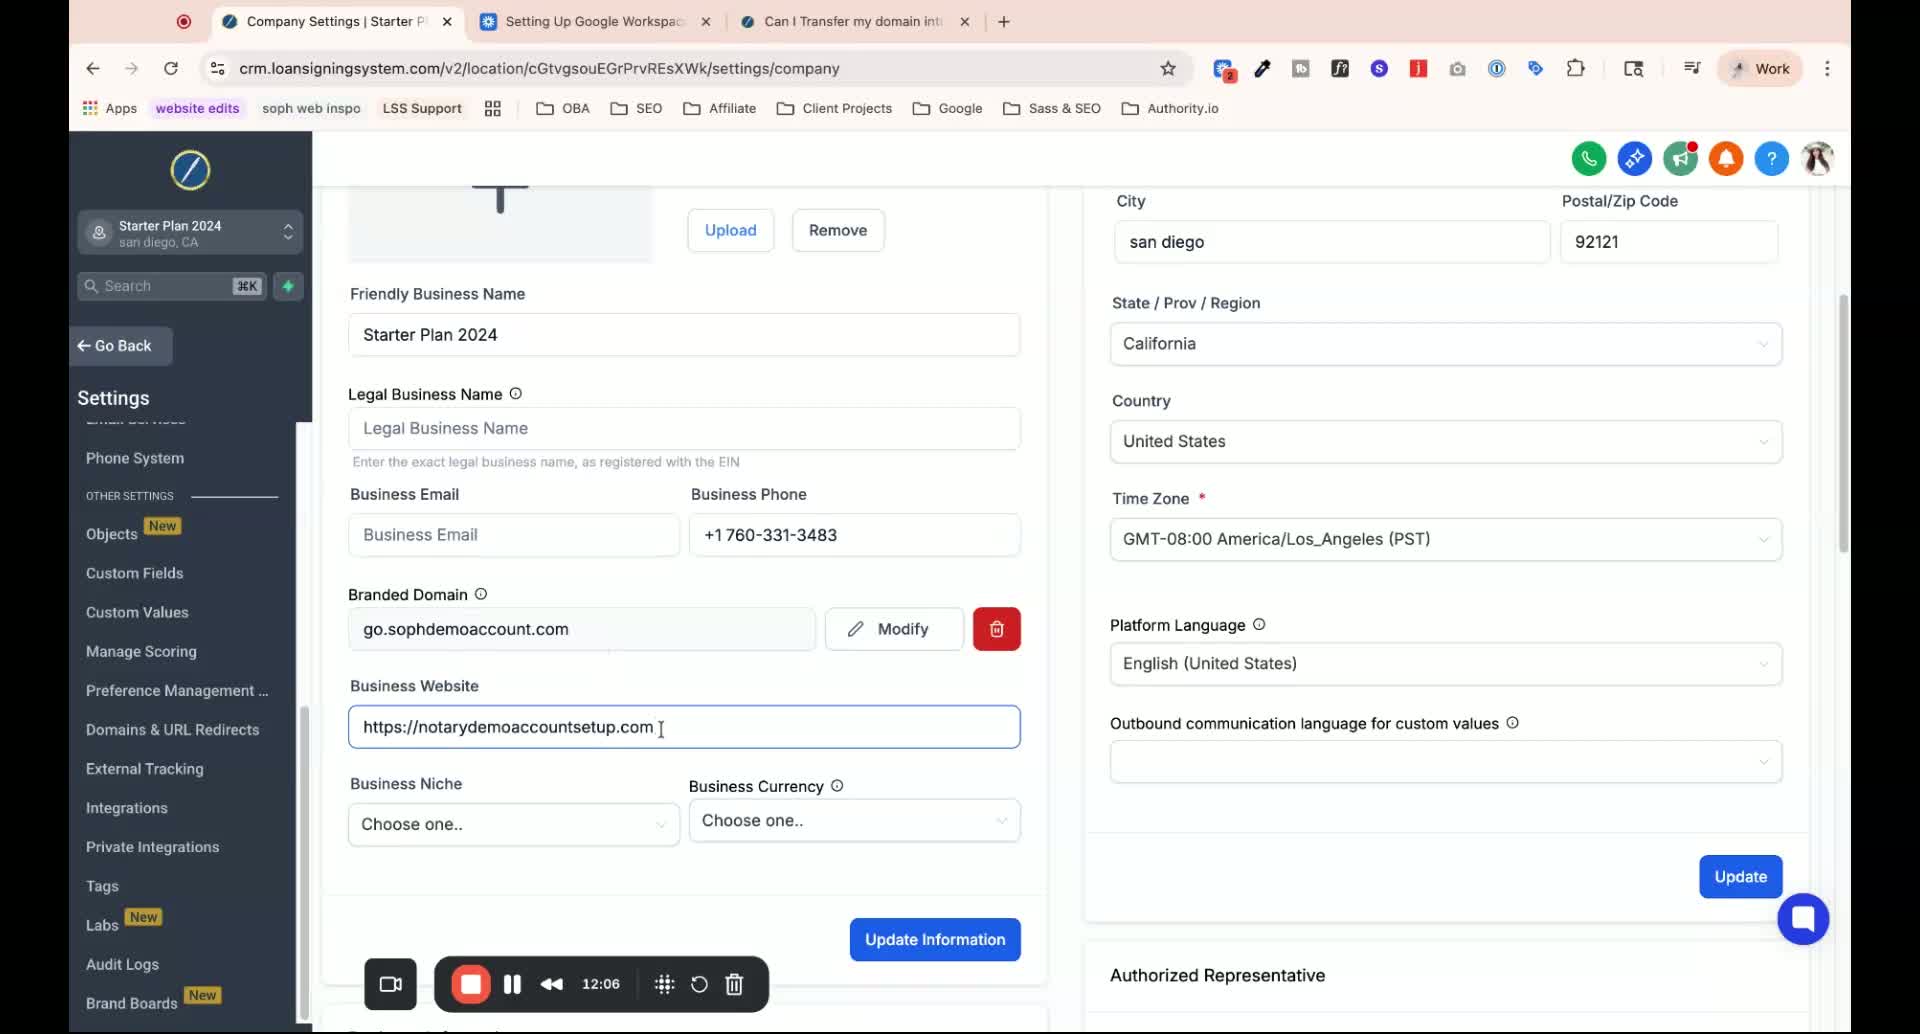
Update the business website to reflect the new domain.
Ensure all domains (website, branded, email) are showing as active.
Step 6: Configure Email Headers 13:31

Click on Set Headers.
Enter the From Name and From Email (must match the new domain).
Hit Save.
Step 7: Update Domain Configuration 14:03
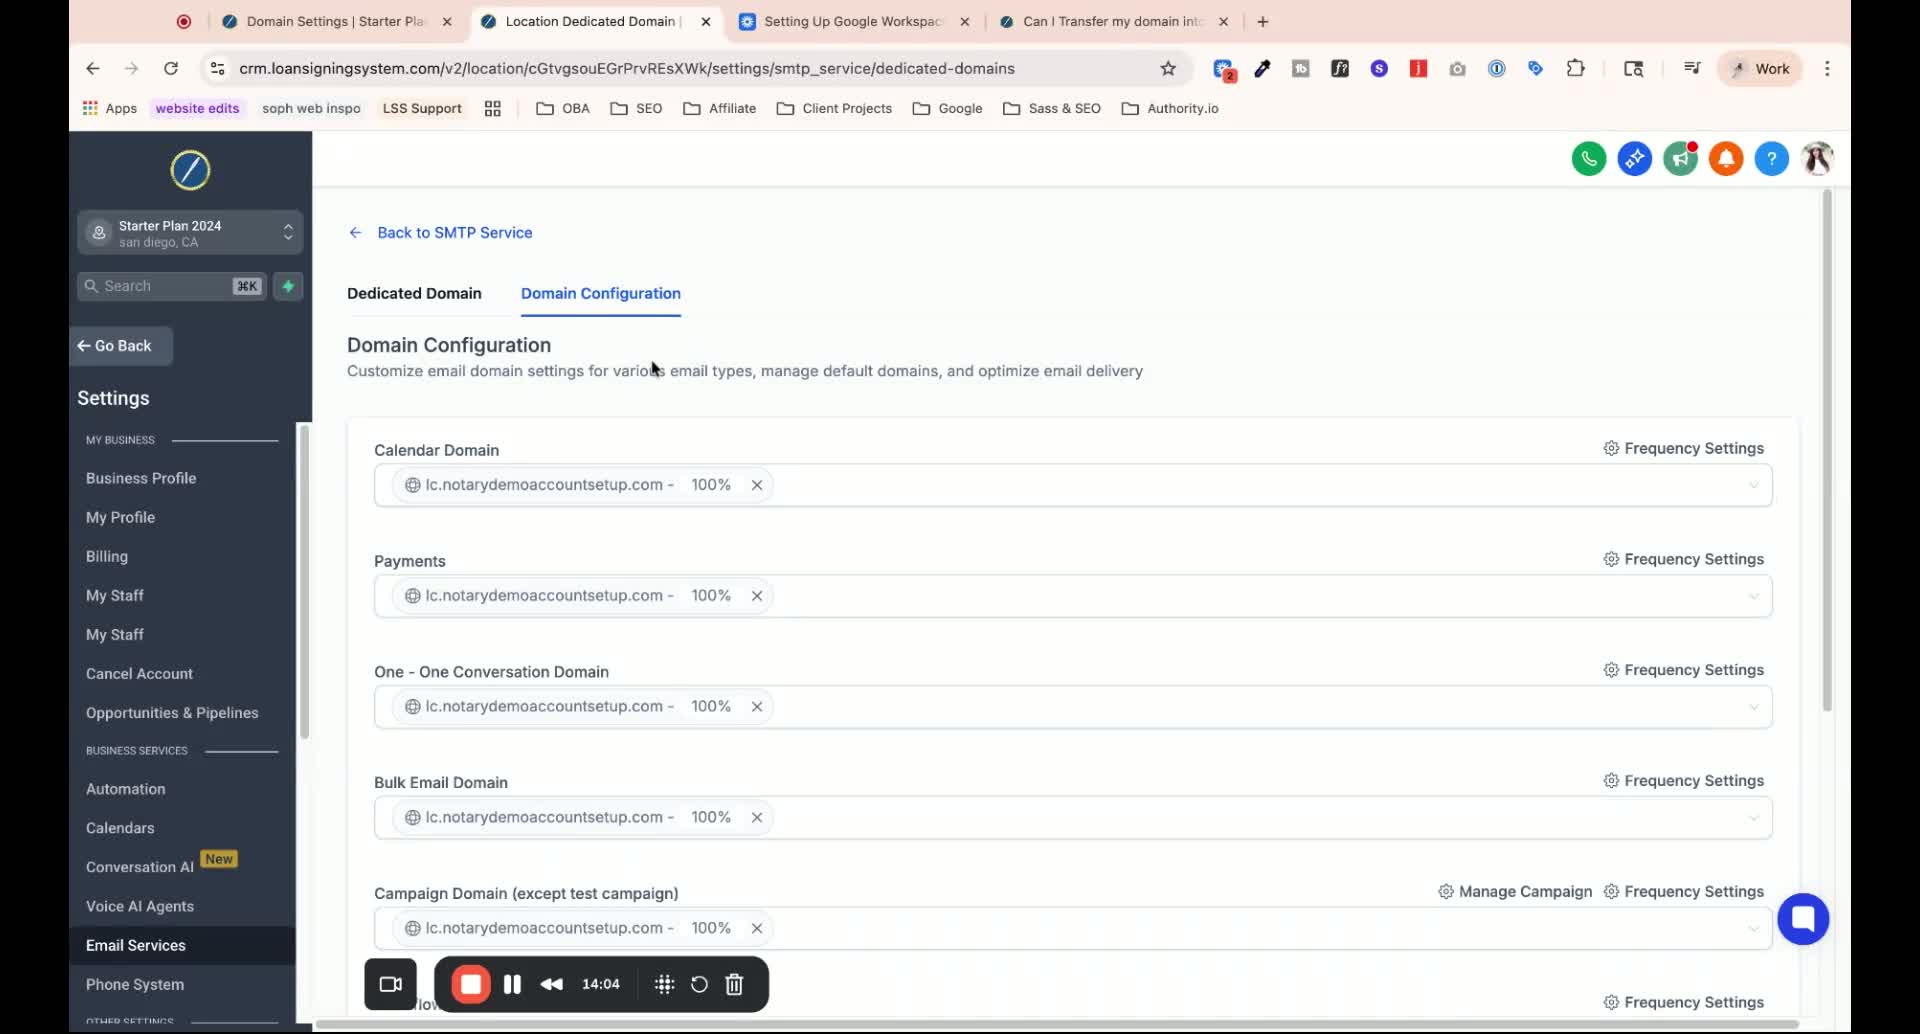
Remove any old domain settings from the configuration.
Select the new domain for all email sending options.
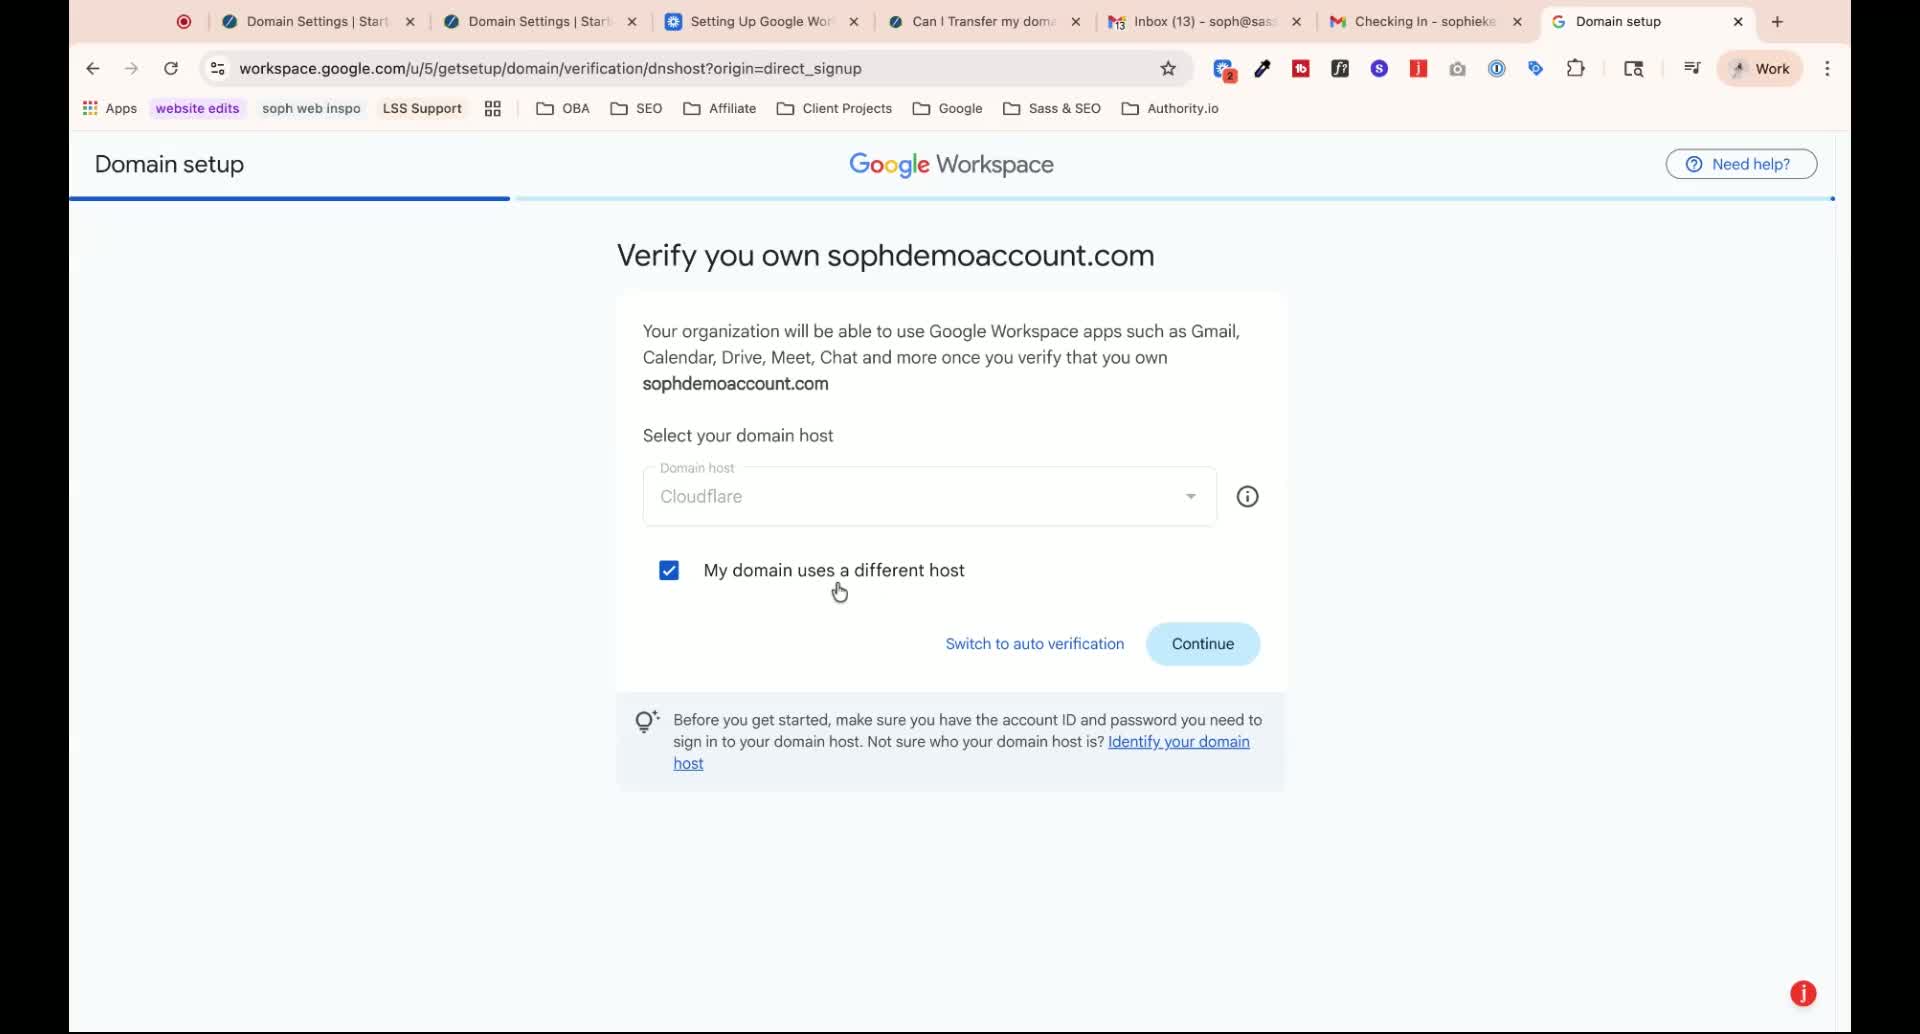
Step 8: Set Up Google Workspace Email 17:08
Go to Google Workspace and select Get Started.
Enter your business name and domain.
Choose to set up an existing domain and follow the prompts to verify.
Step 9: Add DNS Records for Google Workspace 21:04
Manually add the required TXT and CNAME records to your domain settings.
Confirm the addition of these records in Google Workspace.
Step 10: Activate Gmail and Set Up DKIM 24:08
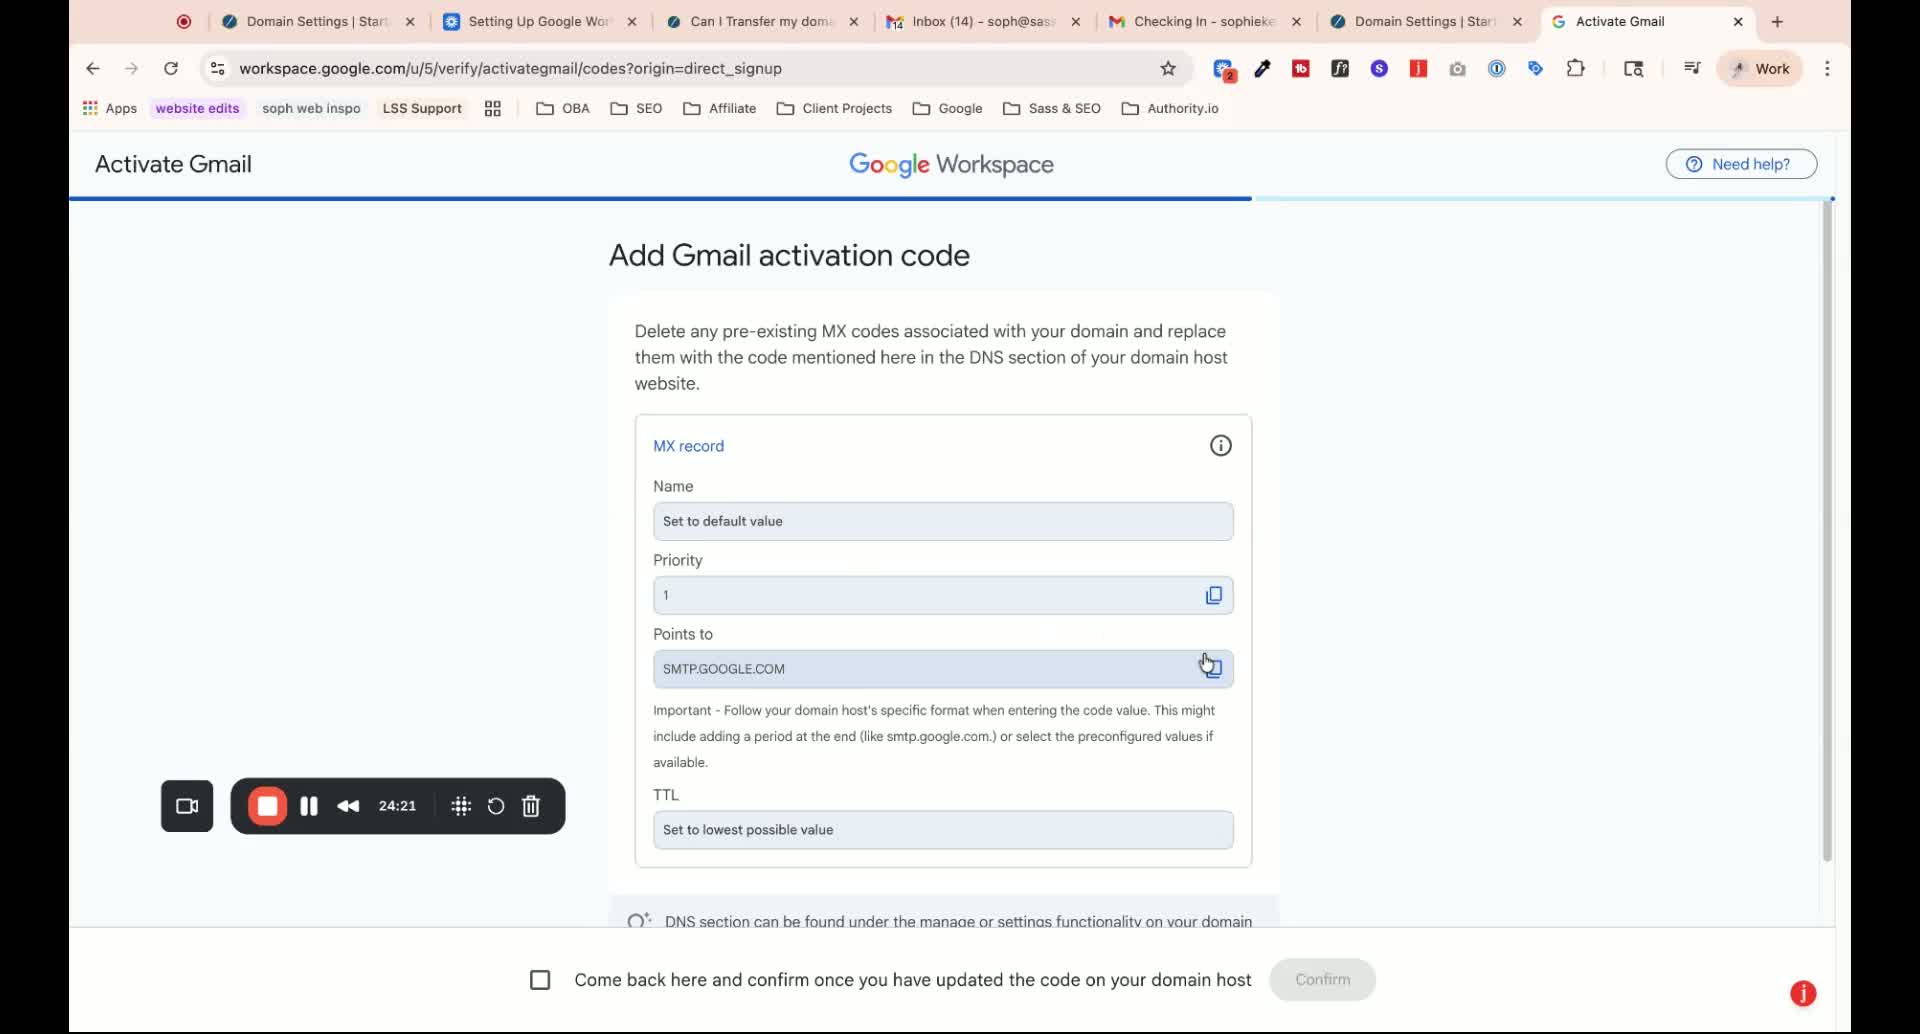
Activate Gmail and add the final MX record.
Set up DKIM by adding the provided TXT record.
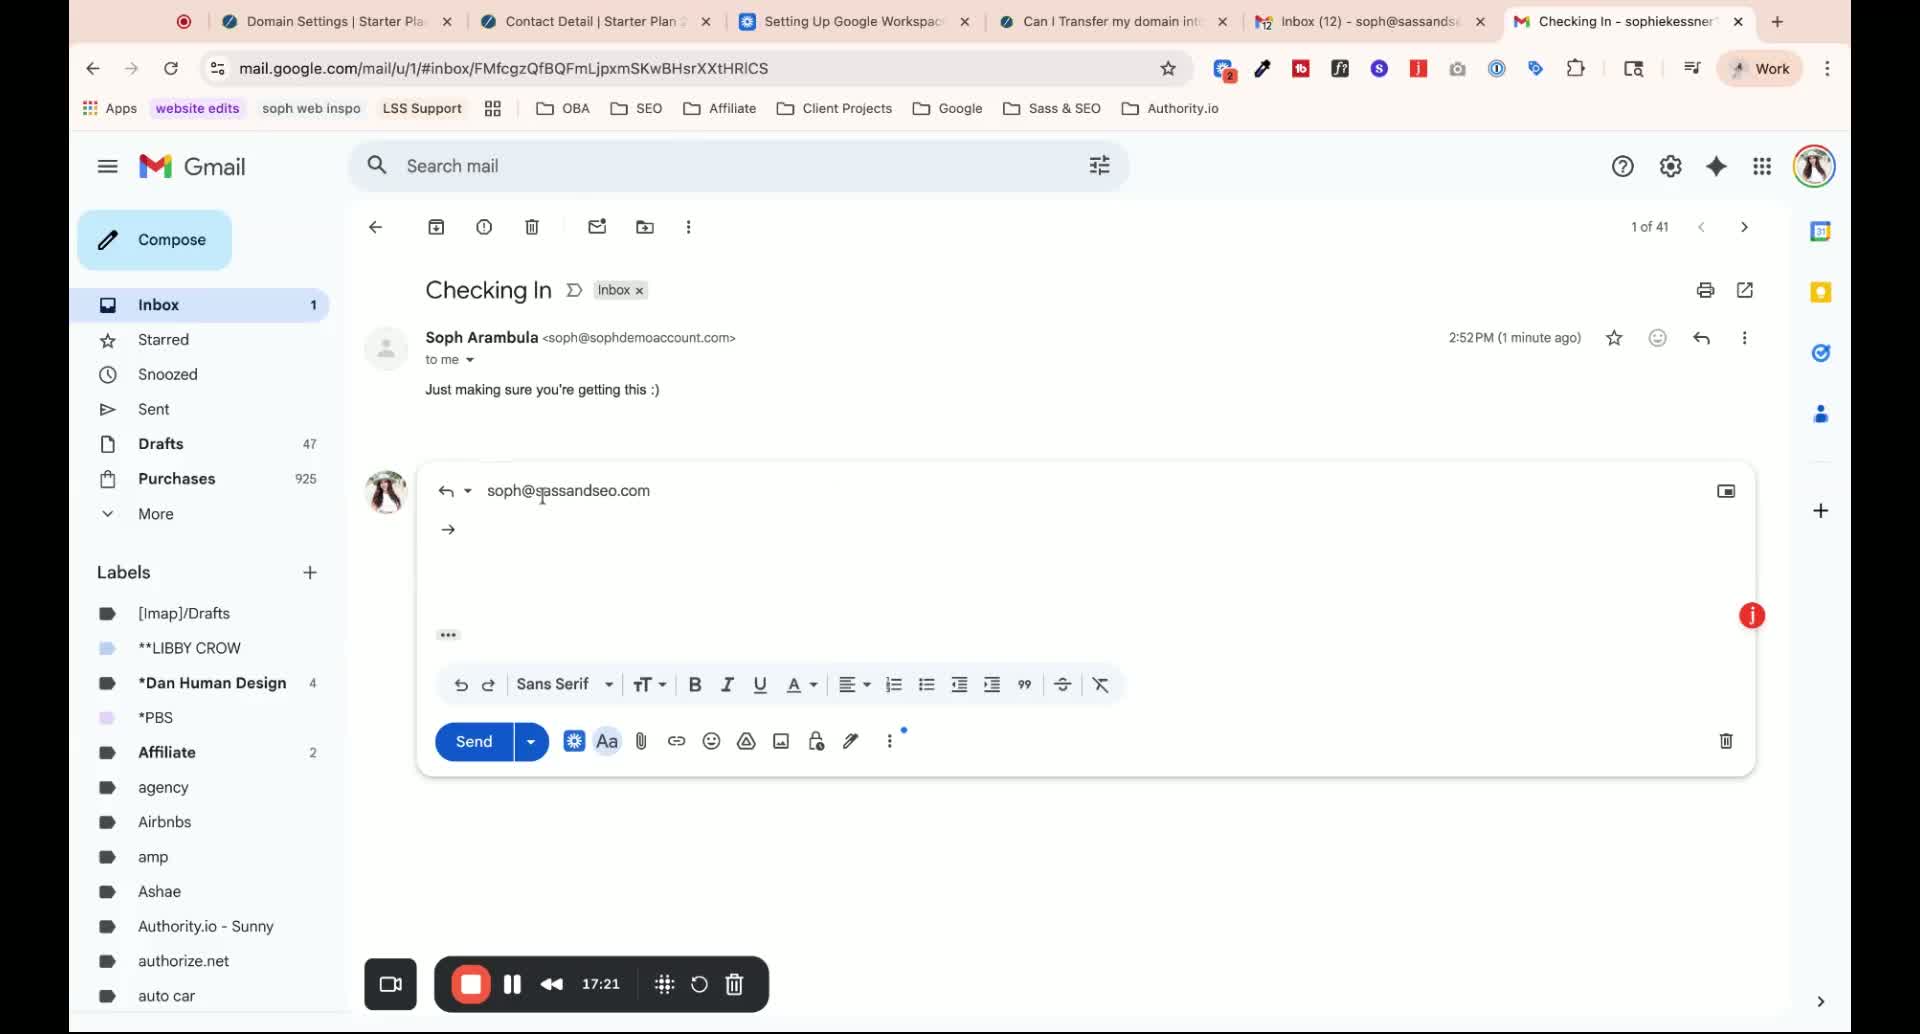
Step 11: Test Email Functionality 32:04
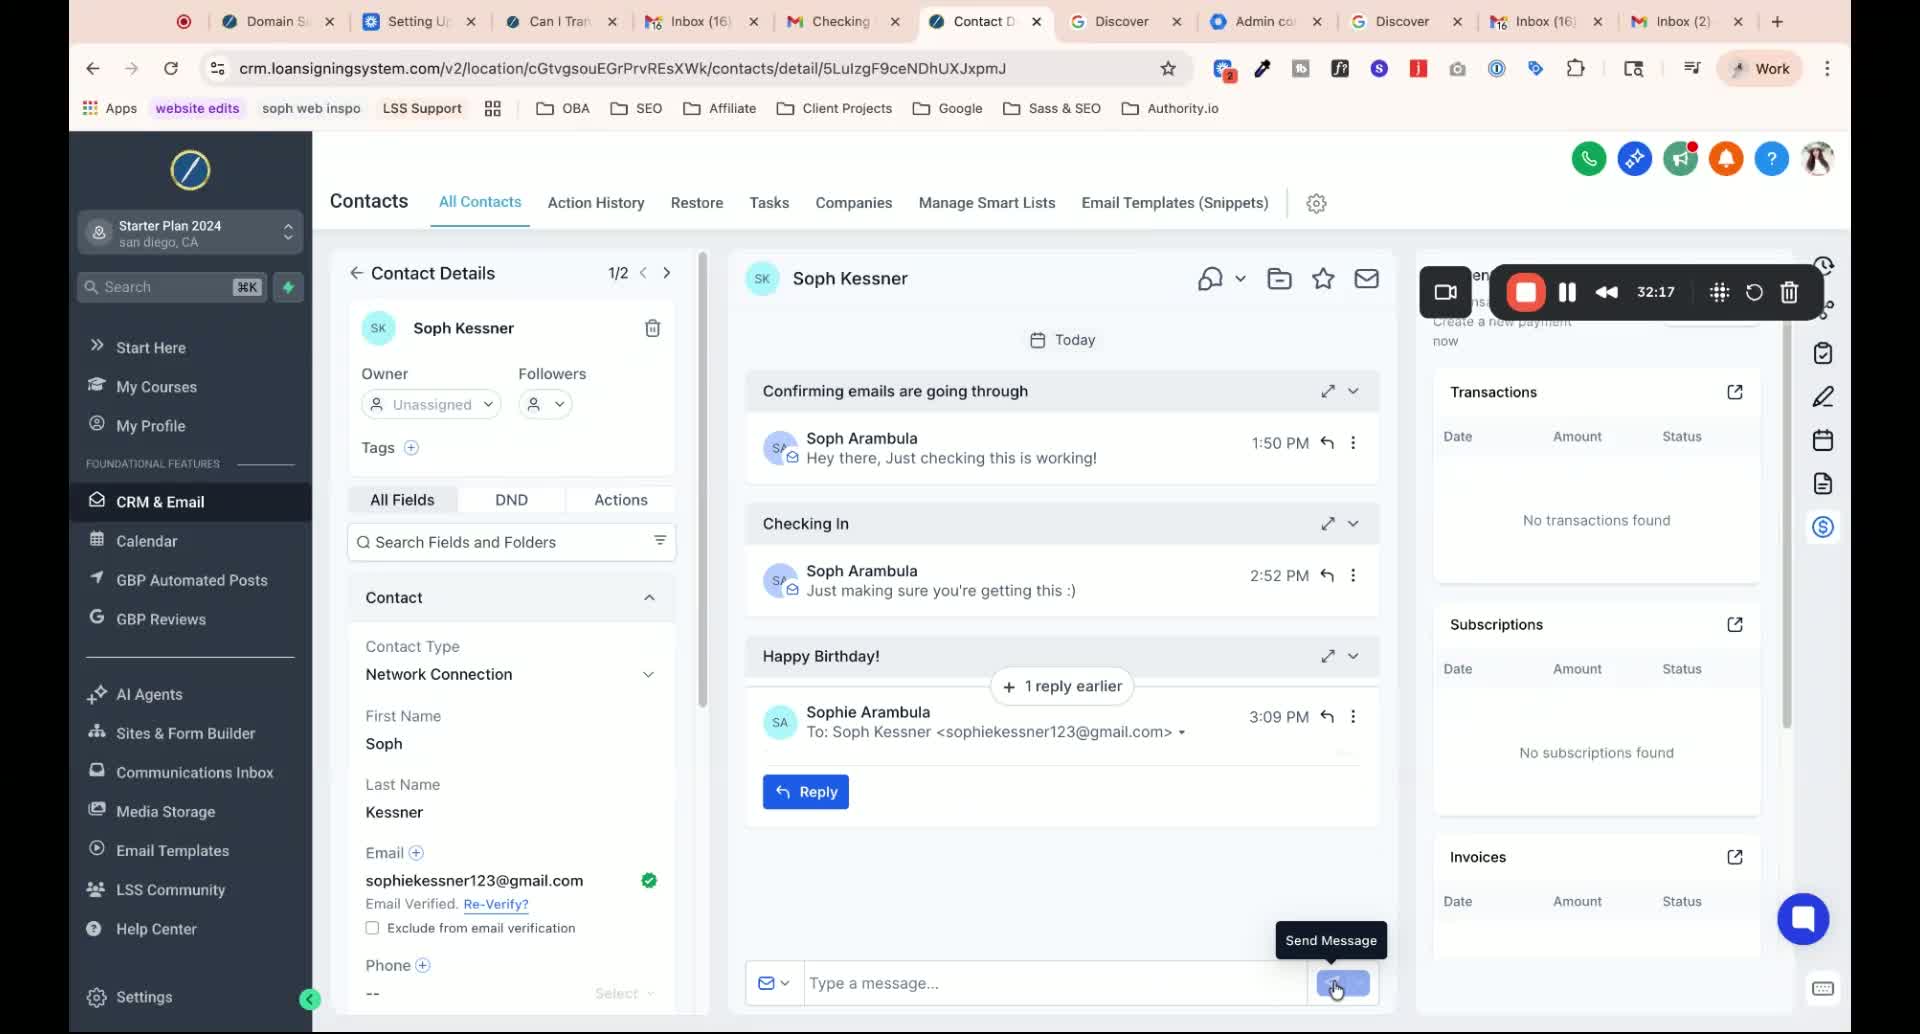
Send a test email from the new Google Workspace email to ensure it is functioning correctly.
Check that replies are directed to the new email address.
Ensure that all DNS records are added correctly to avoid email delivery issues.
Use subdomains where specified to prevent breaking the website functionality.
Pause the video tutorial as needed to follow along without missing steps.
Refresh the domain management page periodically to check for updates on domain status.
Keep a checklist of each step to ensure nothing is overlooked.
